Connect your 7 Days To Die Server to Takaro
This guide explains how to connect your 7 Days To Die server to Takaro. Make sure you have set up Web API Credentials, as described in our docs.
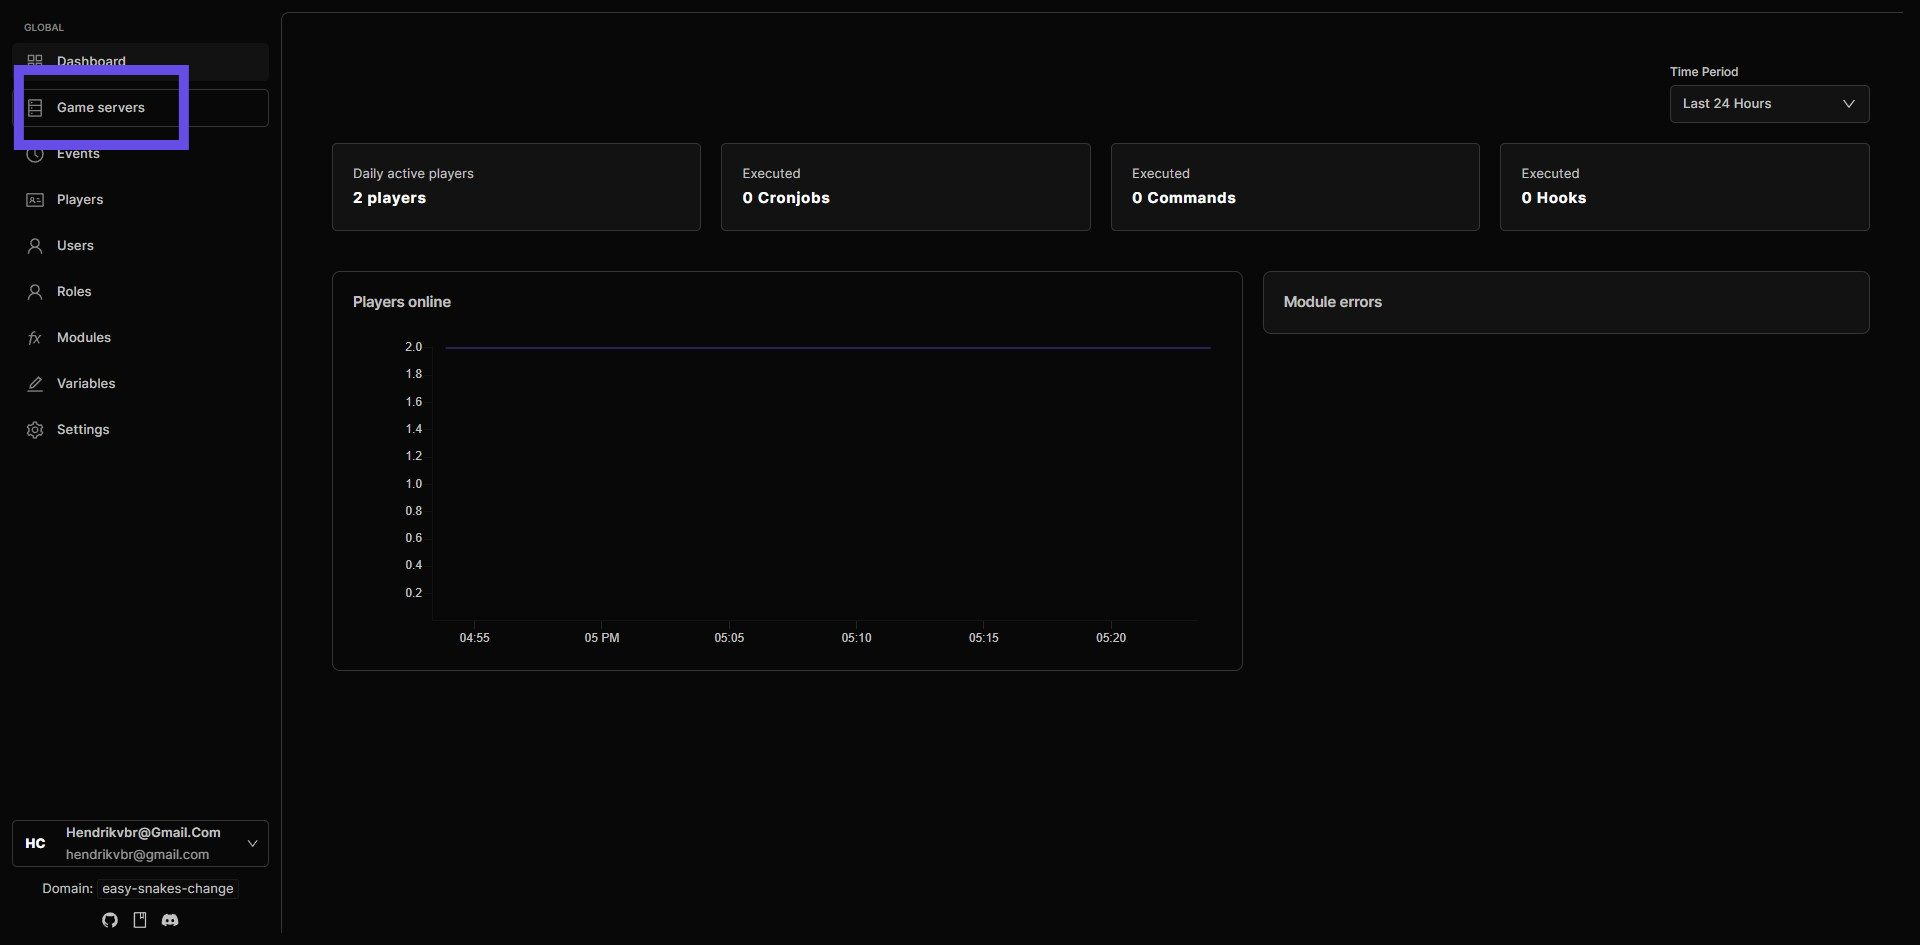
Step 1: Navigate to Game Servers
Locate the Game Servers section within the Takaro platform. This is the starting point to connect your game server.
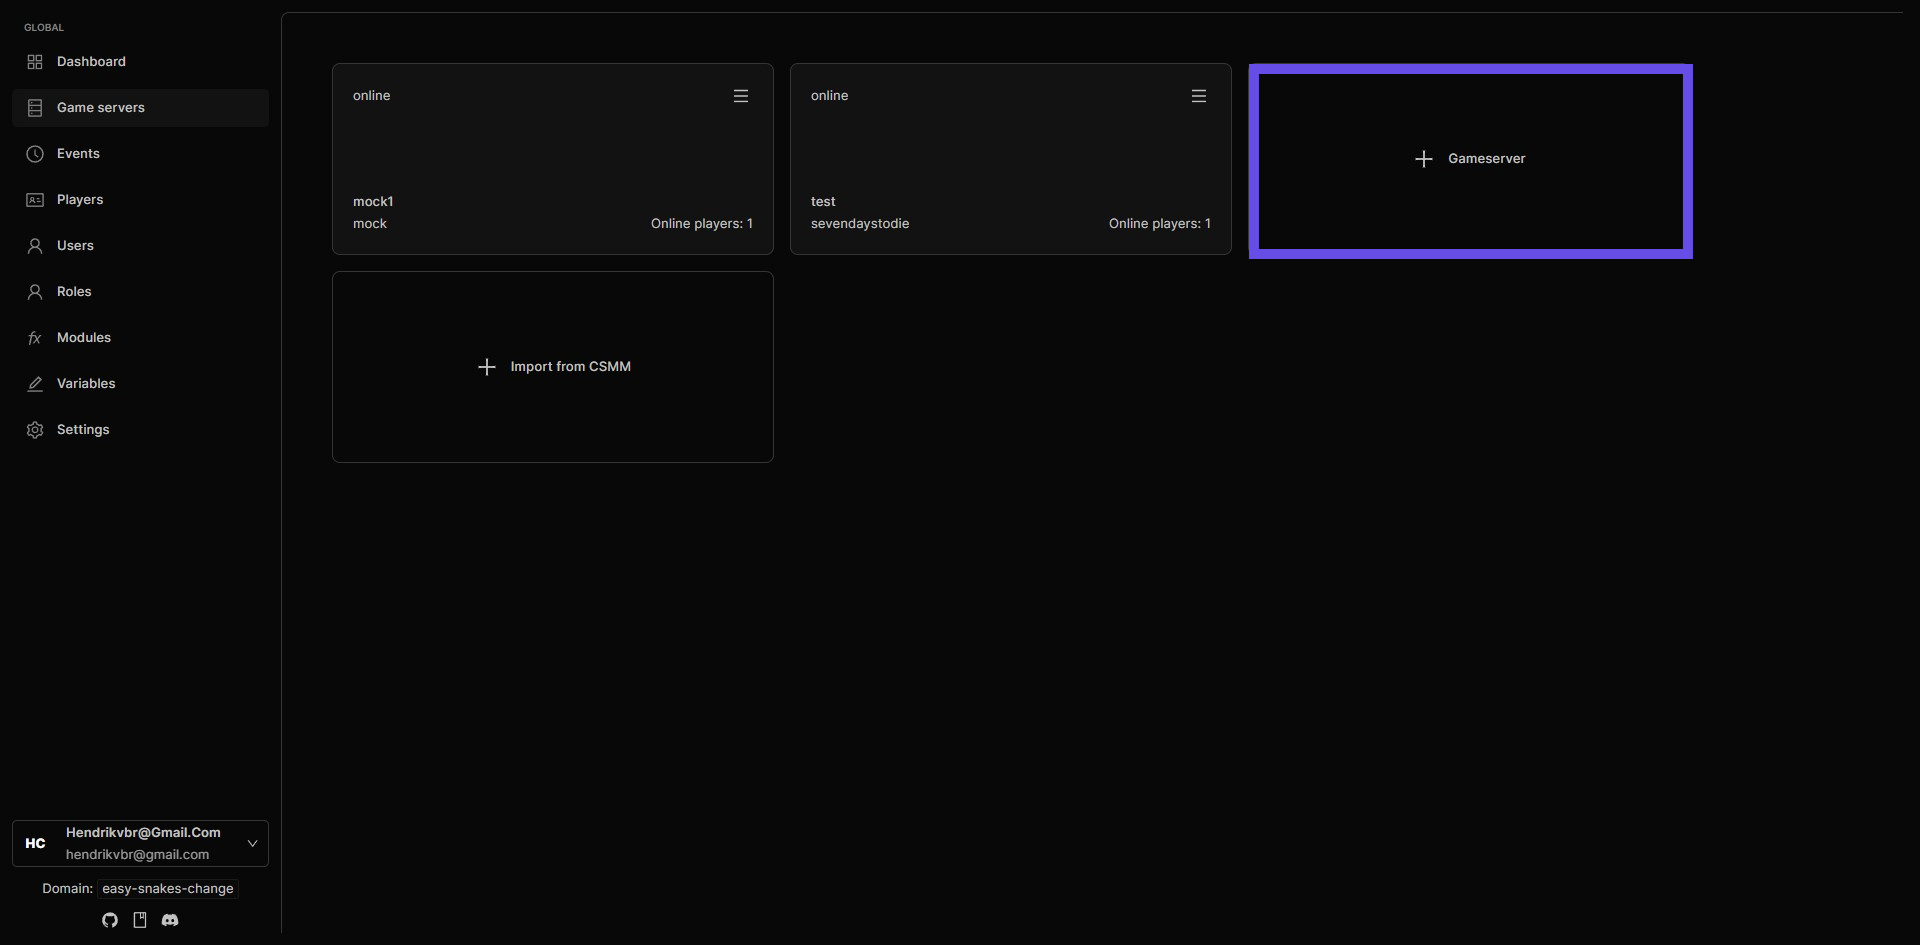
Step 2: Click on the Add Server Button
Press the 'Add Server' button to start the process of adding a new game server to Takaro.
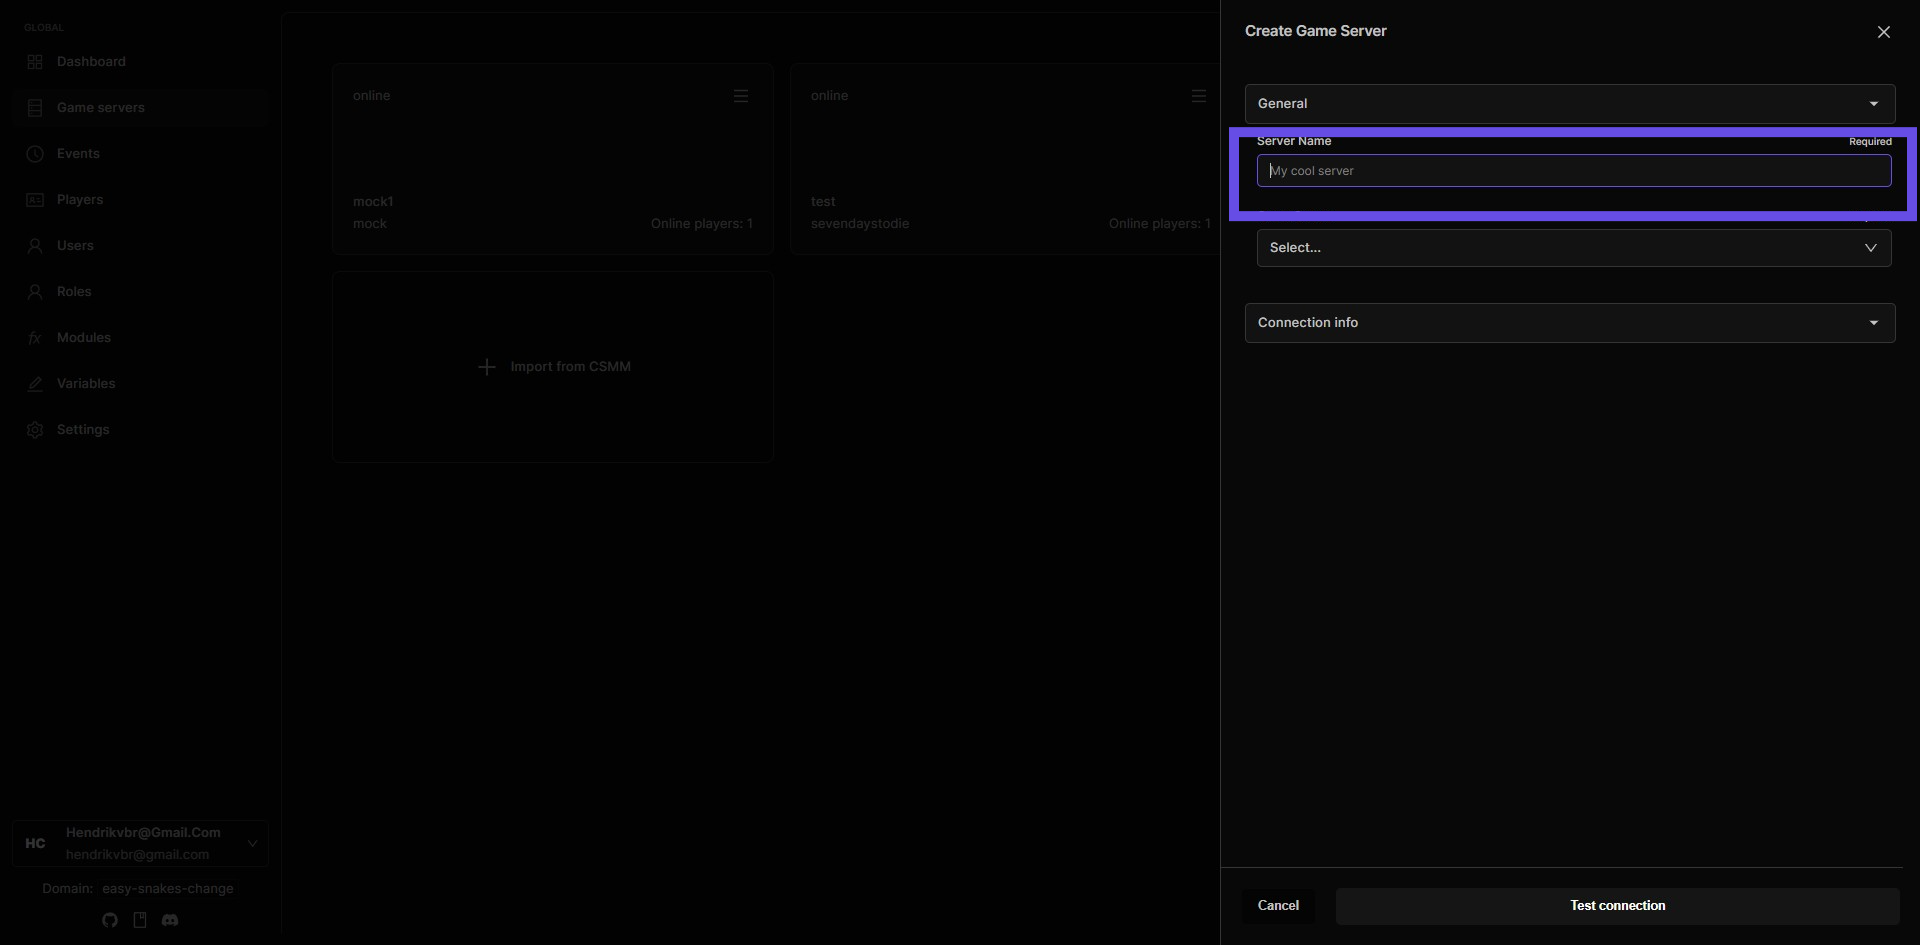
Step 3: Enter Server Name
In the designated field, enter the name you wish to give your 7 Days To Die server.
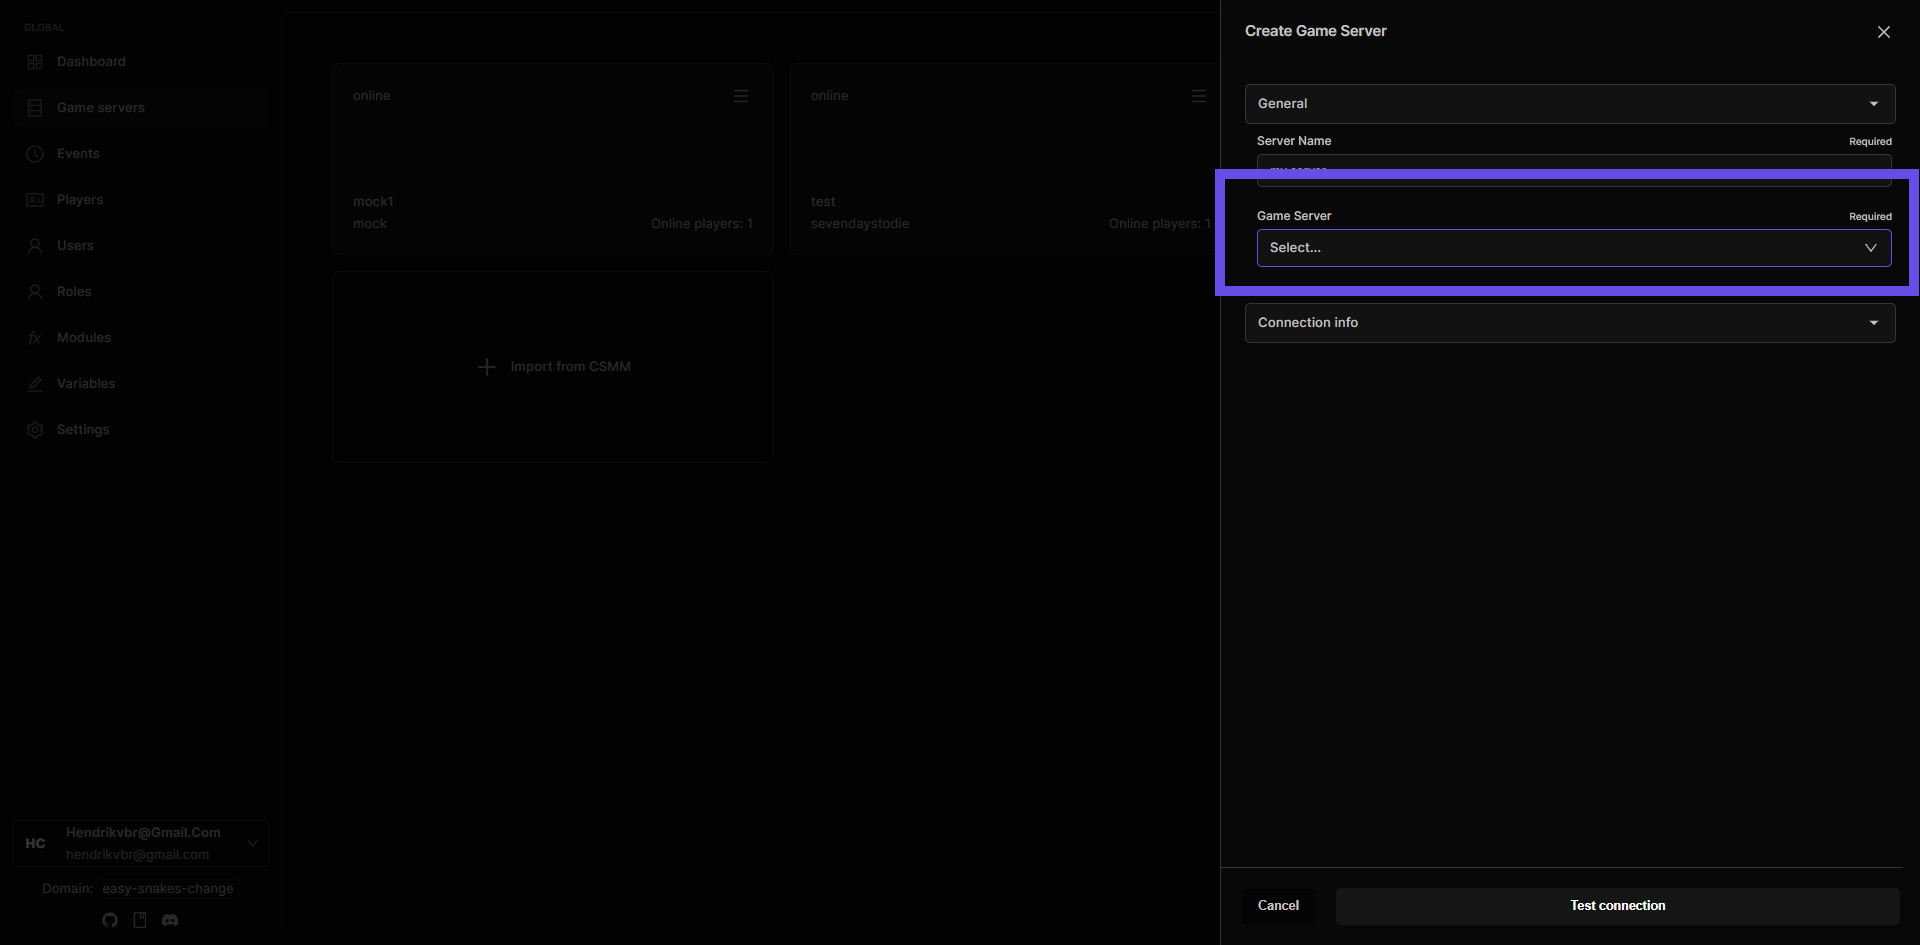
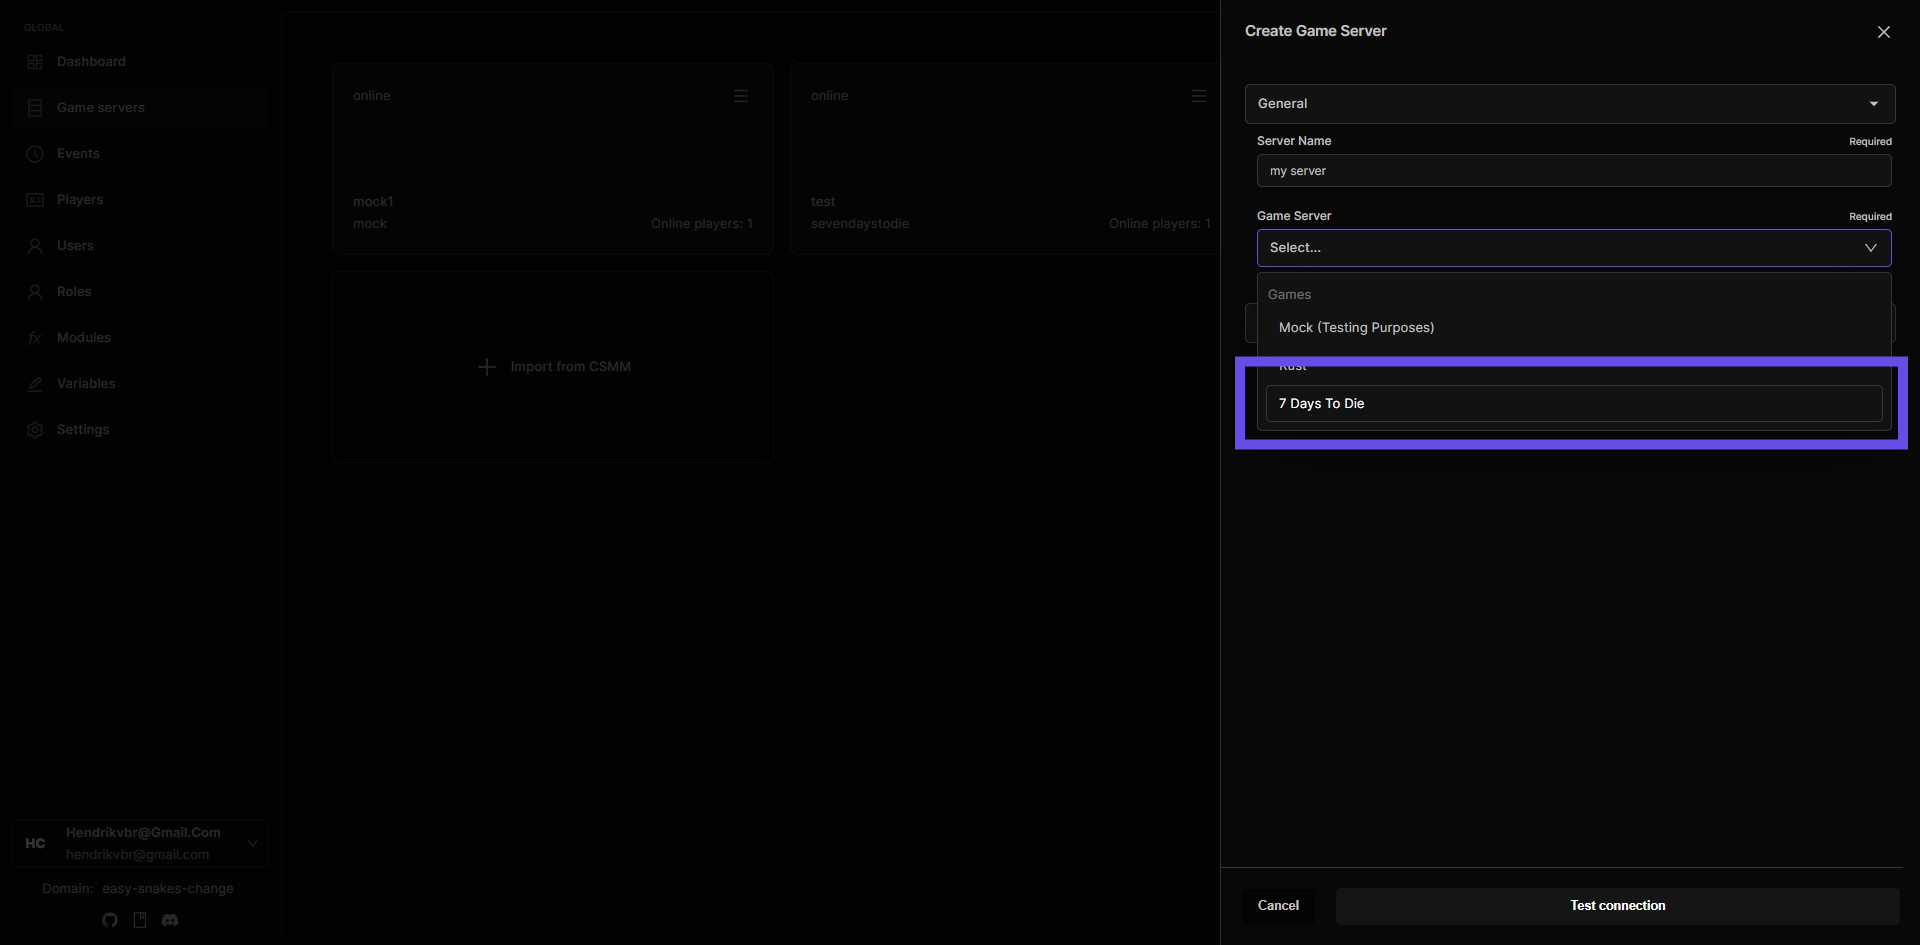
Step 4: Select Game server
Choose the type of server from the available options. Ensure you select '7 Days to Die' from the list. Note that Takaro will be expanding its supported games in the future.
Step 5: Enter Server IP
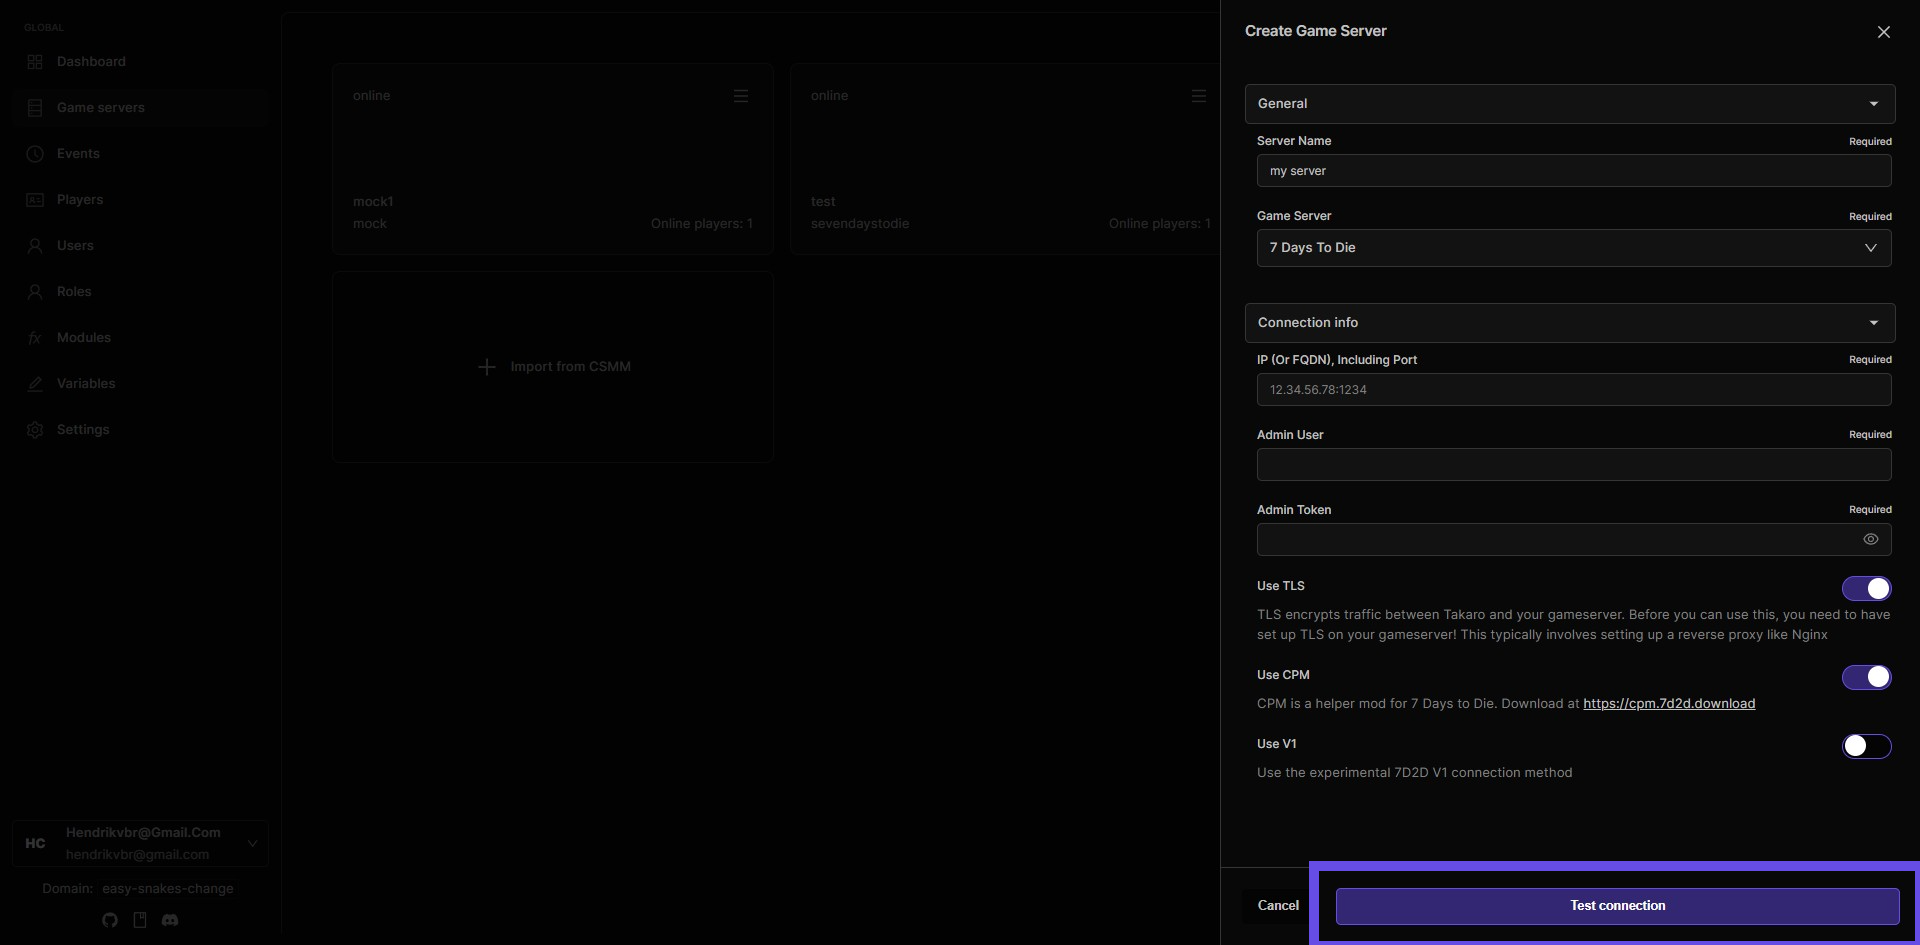
Fill in the server IP address and port number where your 7 Days To Die server is hosted.
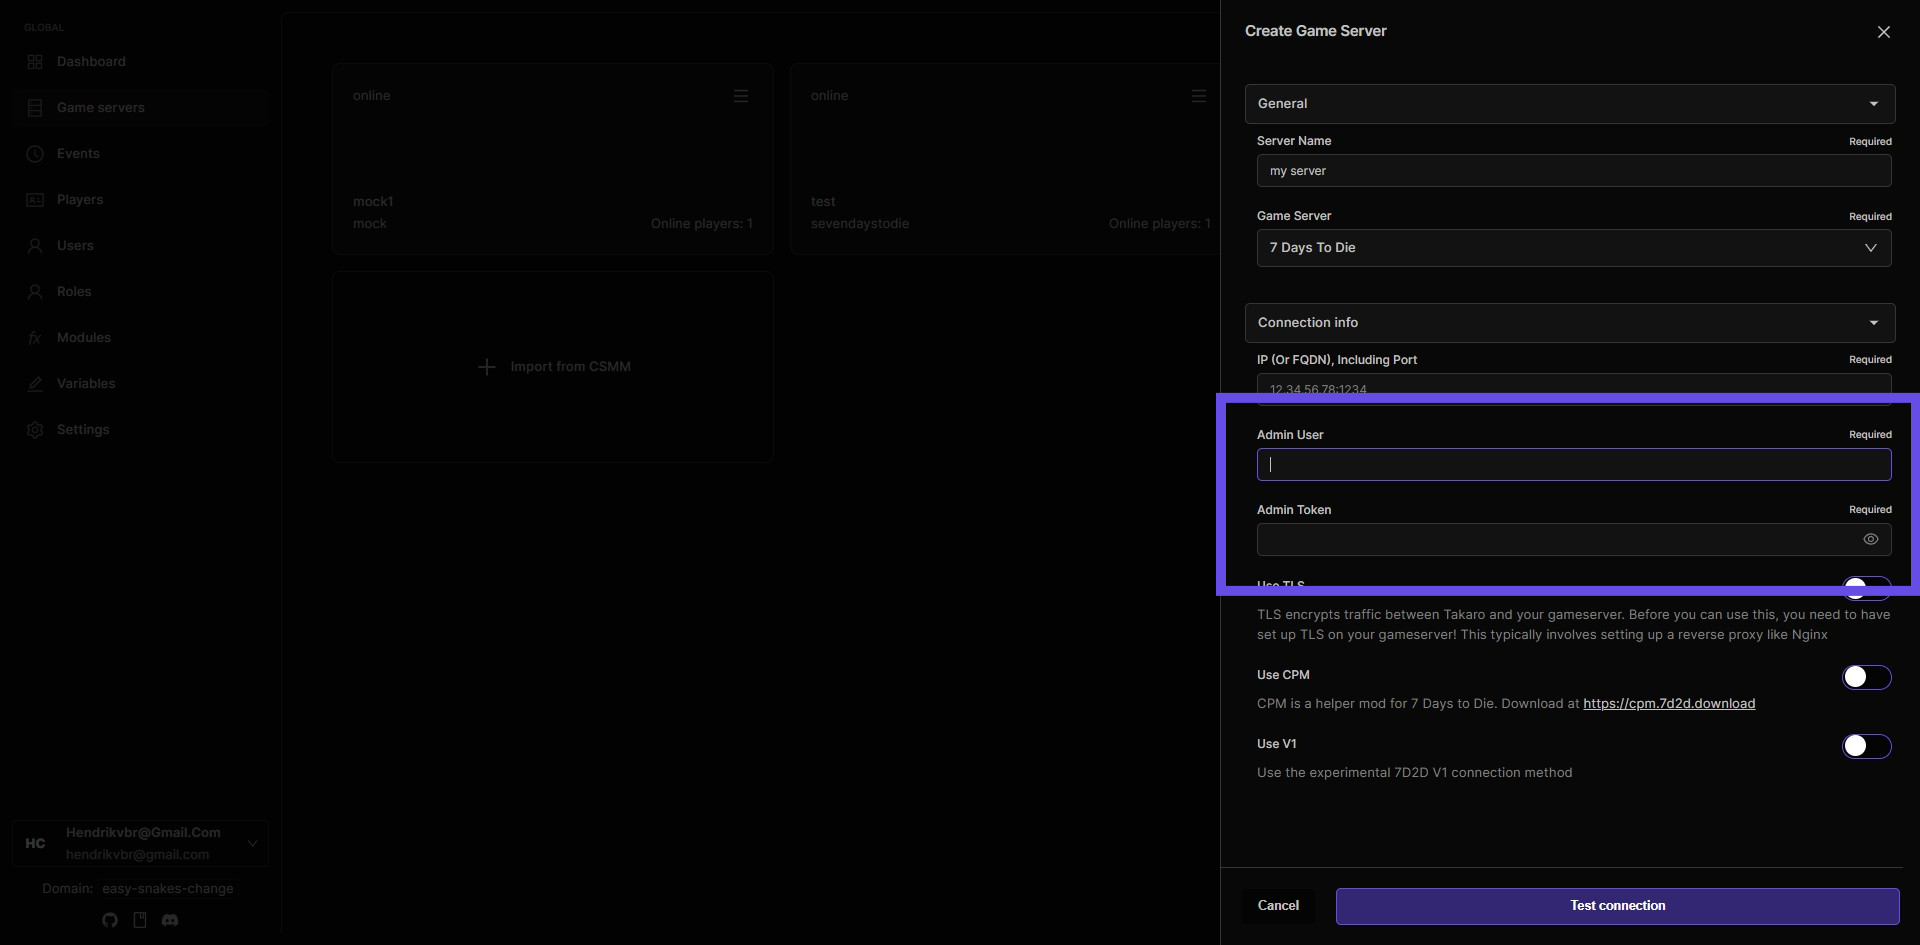
Step 6: Enter Admin user and admin token
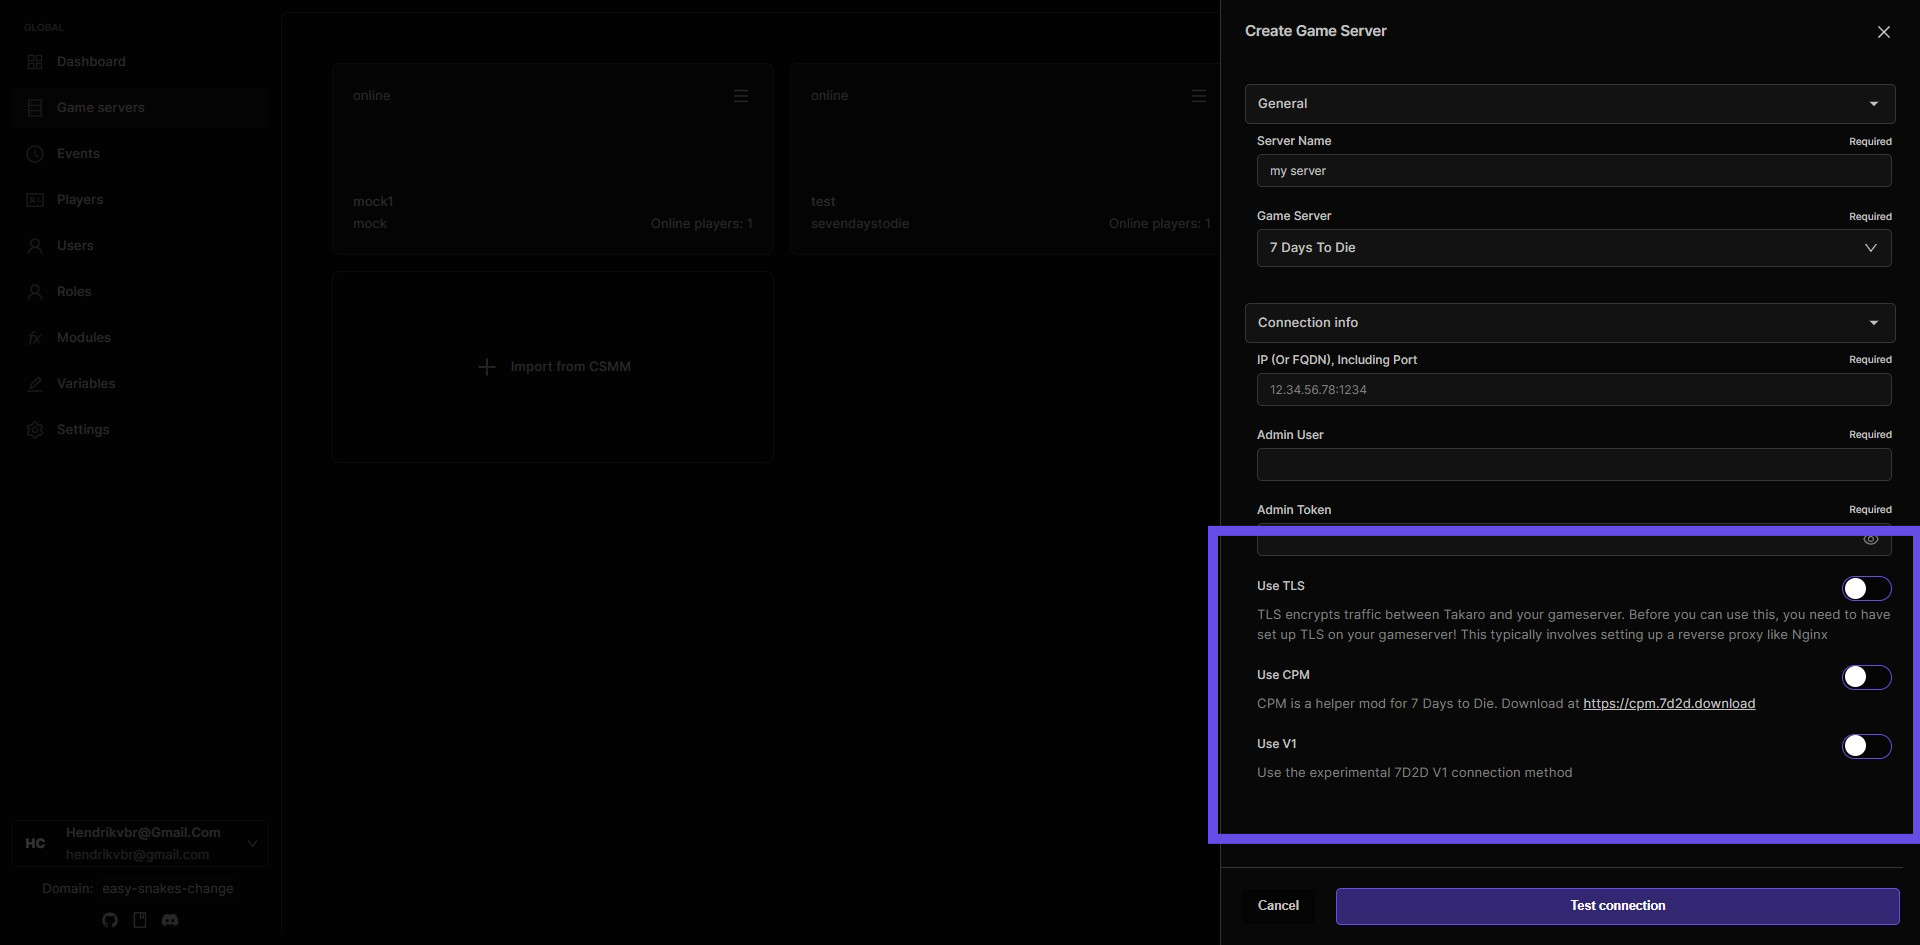
Step 7: Select the right server settings
Check the 'Use TLS' option if you have configured TLS on your game server. TLS ensures encrypted communications.
Enable the 'Use CPM' checkbox if your server is using the CPM mod.
Select the 'Use V1' option if your server is running an experimental version.
Step 8: Click Test connection button
If you have filled in the correct information, your server will be added to Takaro.
