teleports
A set of commands to allow players to set their own teleport points and teleport to them.
Commands
- /teleport - Teleports to one of your set locations.
- /tplist - Lists all your set locations.
- /settp - Sets a location to teleport to.
- /deletetp - Deletes a location.
- /setpublic - Sets a teleport to be public, allowing other players to teleport to it.
- /setprivate - Sets a teleport to be private, only the teleport owner can teleport to it.
- /setwaypoint - Creates a new waypoint.
- /deletewaypoint - Deletes a waypoint.
- /listwaypoints - Lists all waypoints.
- /teleportwaypoint - Placeholder command, this will not be used directly. The module will install aliases for this command corresponding to the waypoint names.
Cron Jobs
- Waypoint reconciler - Temporal Value: */30 * * * *
Config variables
- timeout number - The time one has to wait before teleporting again.
- allowPublicTeleports boolean - Players can create public teleports.
Features
- Personal teleport points
- Public/private teleport management
- Waypoint system
- Configurable cooldowns
- Permission-based access control
Configuration Options
When installing the module, administrators can configure:
- Timeout: The cooldown period between teleports (in seconds)
- Allow Public Teleports: Toggle whether players can create public teleport points
- Command Costs: Set currency costs for teleport commands
Permissions System
Core Permissions
- Use Teleports (
TELEPORTS_USE)- Allows basic teleport functionality
- Can be configured with a count limit
- Required for using
/tpand/tplistcommands
- Create Public Teleports (
TELEPORTS_CREATE_PUBLIC)- Allows creation of public teleport points
- Can be configured with a count limit
- Required for
/setpubliccommand
- Manage Waypoints (
TELEPORTS_MANAGE_WAYPOINTS)- Administrative permission for waypoint management
- Required for
/setwaypointand/deletewaypointcommands - No count limit applicable
Setting Up Role Permissions
Basic Player Access
- Edit the default "Player" role
- Enable "Use Teleports" permission
- Set maximum number of teleports (recommended: 3-5)
- Save changes
VIP/Donor Setup
- Create a new role (e.g., "VIP")
- Enable both "Use Teleports" and "Create Public Teleports"
- Set higher teleport limits (recommended: 10-15)
- Assign to VIP players
Admin Configuration
- Edit admin role or create dedicated teleport admin role
- Enable all teleport permissions
- Enable "Manage Waypoints" permission
- No need to set count limits
Command examples
| Command | Description | Example |
|---|---|---|
/tp <location> | Teleport to a saved location | /tp home |
/tplist | List all available teleport points | /tplist |
/settp <name> | Create a new teleport point | /settp base |
/deletetp <name> | Remove a teleport point | /deletetp base |
/setpublic <name> | Make a teleport point public | /setpublic shop |
/setprivate <name> | Make a teleport point private | /setprivate base |
/setwaypoint <name> | Create a waypoint (admin only) | /setwaypoint spawn |
/deletewaypoint <name> | Delete a waypoint (admin only) | /deletewaypoint spawn |
/waypoints | List all available waypoints | /waypoints |
Best Practices
- Permission Hierarchy
- Start with basic permissions for all players
- Add additional capabilities for trusted/VIP players
- Reserve waypoint management for administrators
- Teleport Limits
- Set reasonable limits based on server size
- Consider increasing limits for loyal players
- Monitor usage patterns and adjust as needed
- Public Teleports
- Consider restricting public teleport creation to trusted players
- Monitor public teleport locations for abuse
- Use waypoints for essential server locations
Troubleshooting
- If players cannot teleport, check their permission setup
- Verify timeout settings if teleports seem unresponsive
- Check currency requirements if teleports fail
- Ensure waypoint permissions are properly configured for administrators
Security Considerations
- Regularly review public teleport locations
- Monitor for teleport abuse or exploitation
- Consider implementing stricter timeout periods in PvP areas
- Use waypoints instead of public teleports for crucial locations like traders
How to add teleports module to your game server
This guide walks you through the process of integrating the Teleports module into your game servers. You'll learn how to set up teleport permissions for different player roles, create custom teleport roles for enhanced privileges, and manage teleport-related features effectively.
step-by-step guide to install the module to your game server
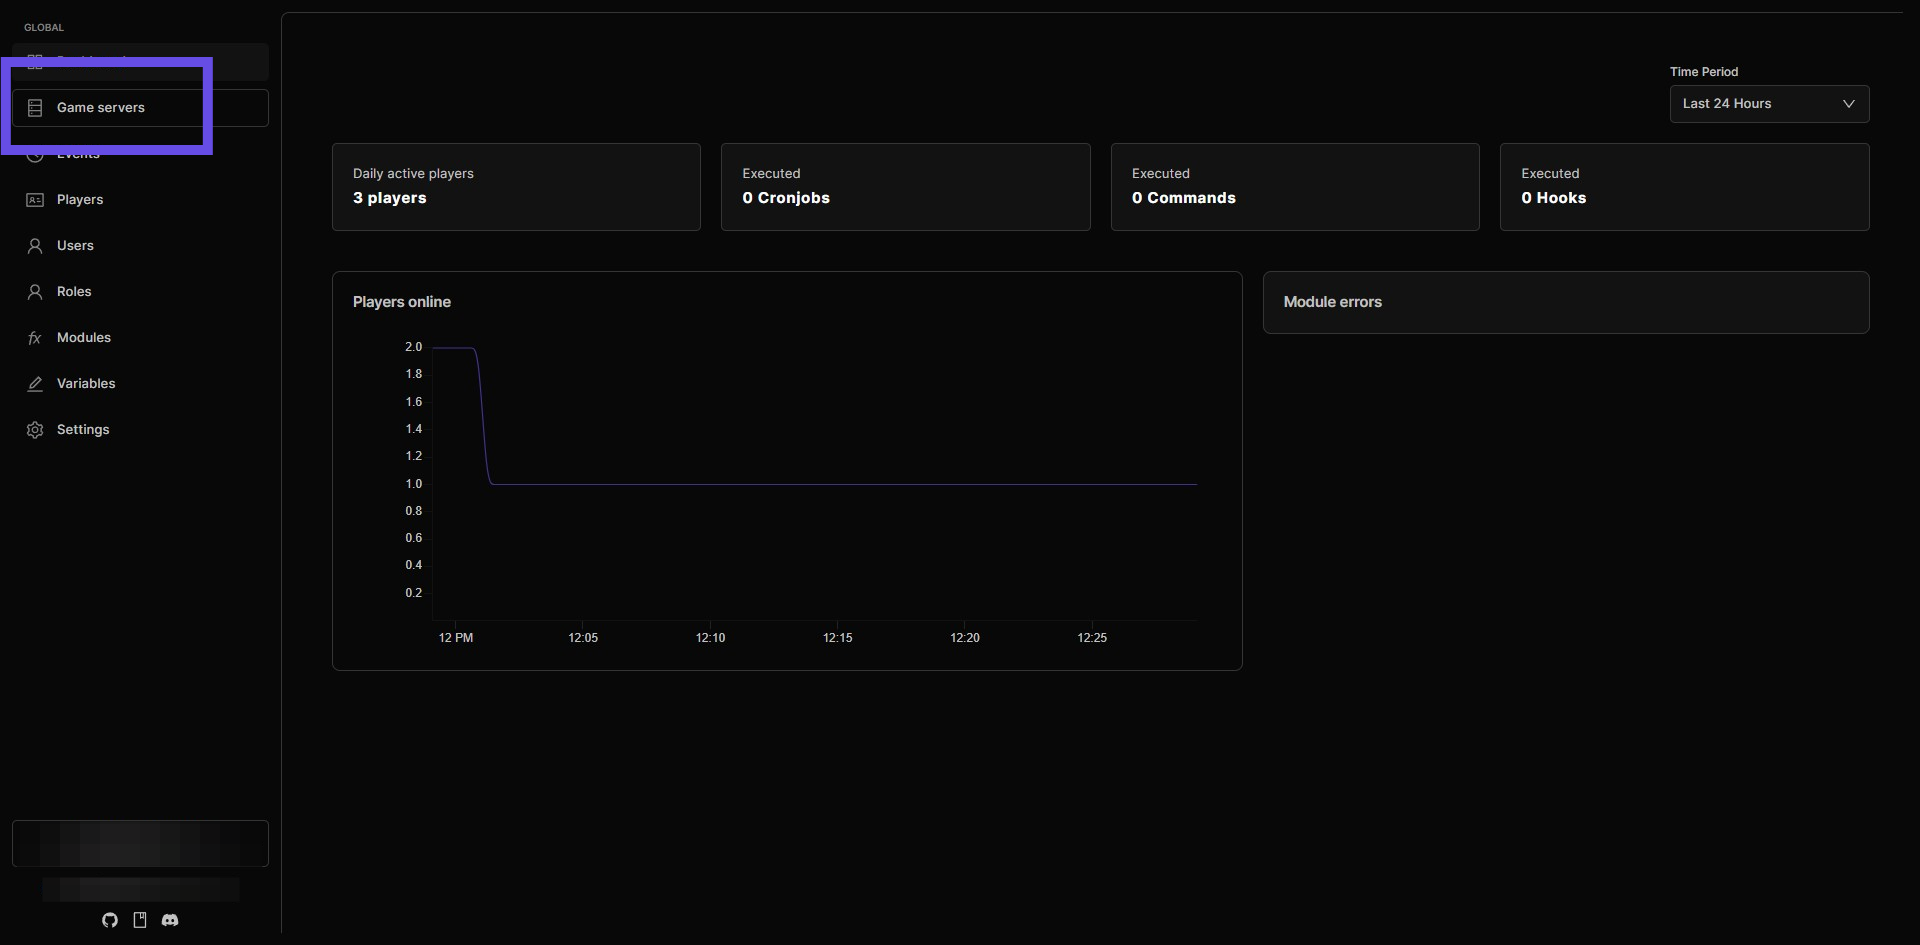
Step 1: Navigate to game servers
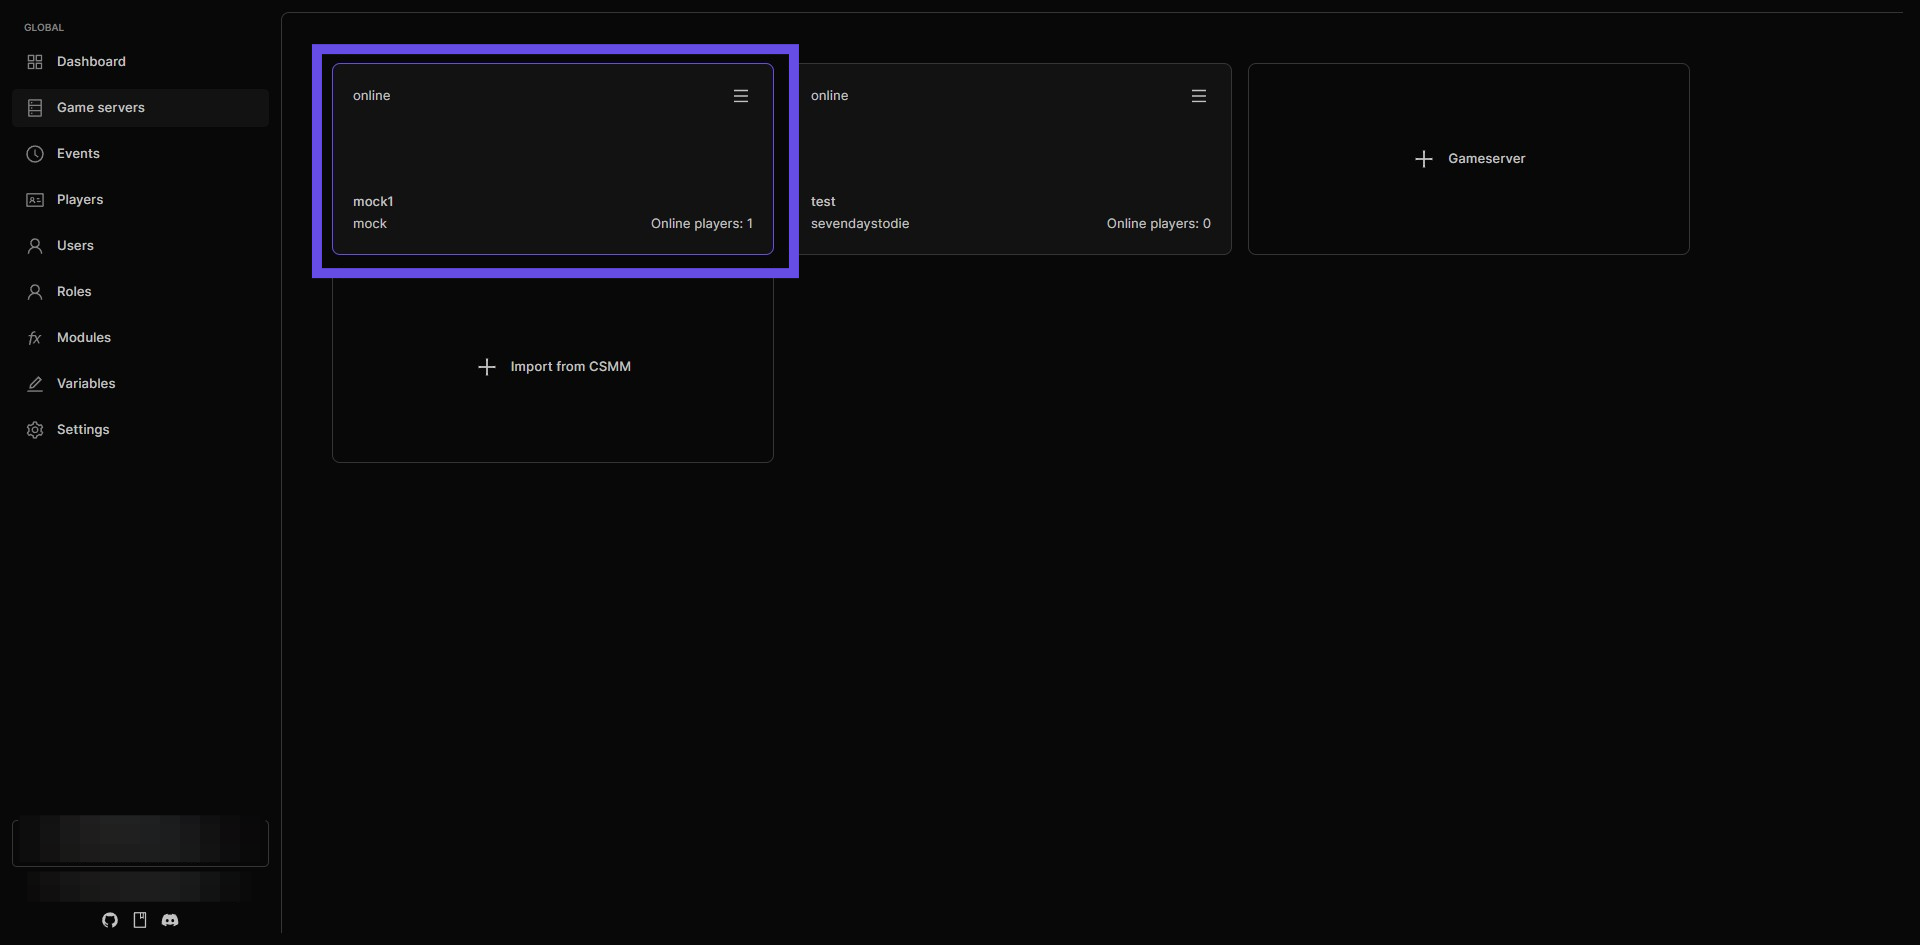
Step 2: Select the game server you want the module to be installed on
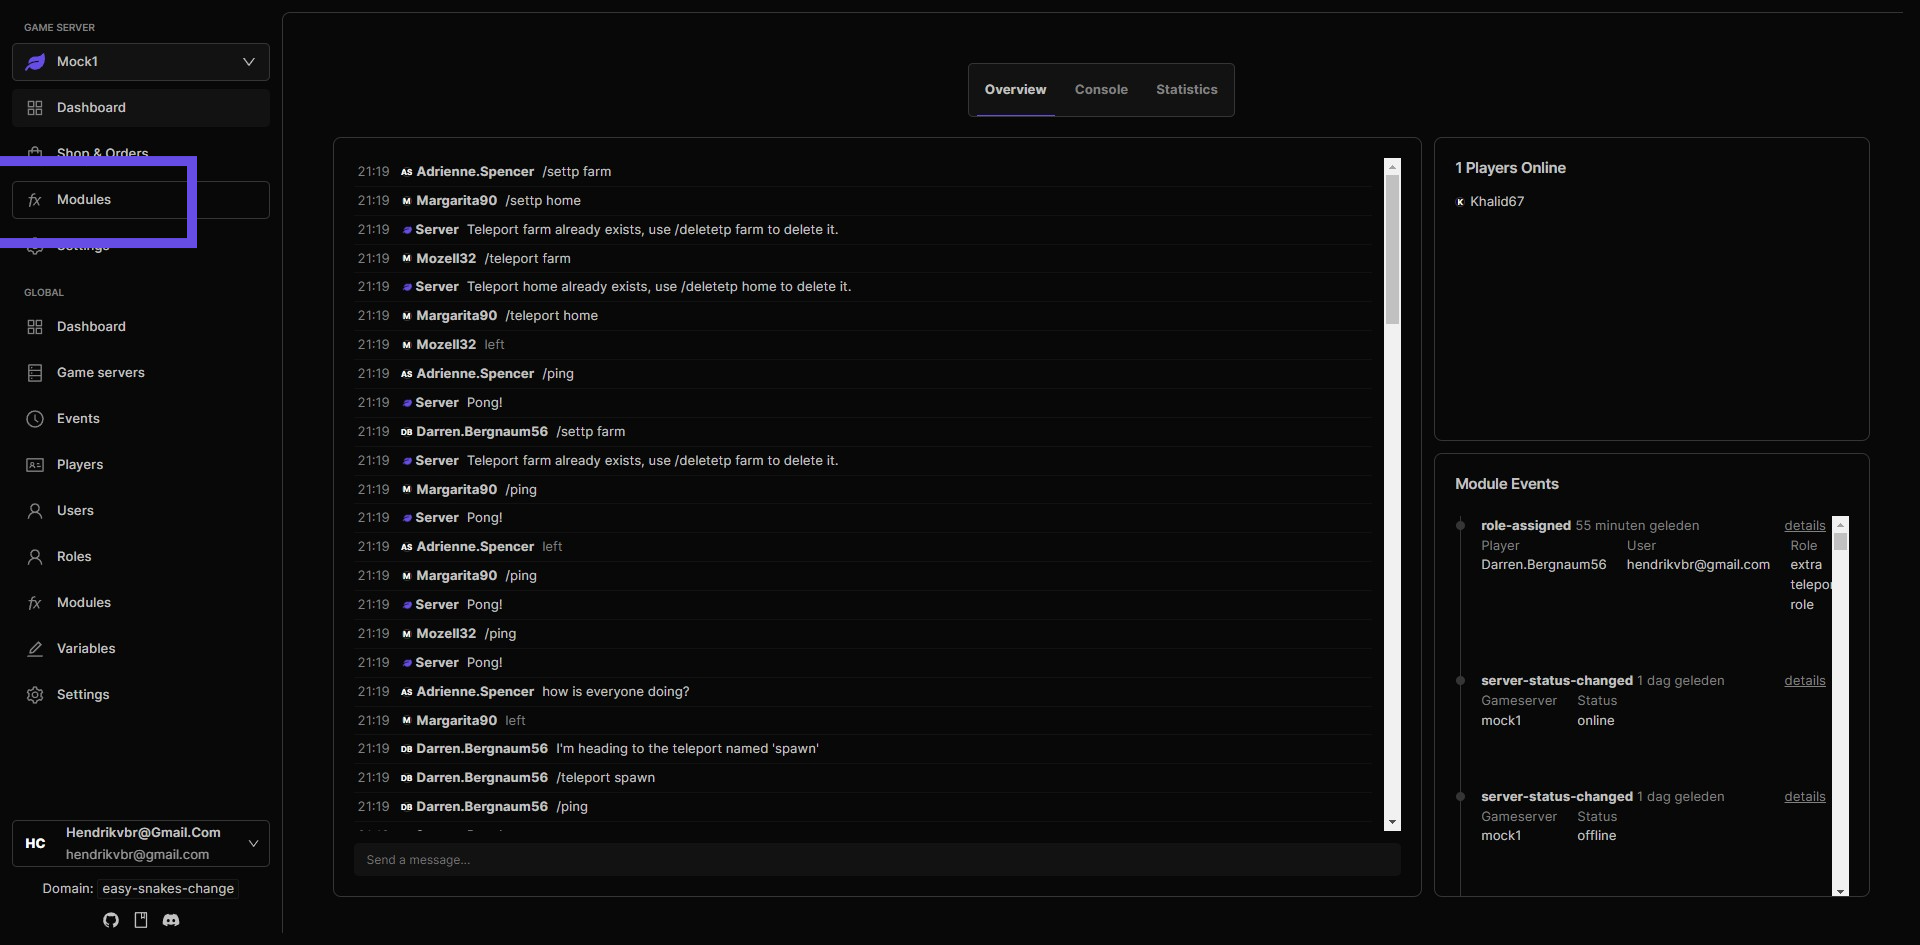
Step 3: Navigate to Modules of the selected game server
Step 4: Click the install button
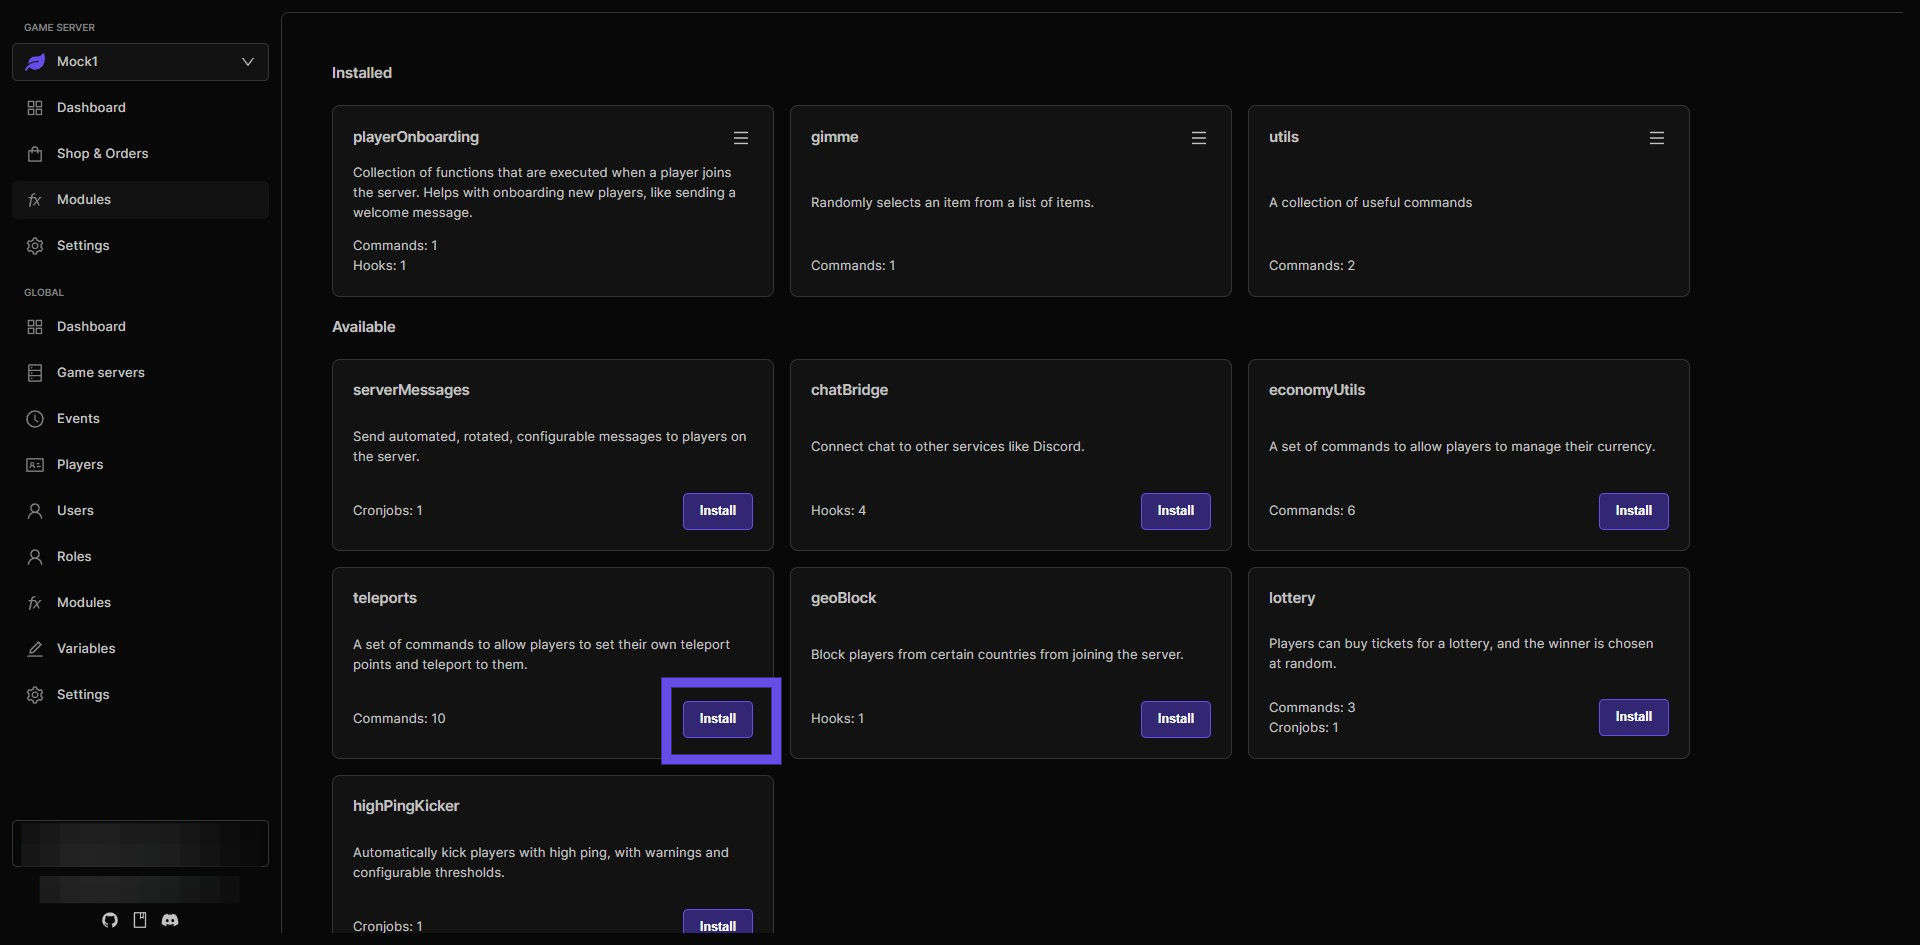
Step 5: This opens the module config
You will see a list of settings that you can configure. You will also find the list of commands that are part of this module. $tplist - Lists all your set locations.
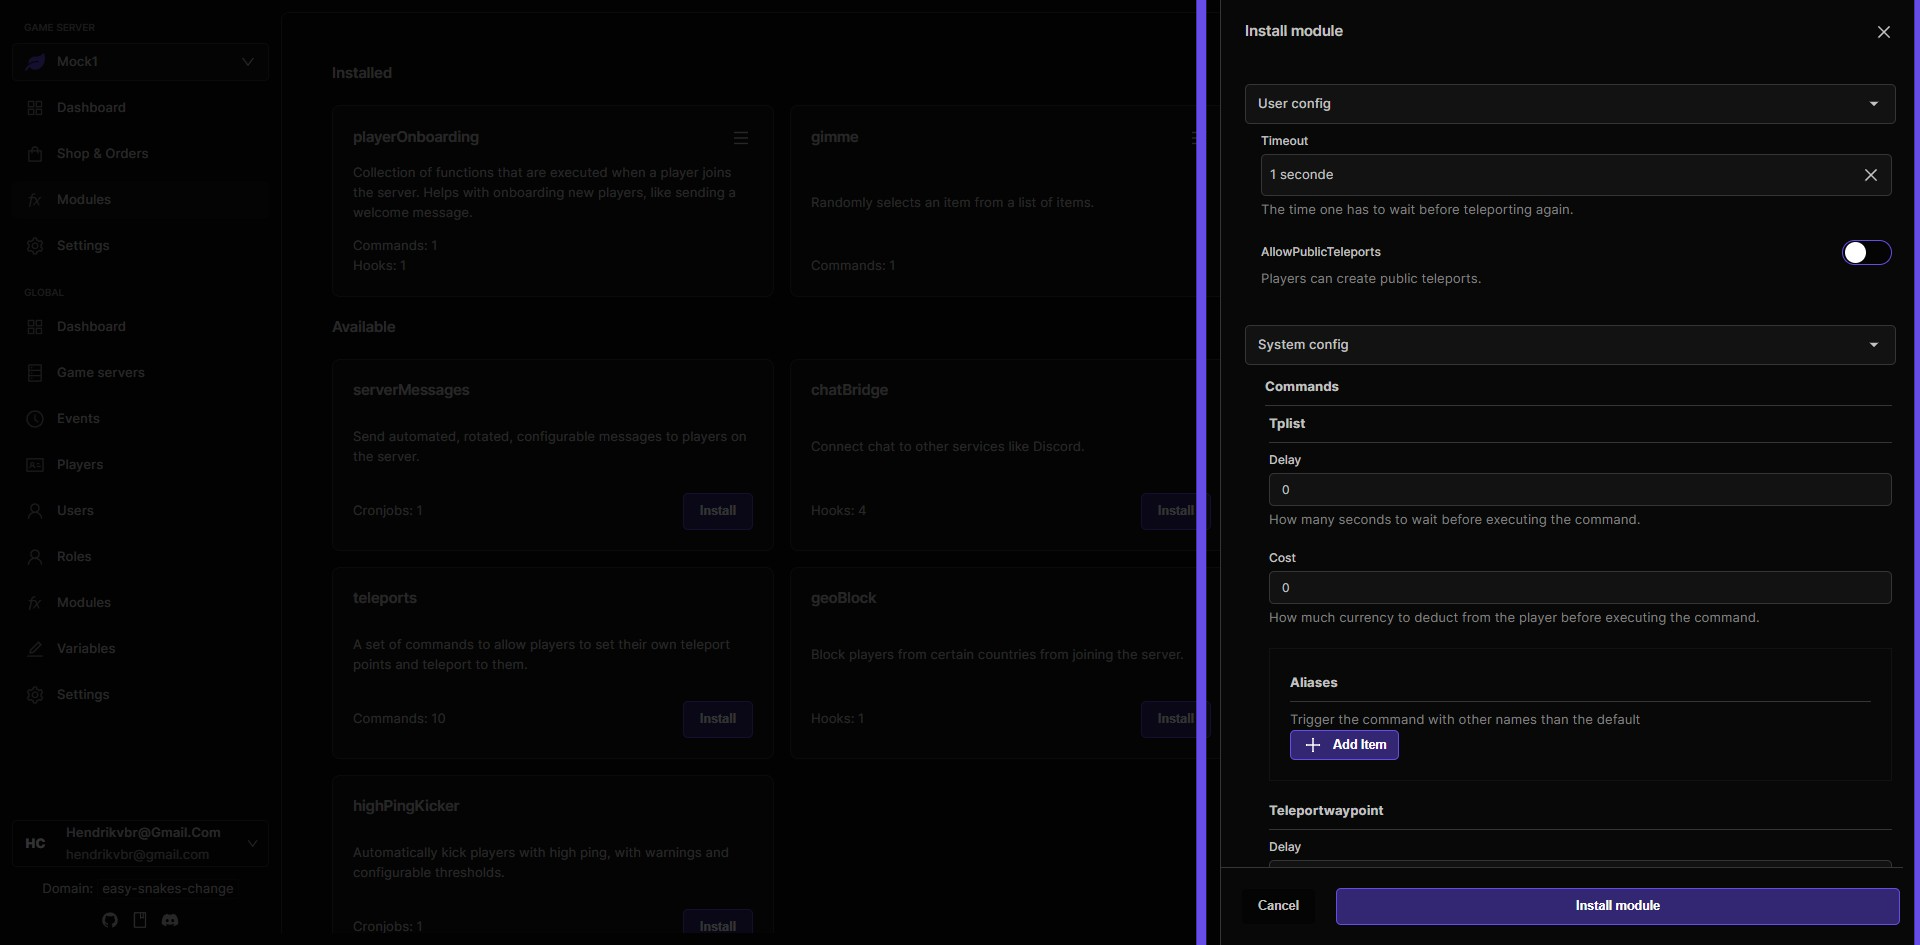
Step 6: $teleportwaypoint command
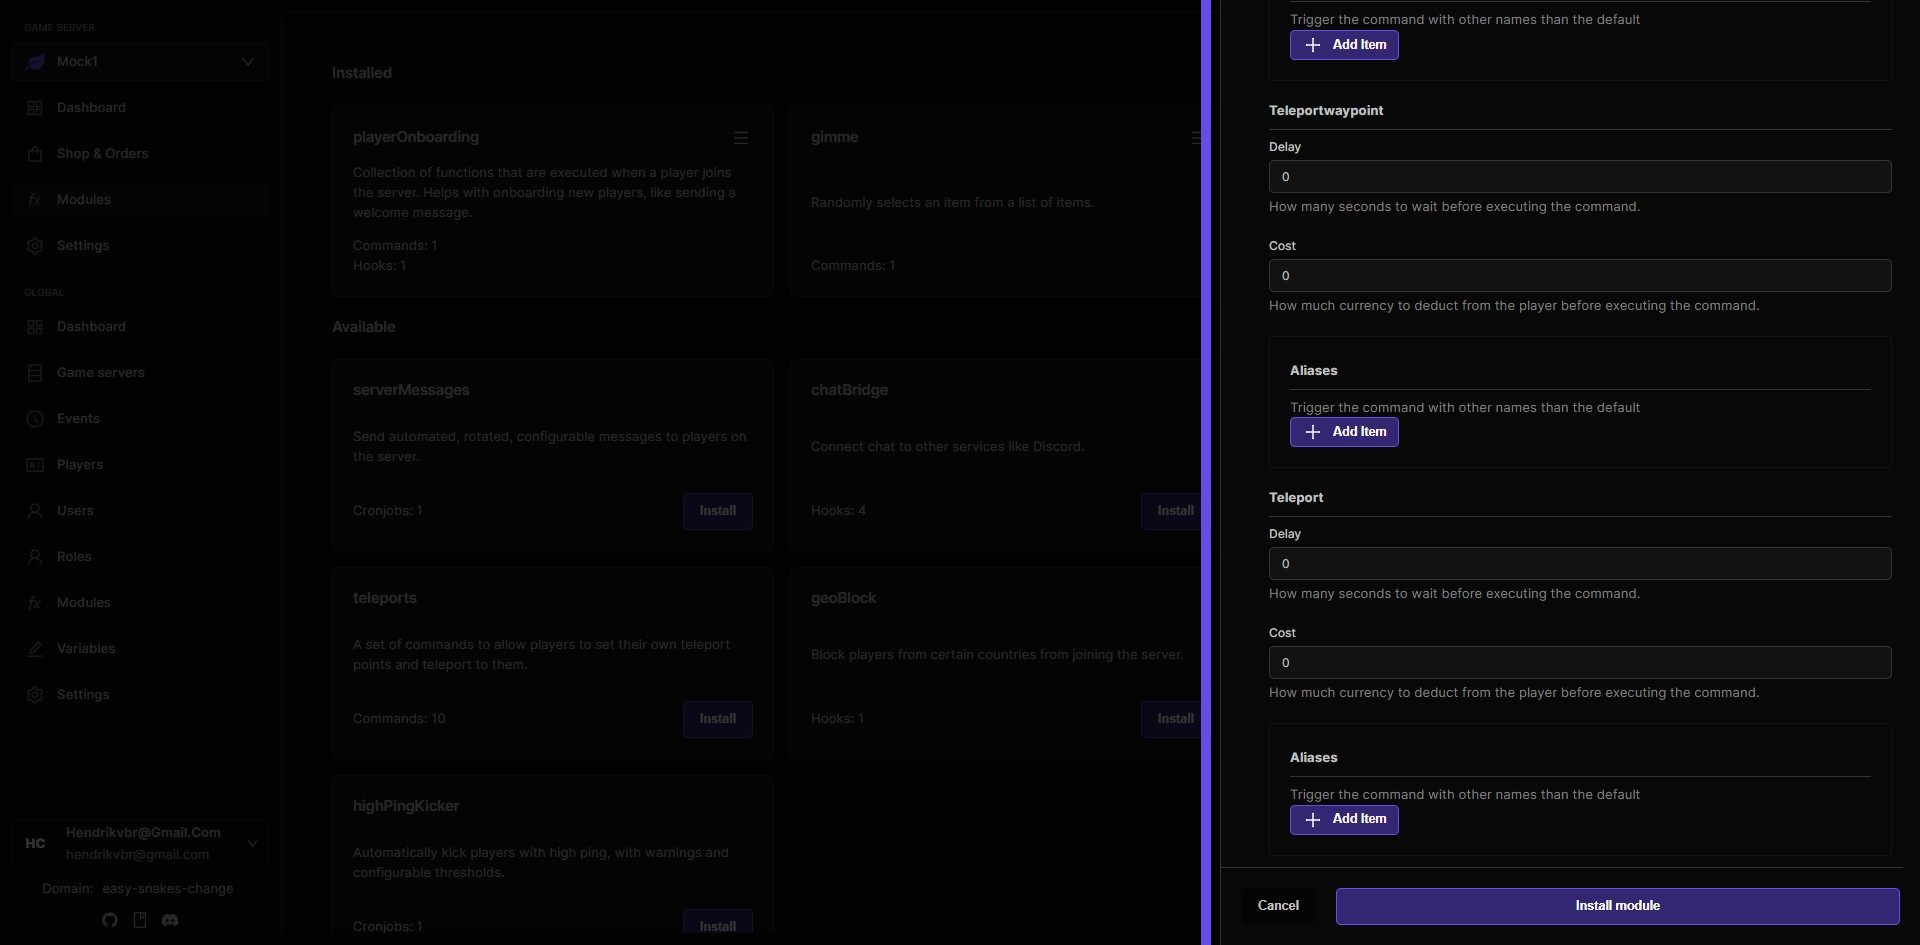
The module will install aliases for this command corresponding to the waypoint names. The $teleportwaypoint command is a base command that won't be used directly. Instead, the module will create custom commands for each waypoint name you set up. This allows players to teleport to specific locations easily.
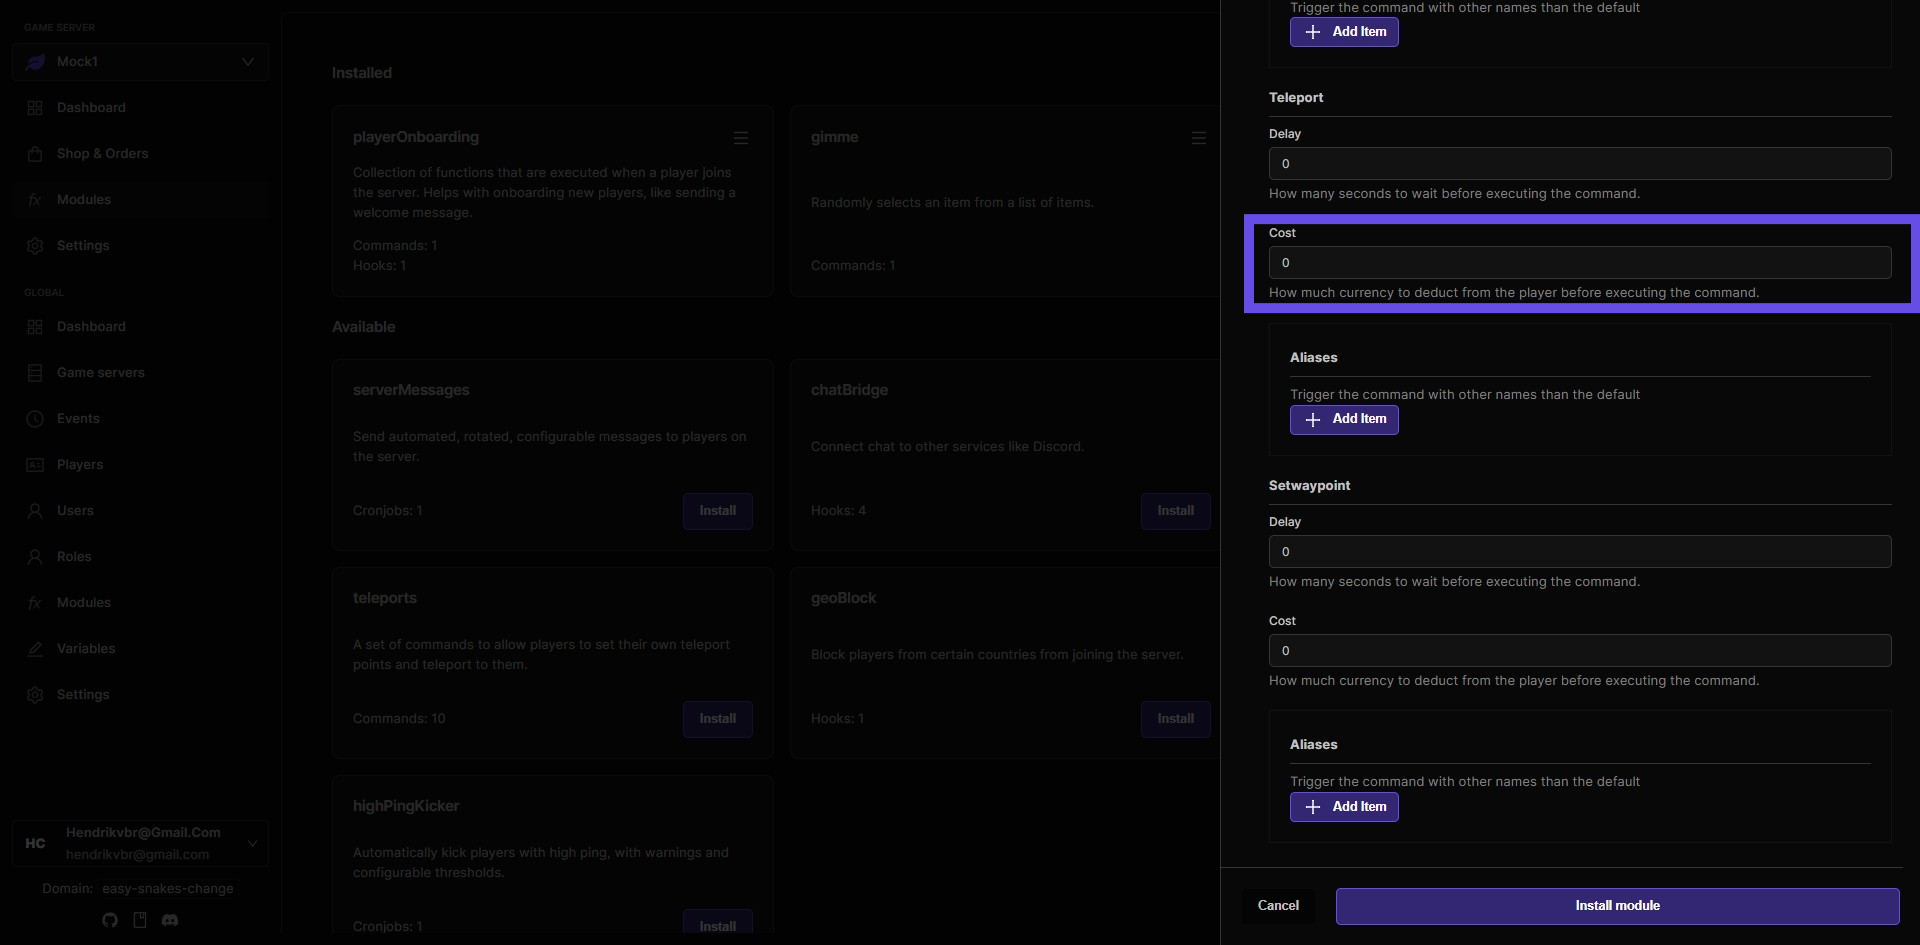
Step 7: Select the amount of currency one teleport command costs
$teleport command teleports you to one of your set locations.
Step 8: $setwaypoint creates a new waypoint
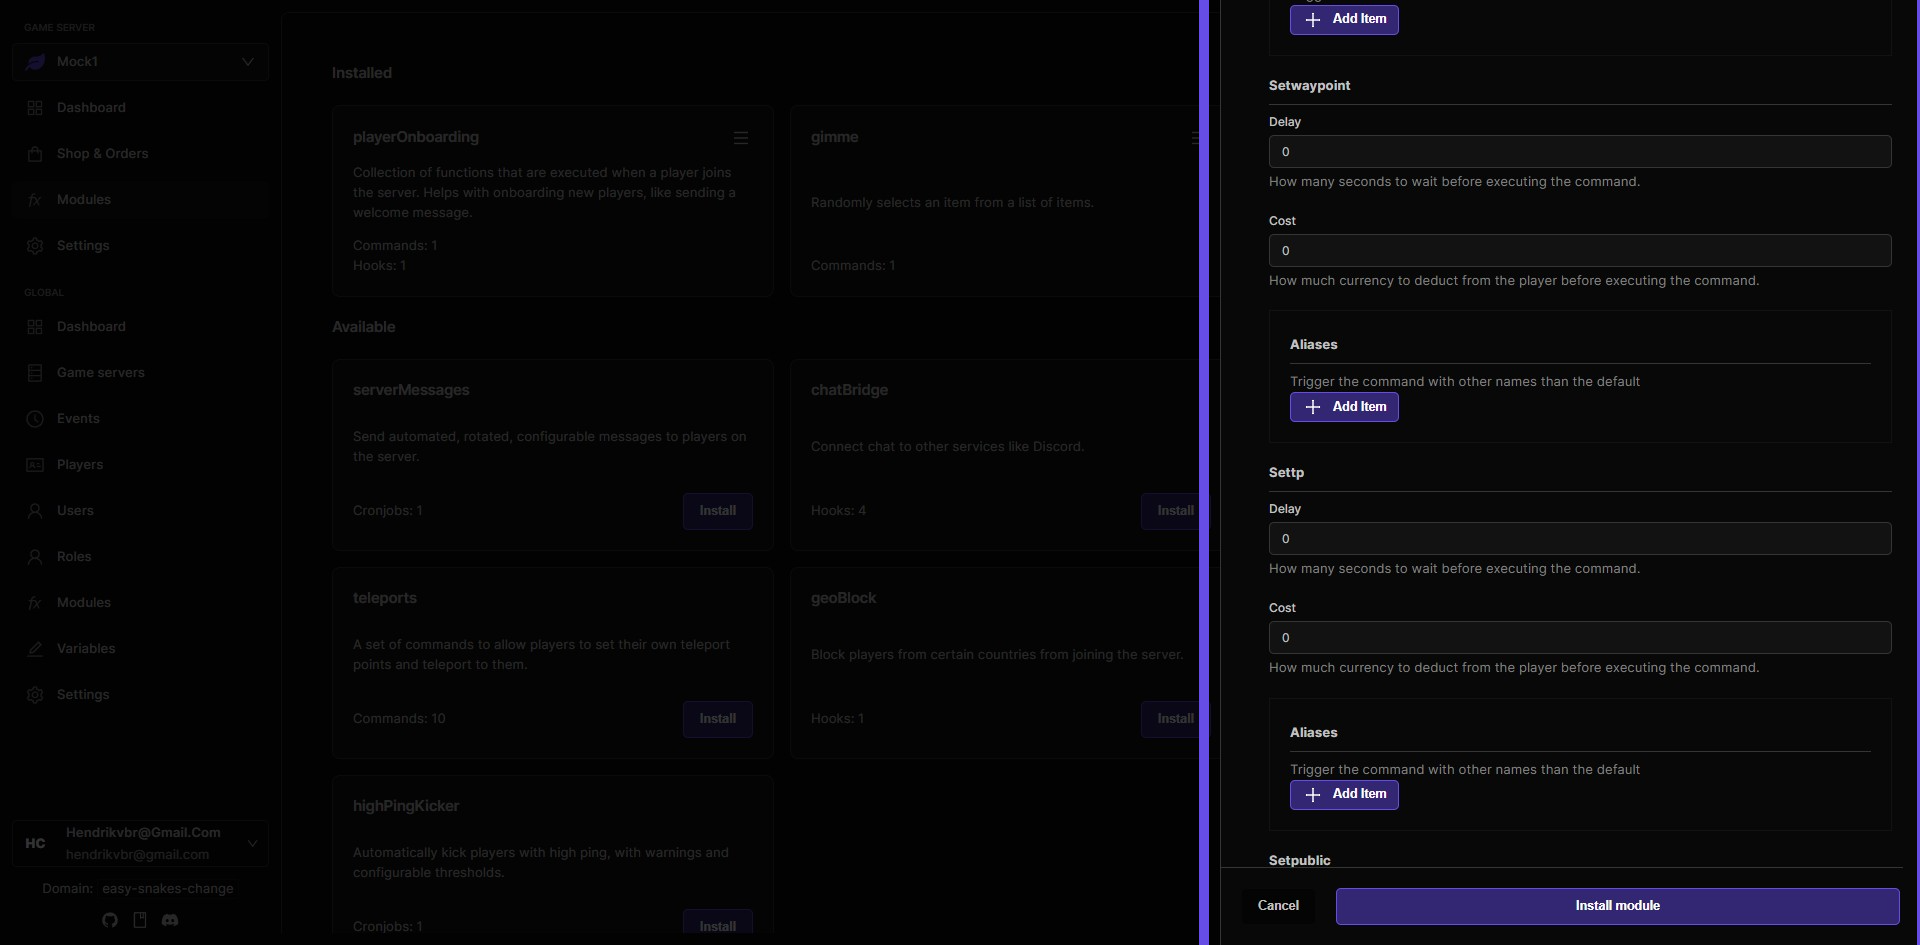
Step 9: $settp sets a location to teleport to
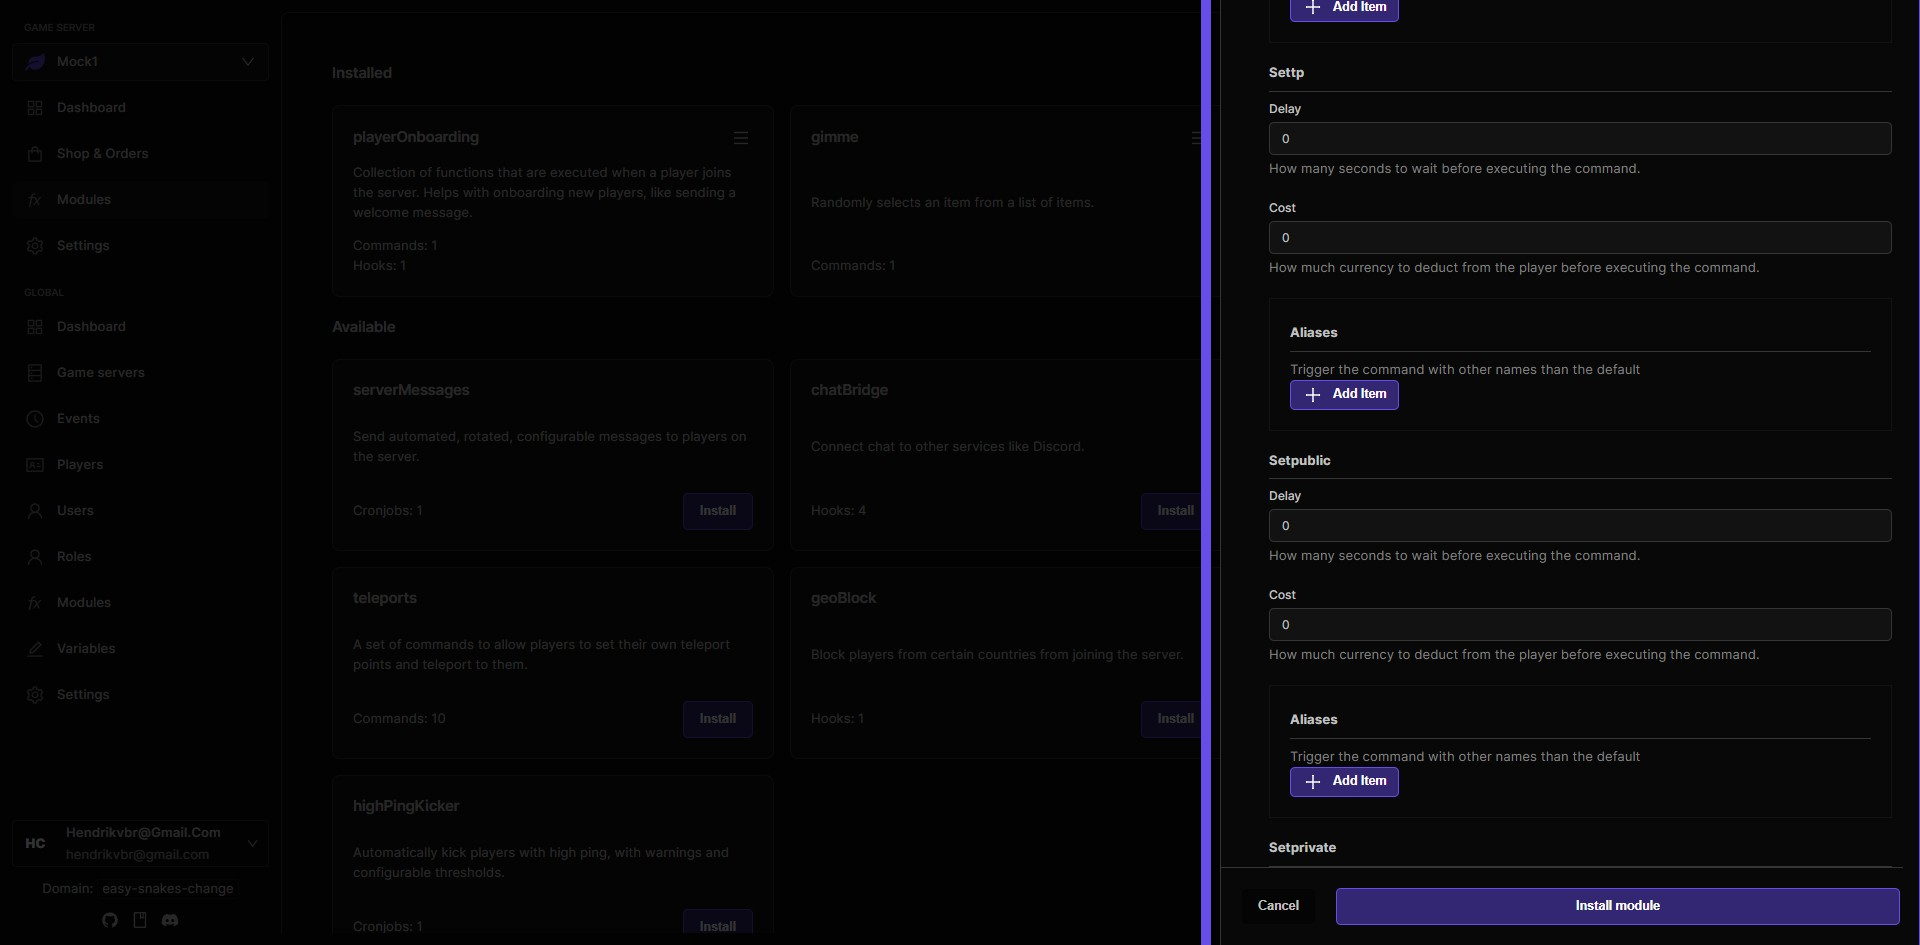
Step 10: $setpublic sets a teleport to be public, allowing other players to teleport to it
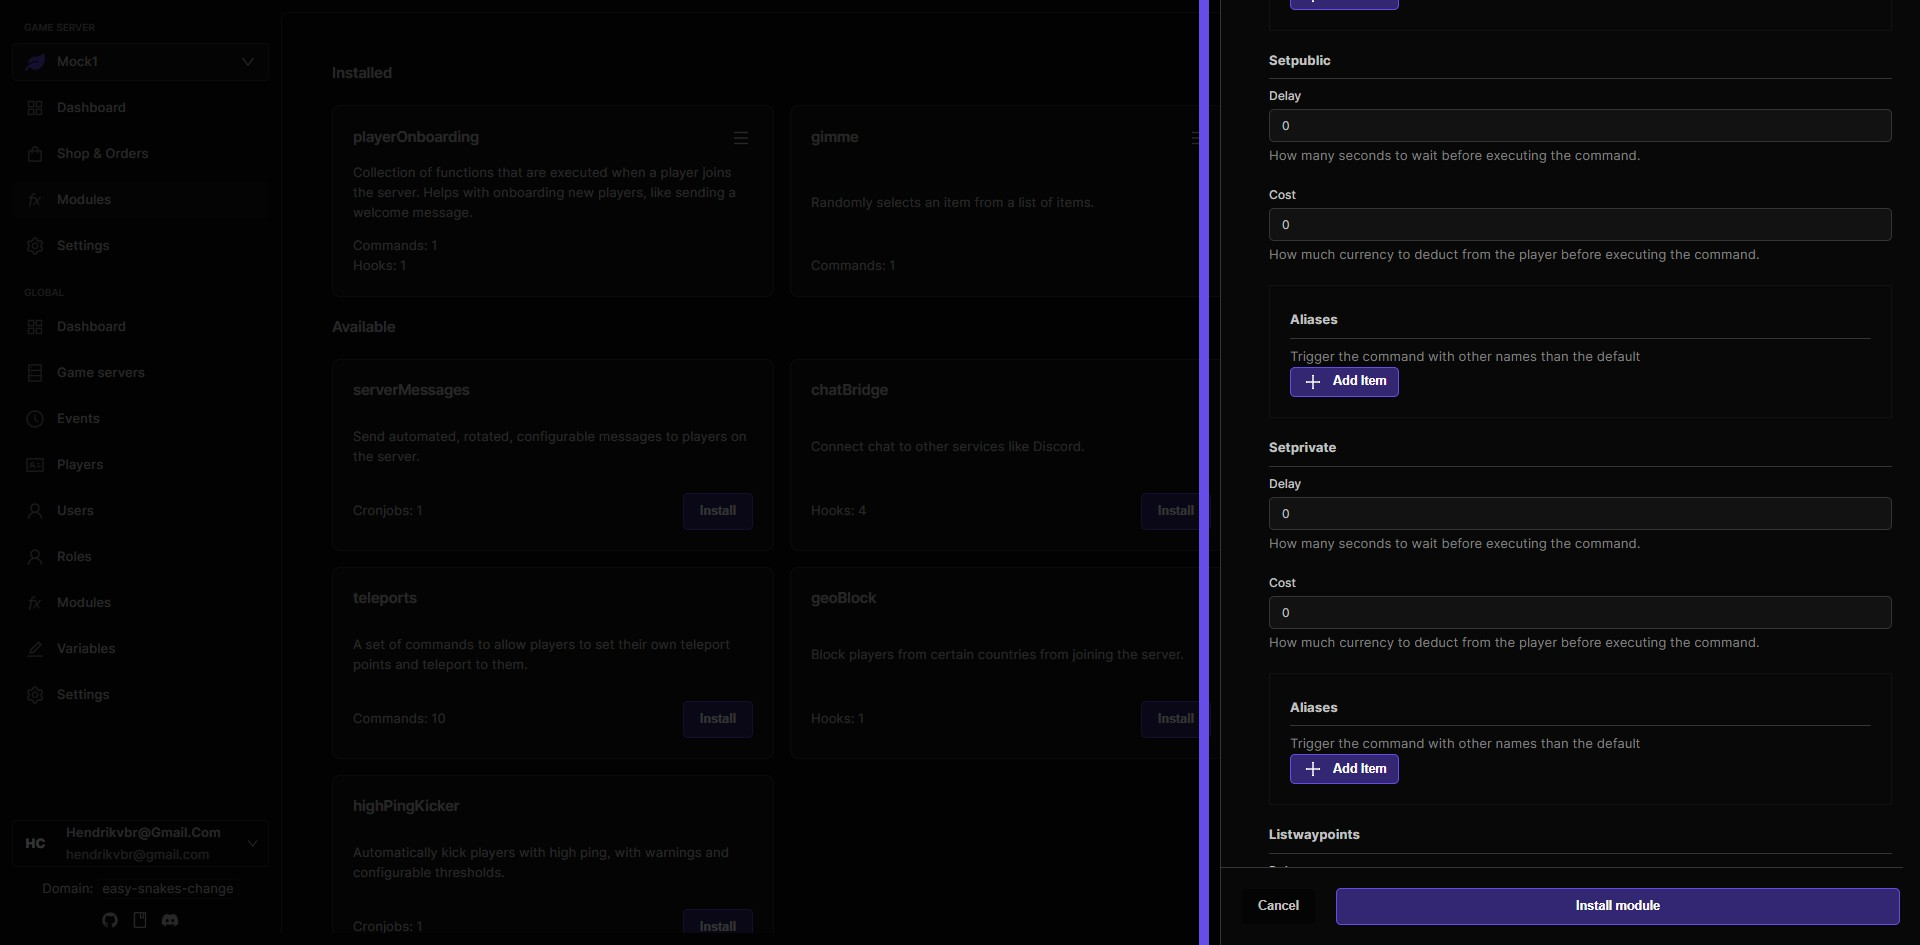
Step 11: $setprivate sets a teleport to be private, only the teleport owner can teleport to it
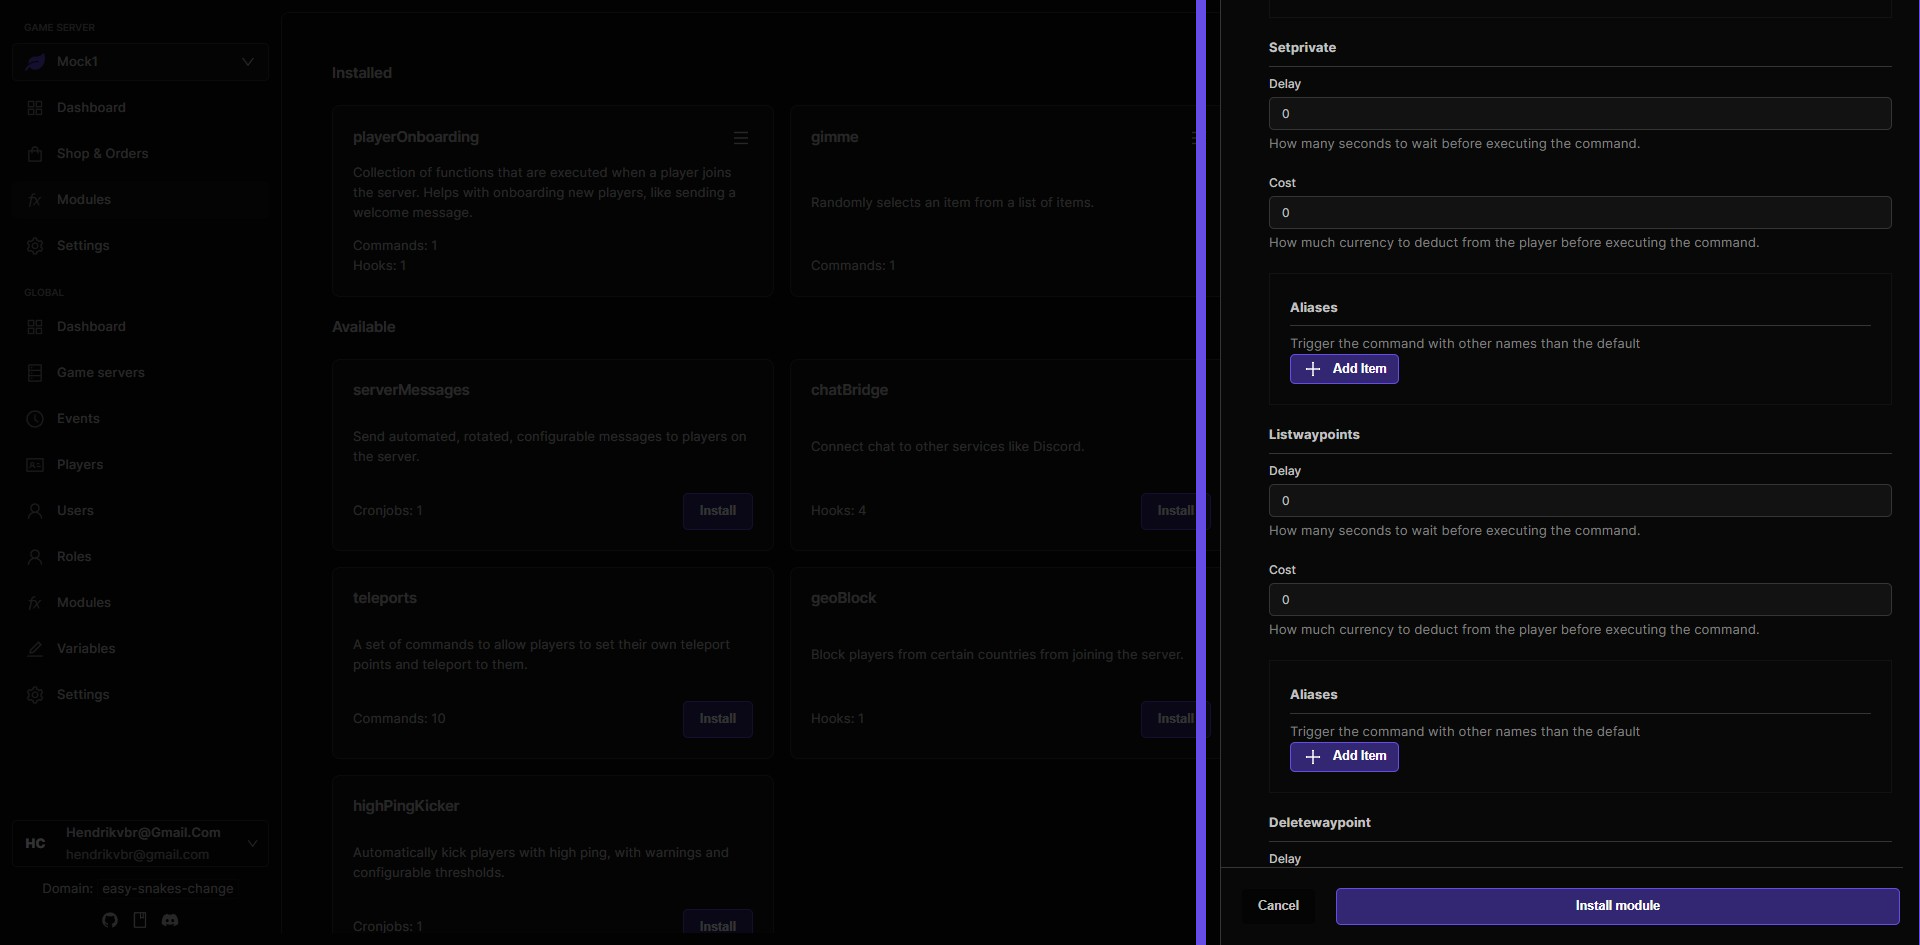
Step 12: $listwaypoints lists all waypoints
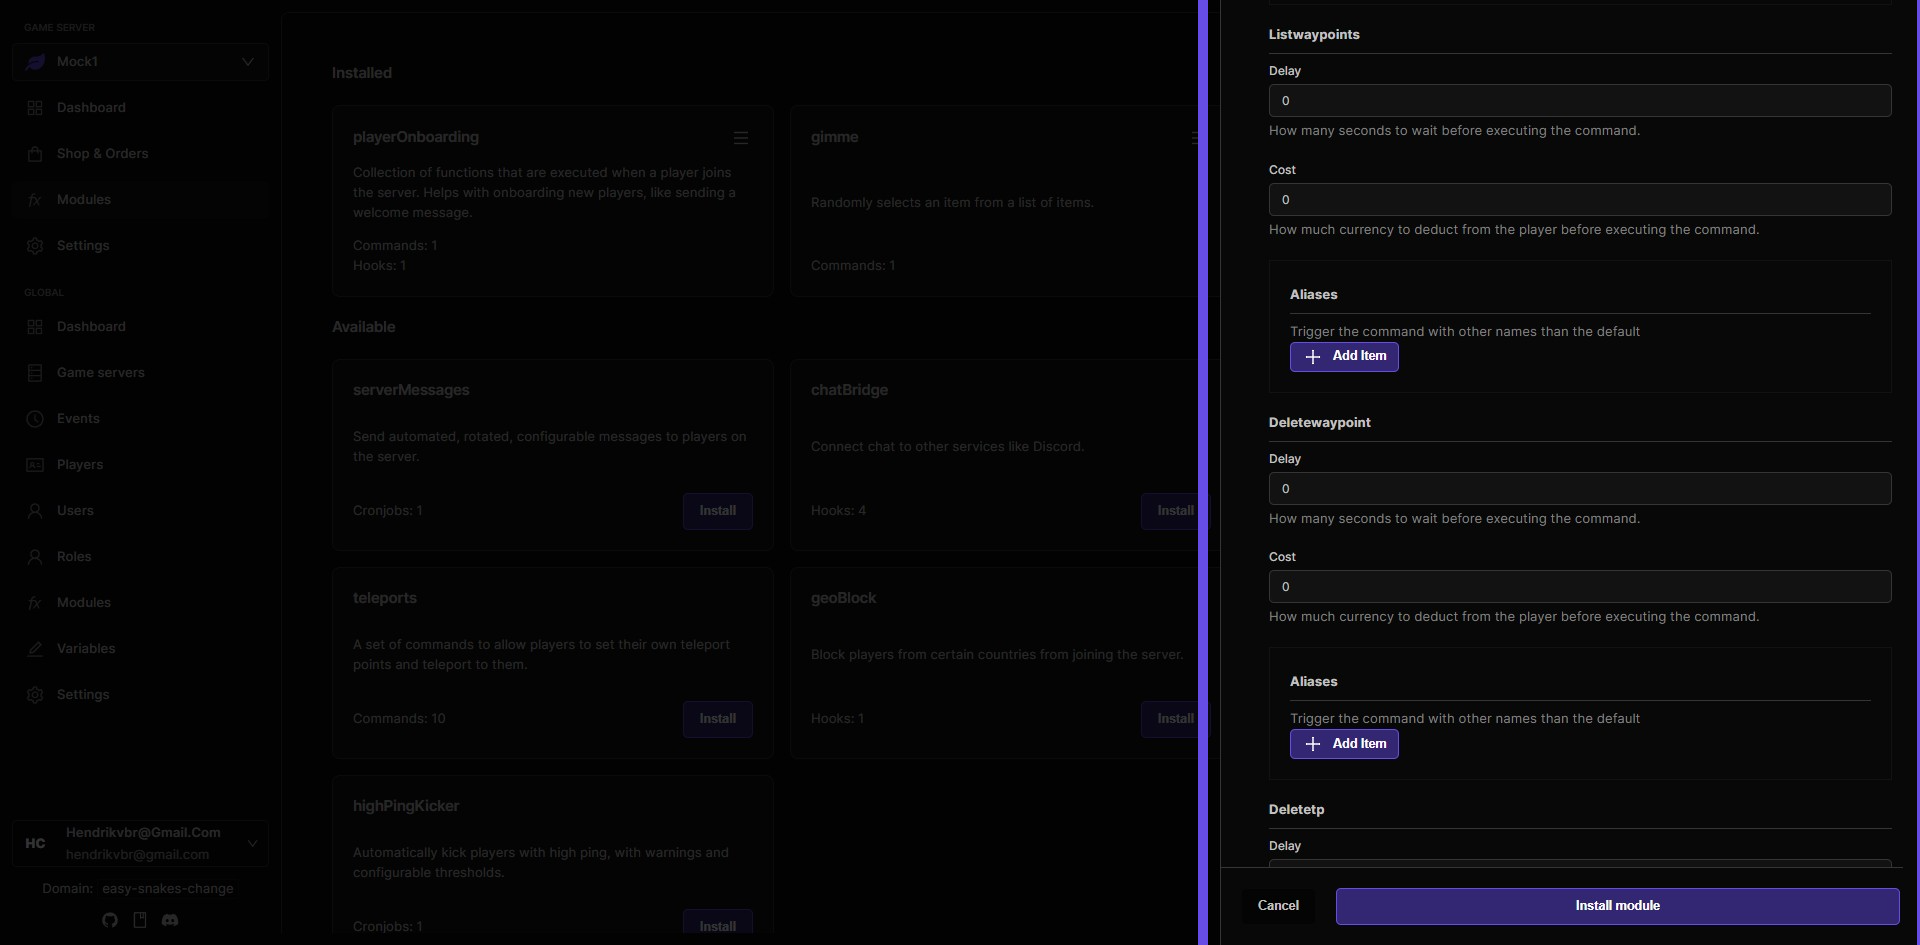
Step 13: $deletewaypoint deletes a waypoint
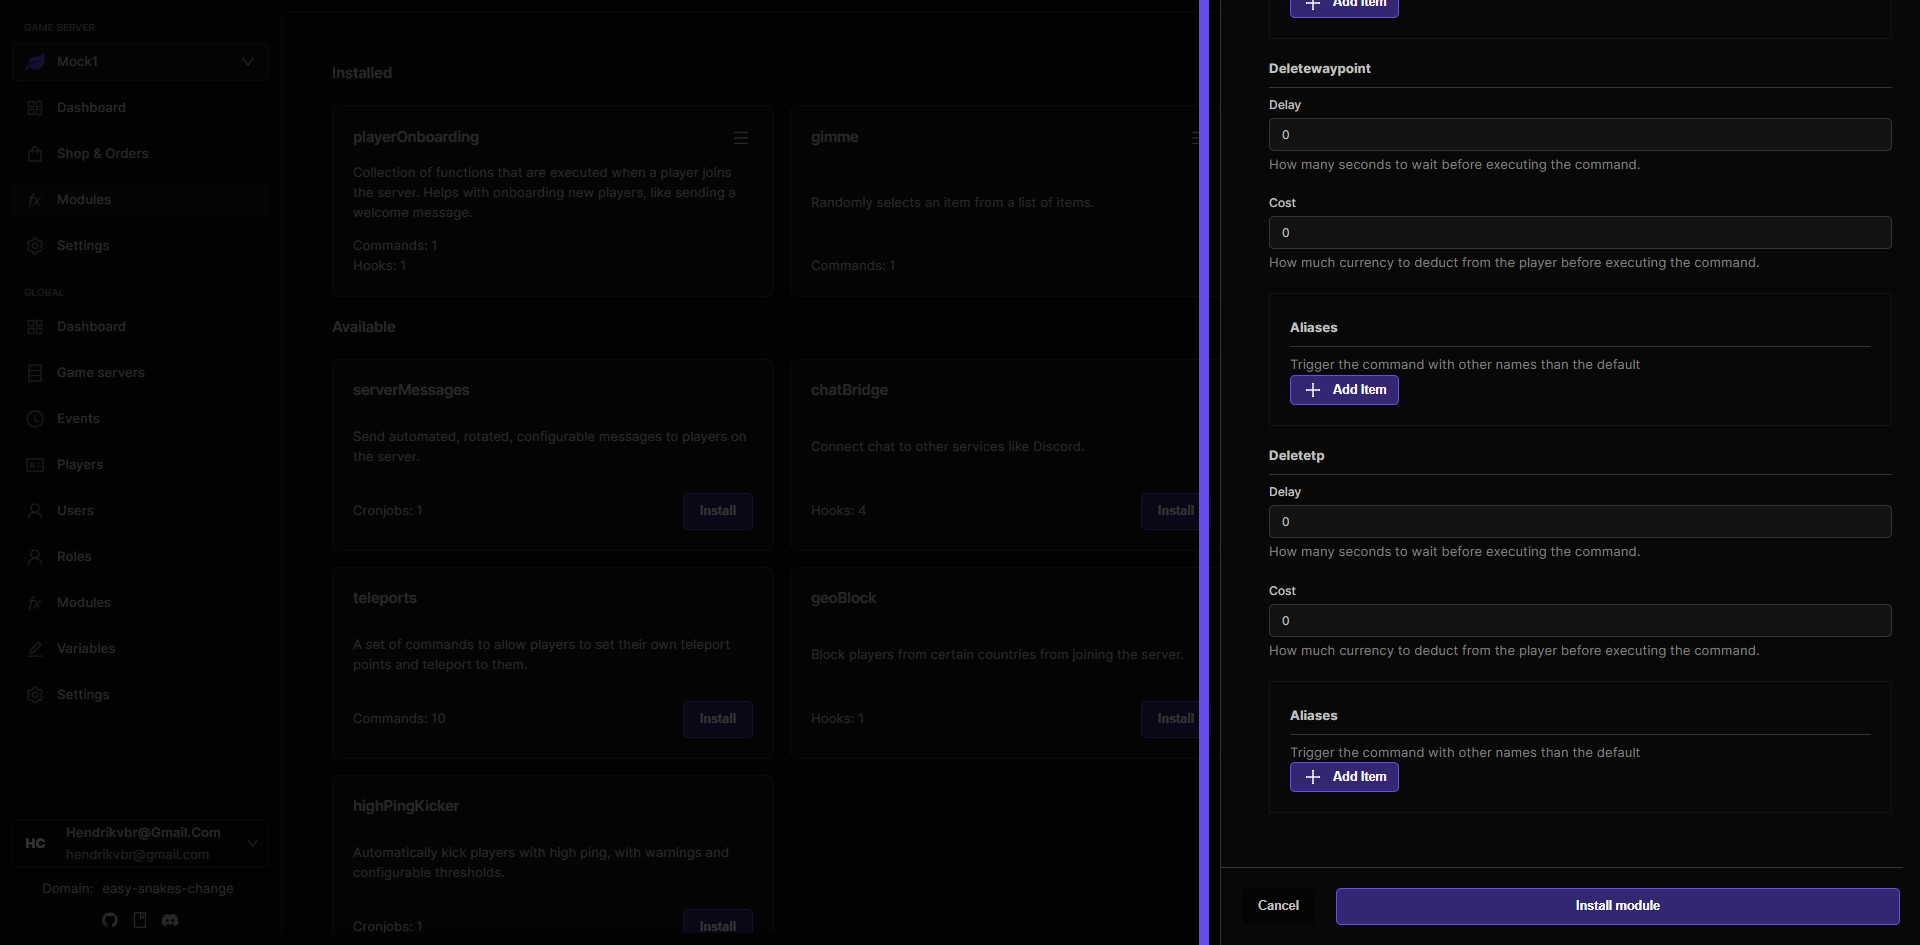
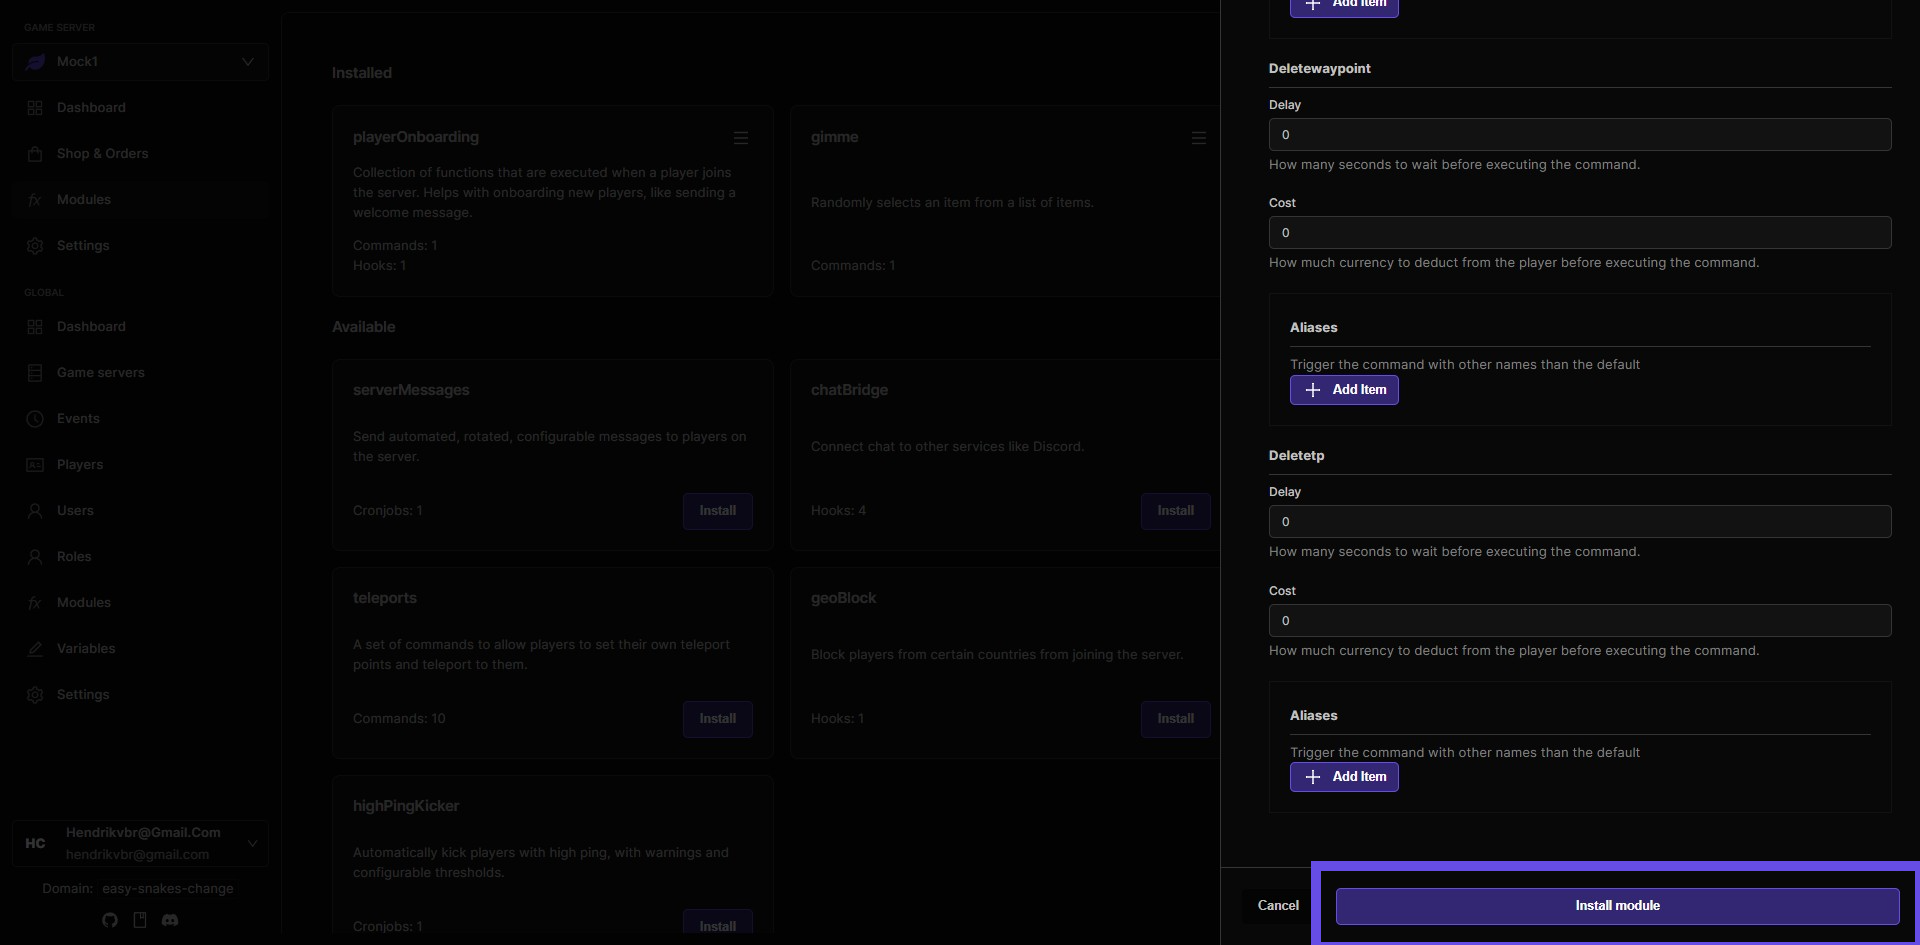
Step 14: Click Install module button when you are finished with the config
Assign the permission to the right role
Step 15: Now you need to assign the permission to the right role
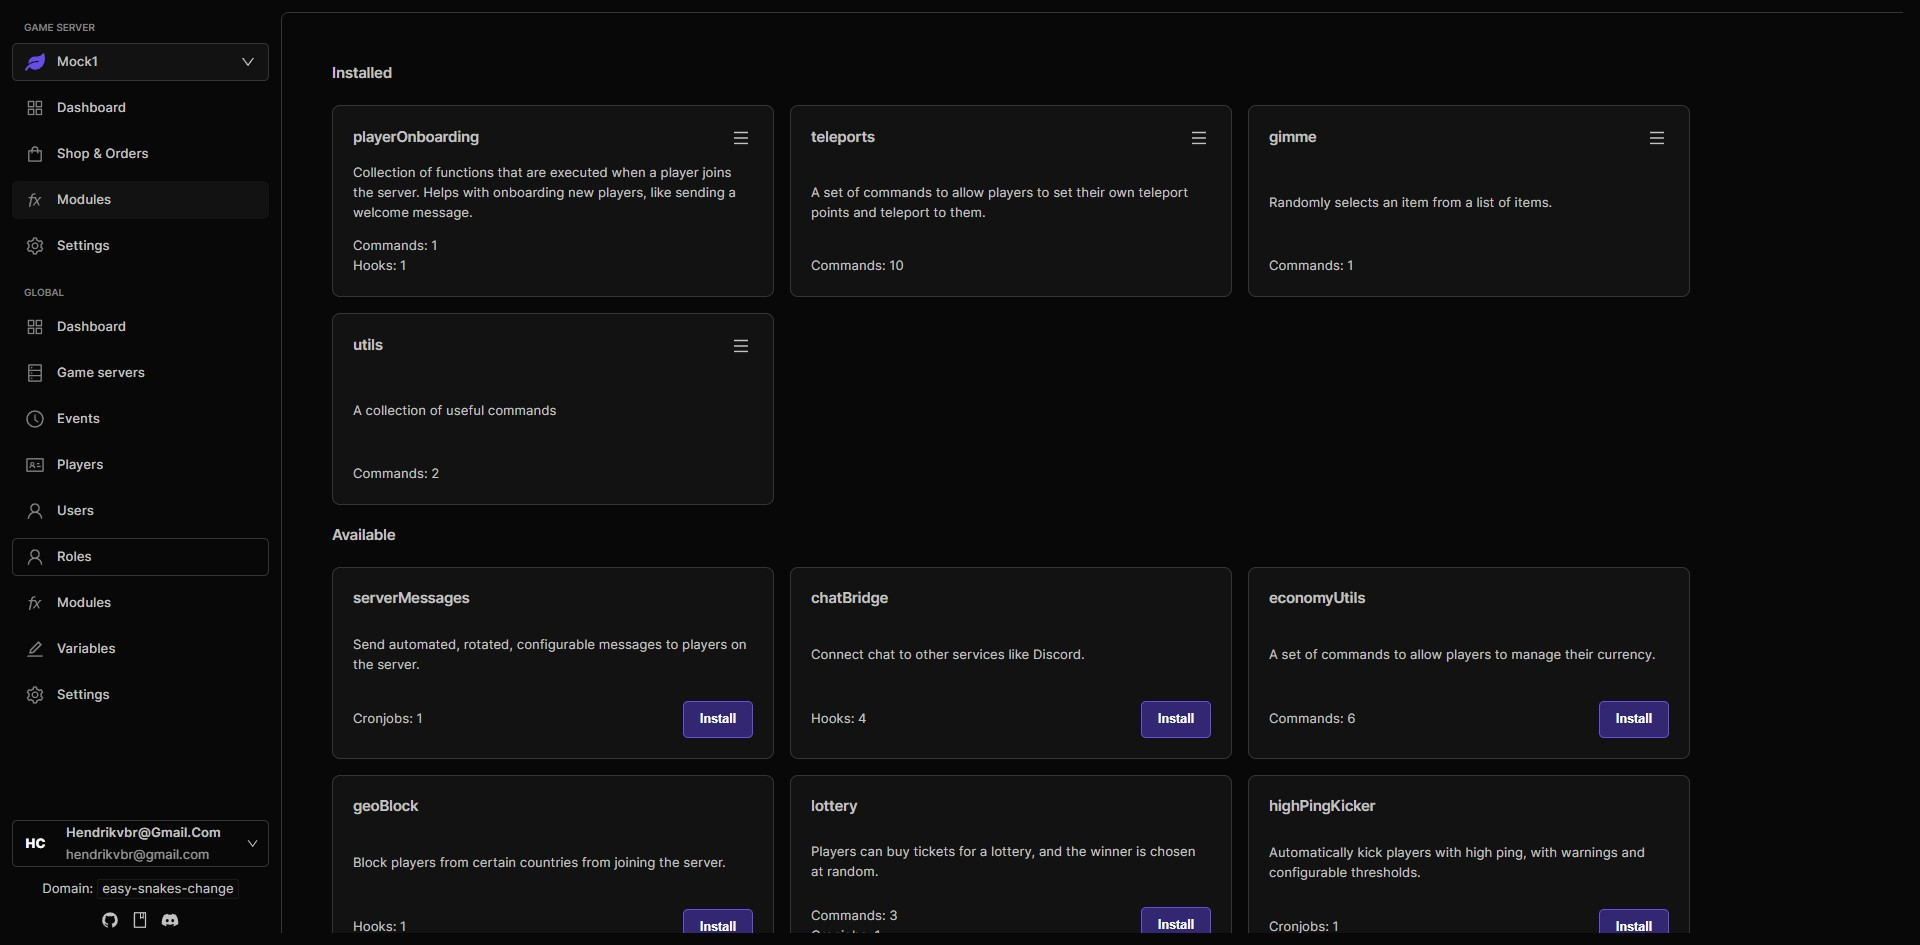
Now that you've installed the Teleports module, the next step is to set up the appropriate permissions. Navigate to the "Roles" section in the global navigation to begin assigning teleport-related permissions to player roles.
Step 16: Now you need to assign the permission to the right role
You can decide to add this permission to the standard Player role, or you can create a new role dedicated for teleports. In this guide, we are going to do both. We will first start with the Player role. The Player role is the role that all players will have when they join your game server.
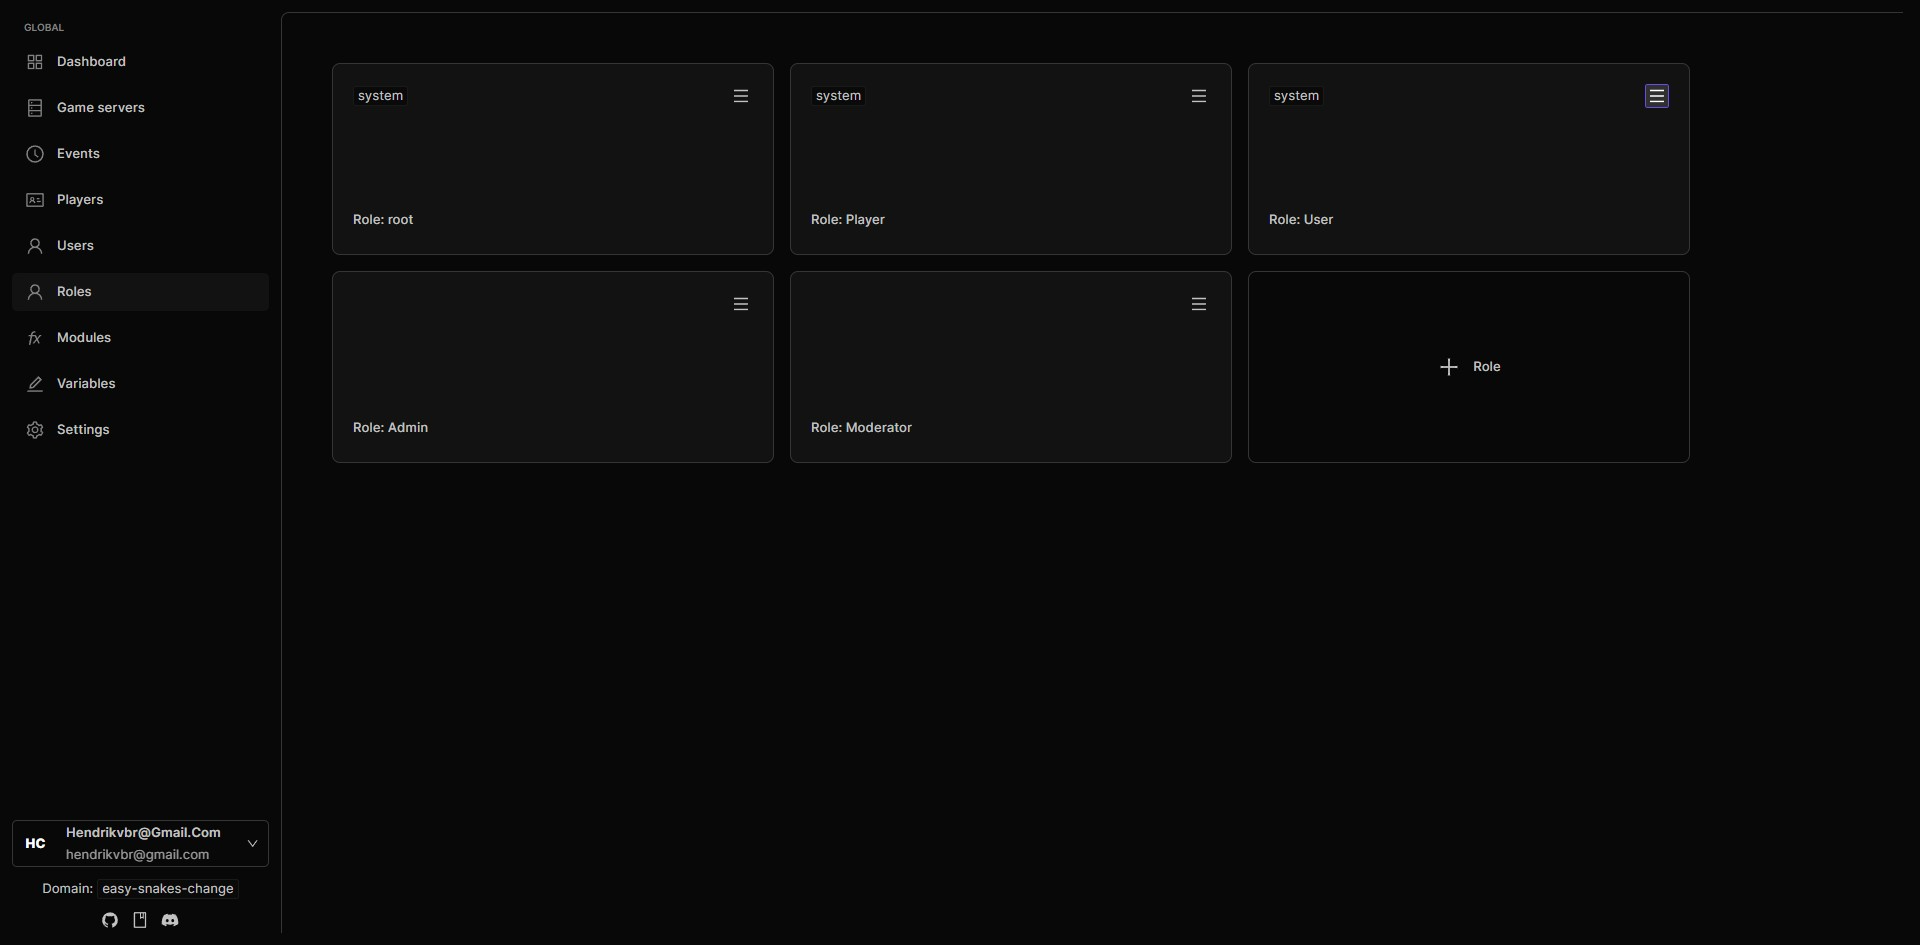
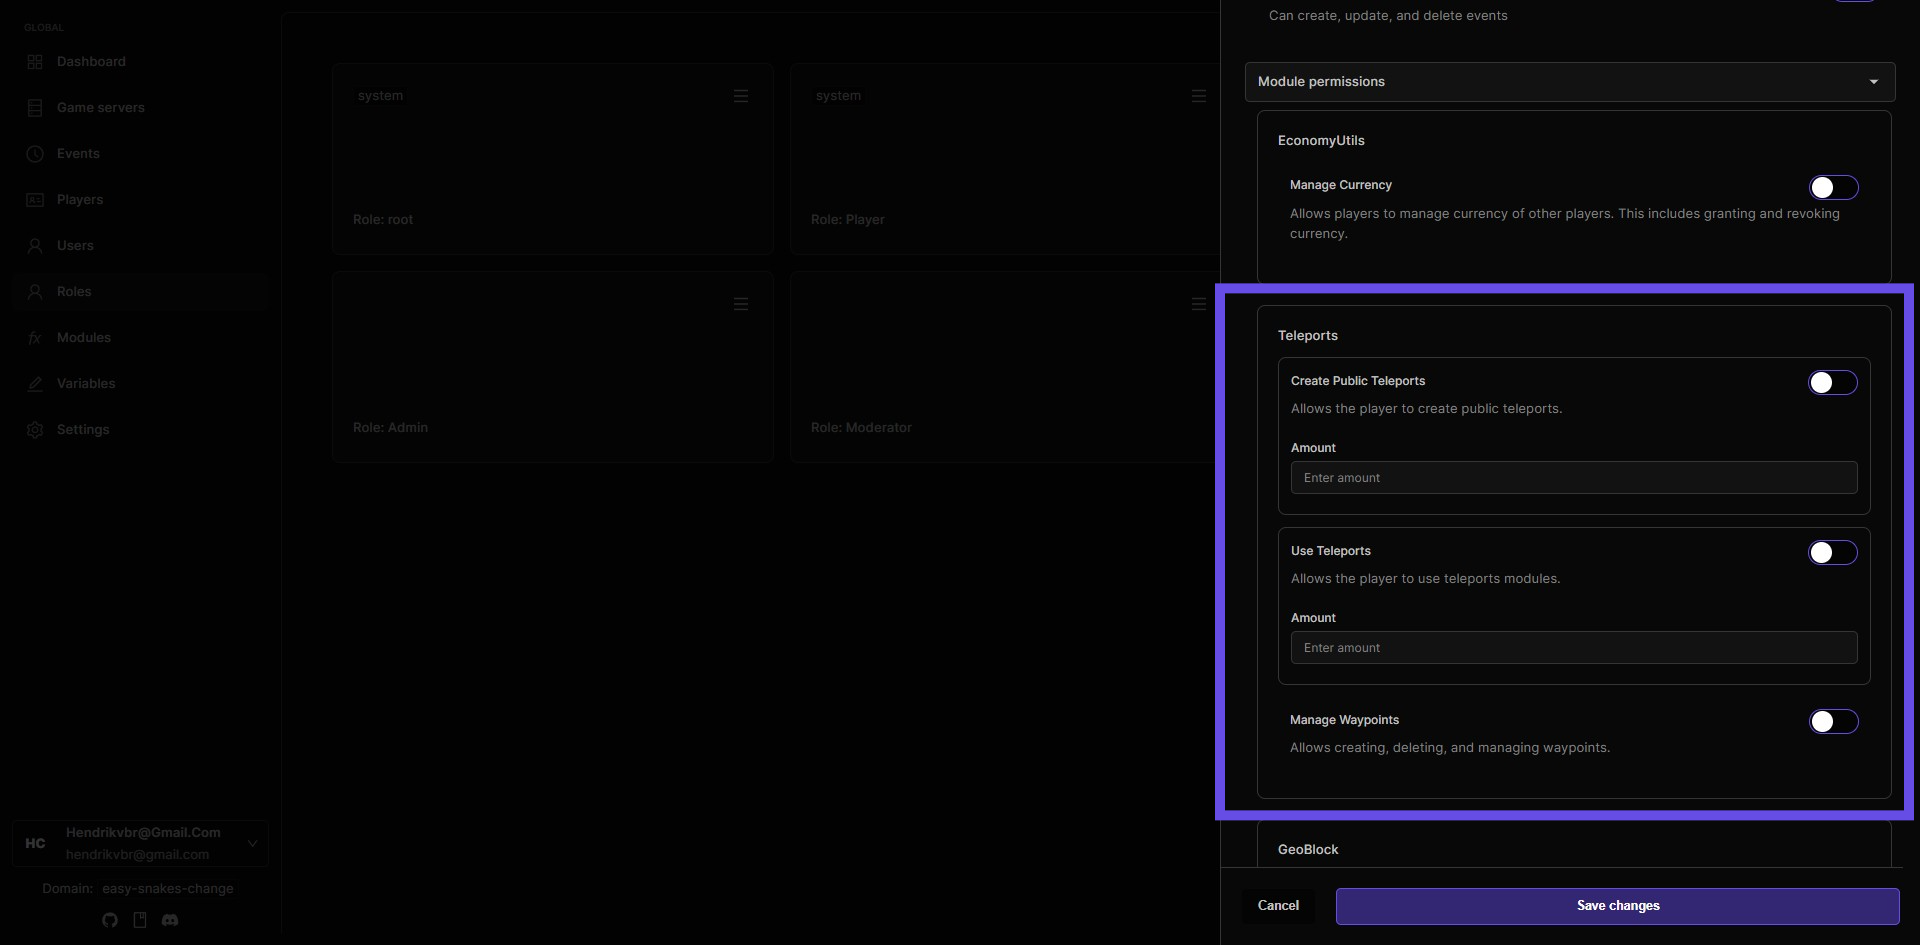
Step 17: Teleports Module Permissions Overview
Create Public Teleports: Allows players to create teleport points accessible to others. Use Teleports: Enables players to use existing teleport points. Manage Waypoints: Permits creating, modifying, and deleting personal or shared waypoints.
To activate a permission:
Toggle the switch to the right (on position). Set a cost in the "Amount" field if desired (leave blank or 0 for free use).
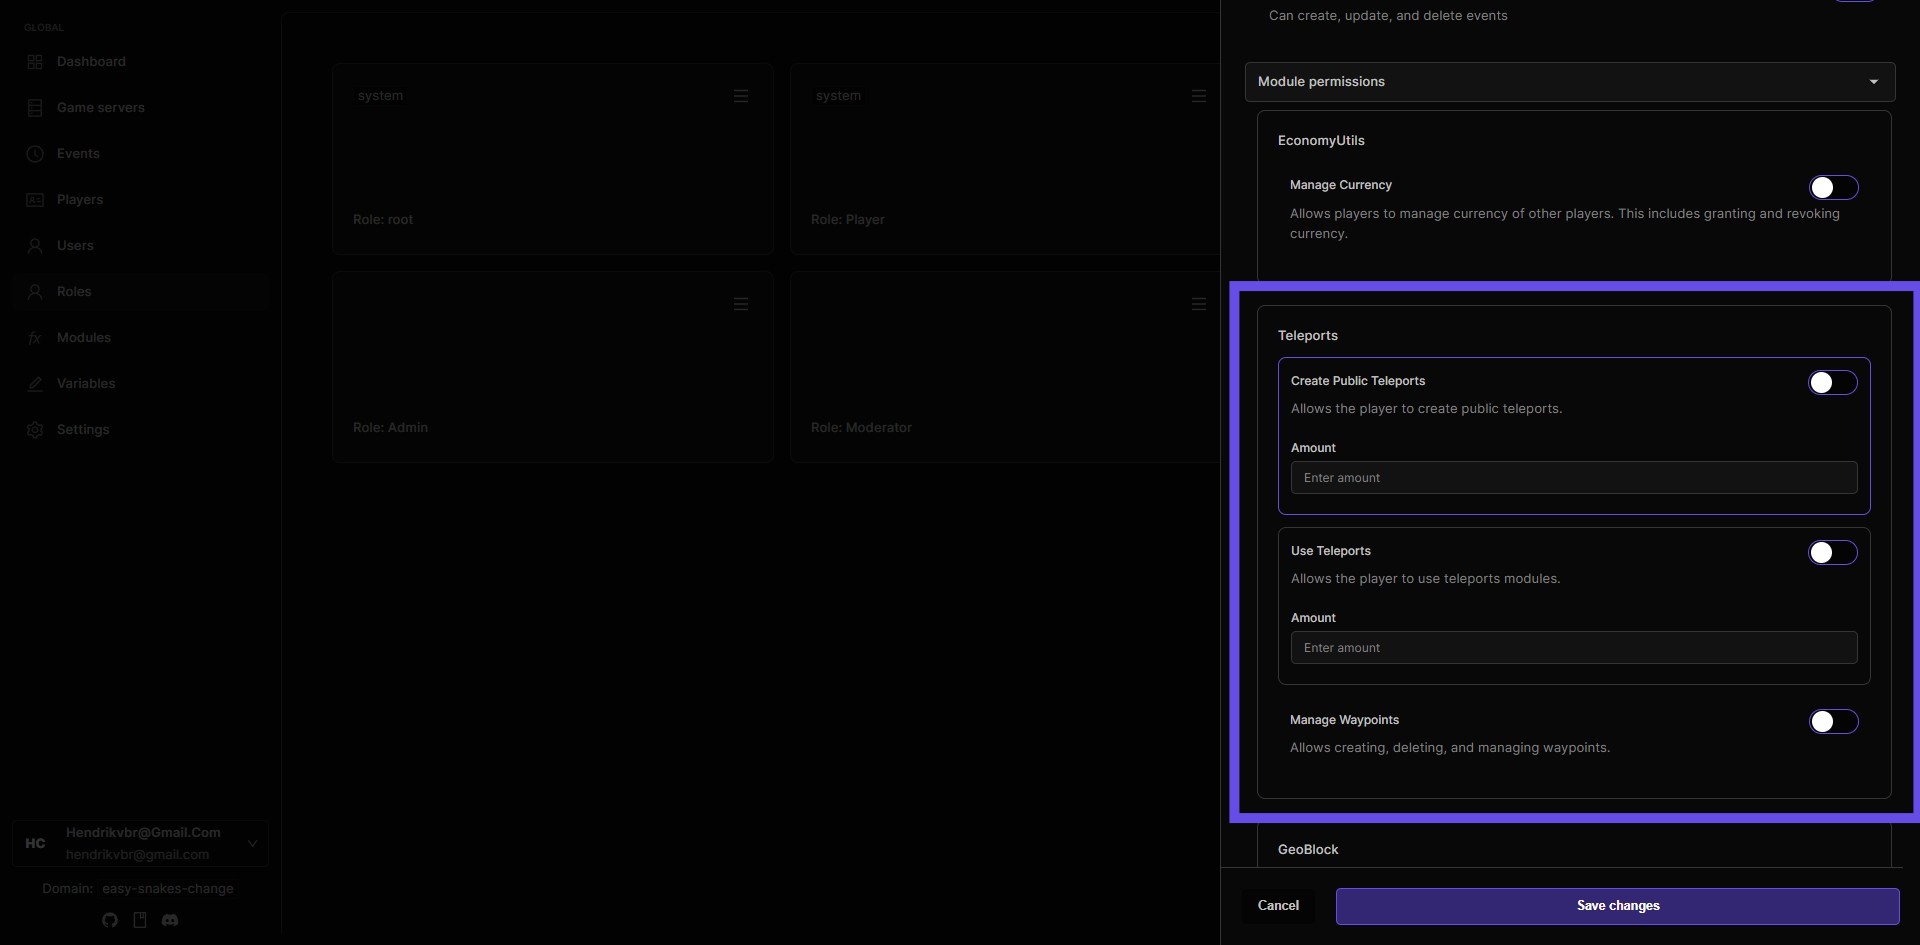
Step 18: Click Save changes button
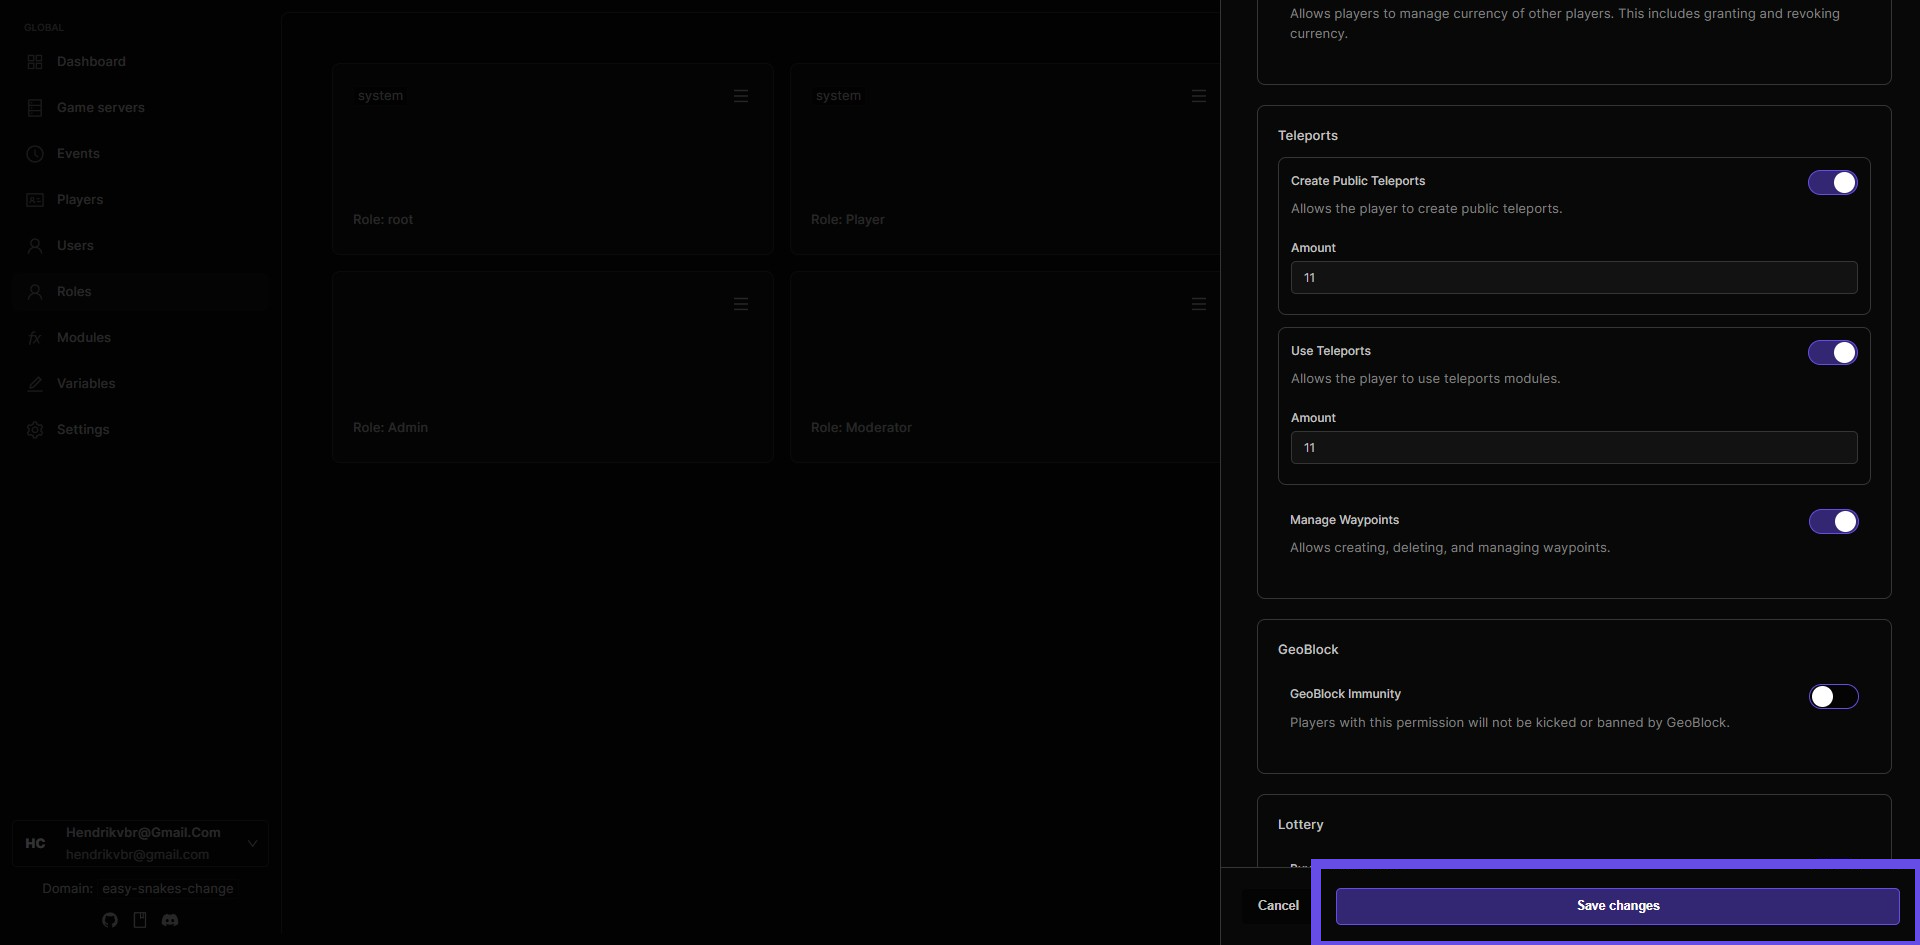
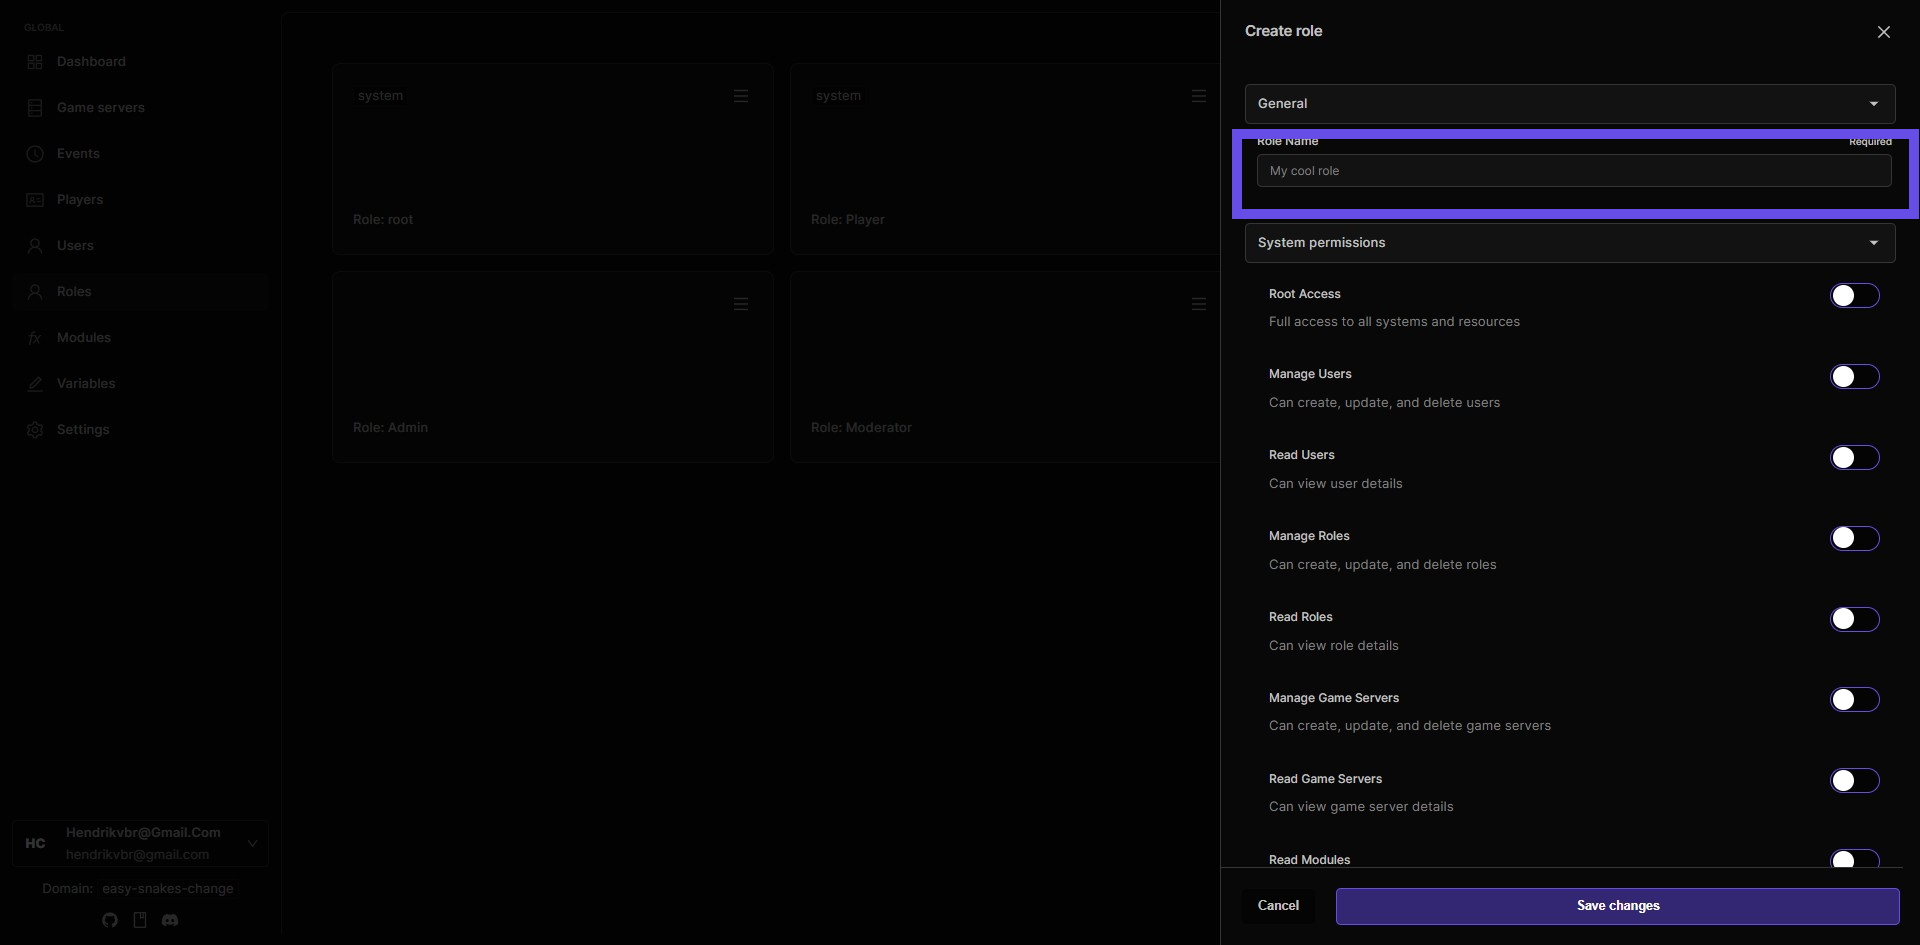
Step 19: Add a custom role for Teleports
Creating a dedicated teleport role allows for more flexible permission management. This is useful when you want to give enhanced teleport capabilities to certain players without changing permissions for all users.
Step 20: Give your new role a recognizable name
Step 21: Configure teleport permissions for the new role
You'll see the same options as in Step 17: Create Public Teleports Use Teleports Manage Waypoints
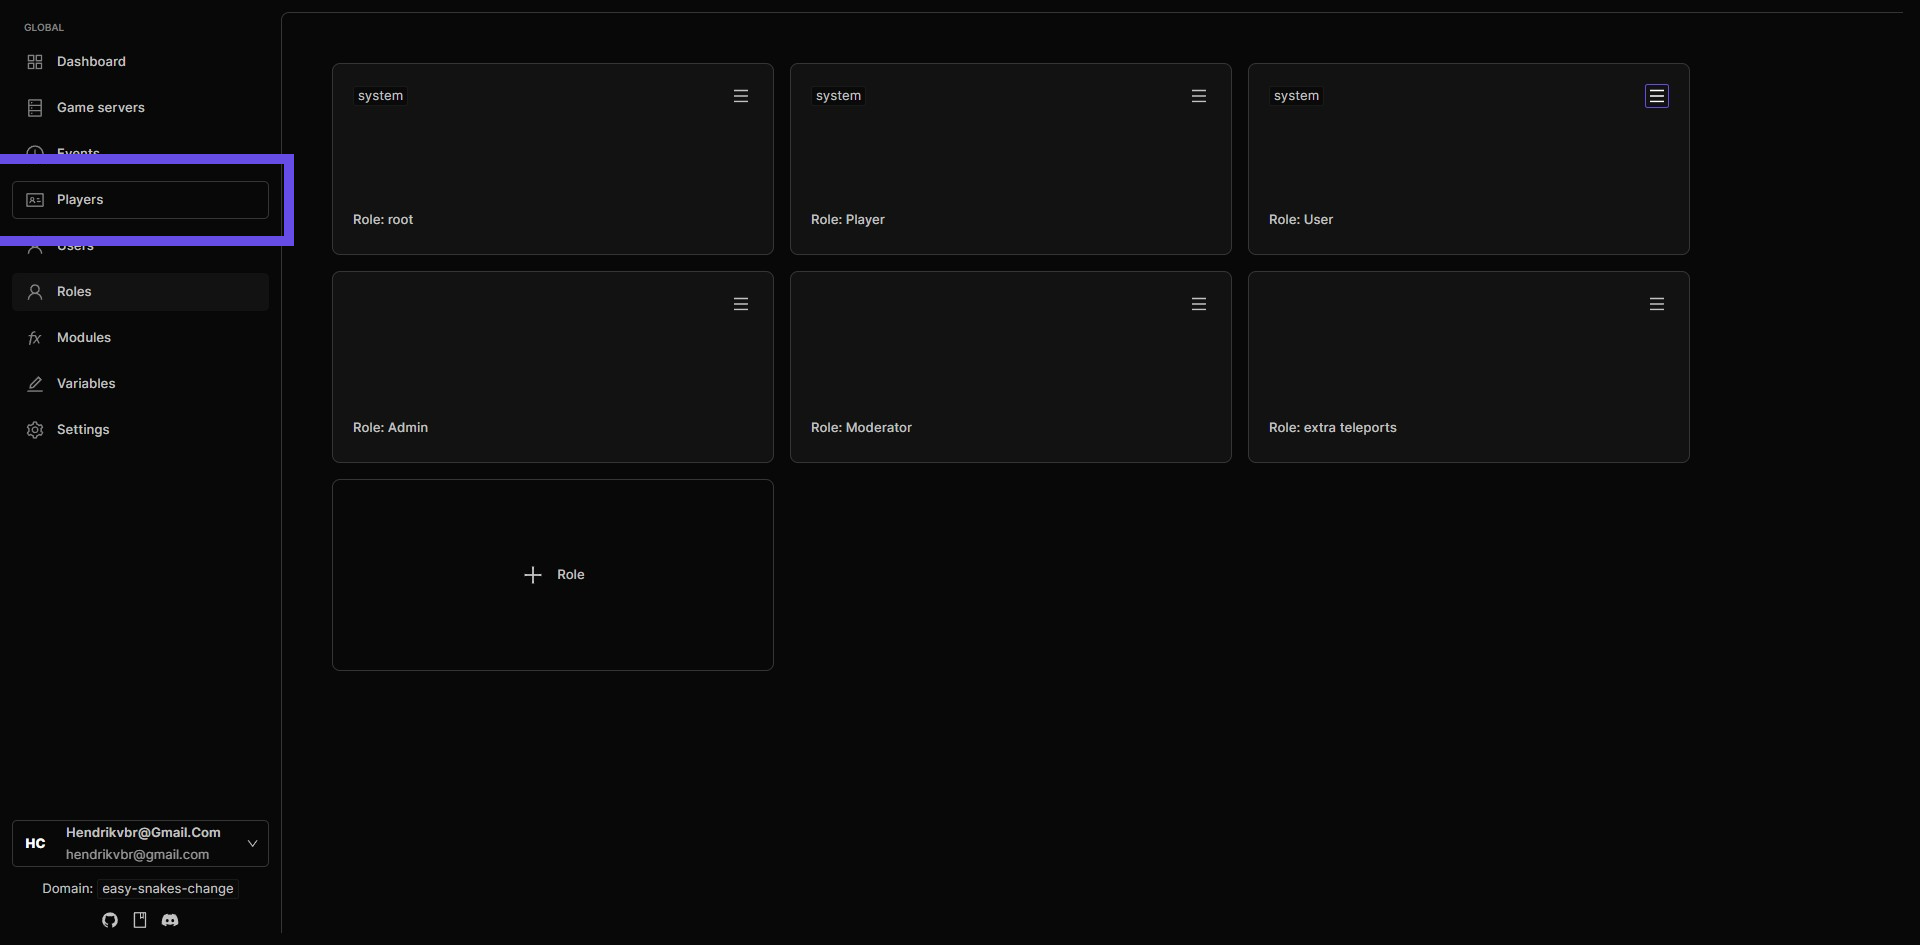
Assign the role to the right player
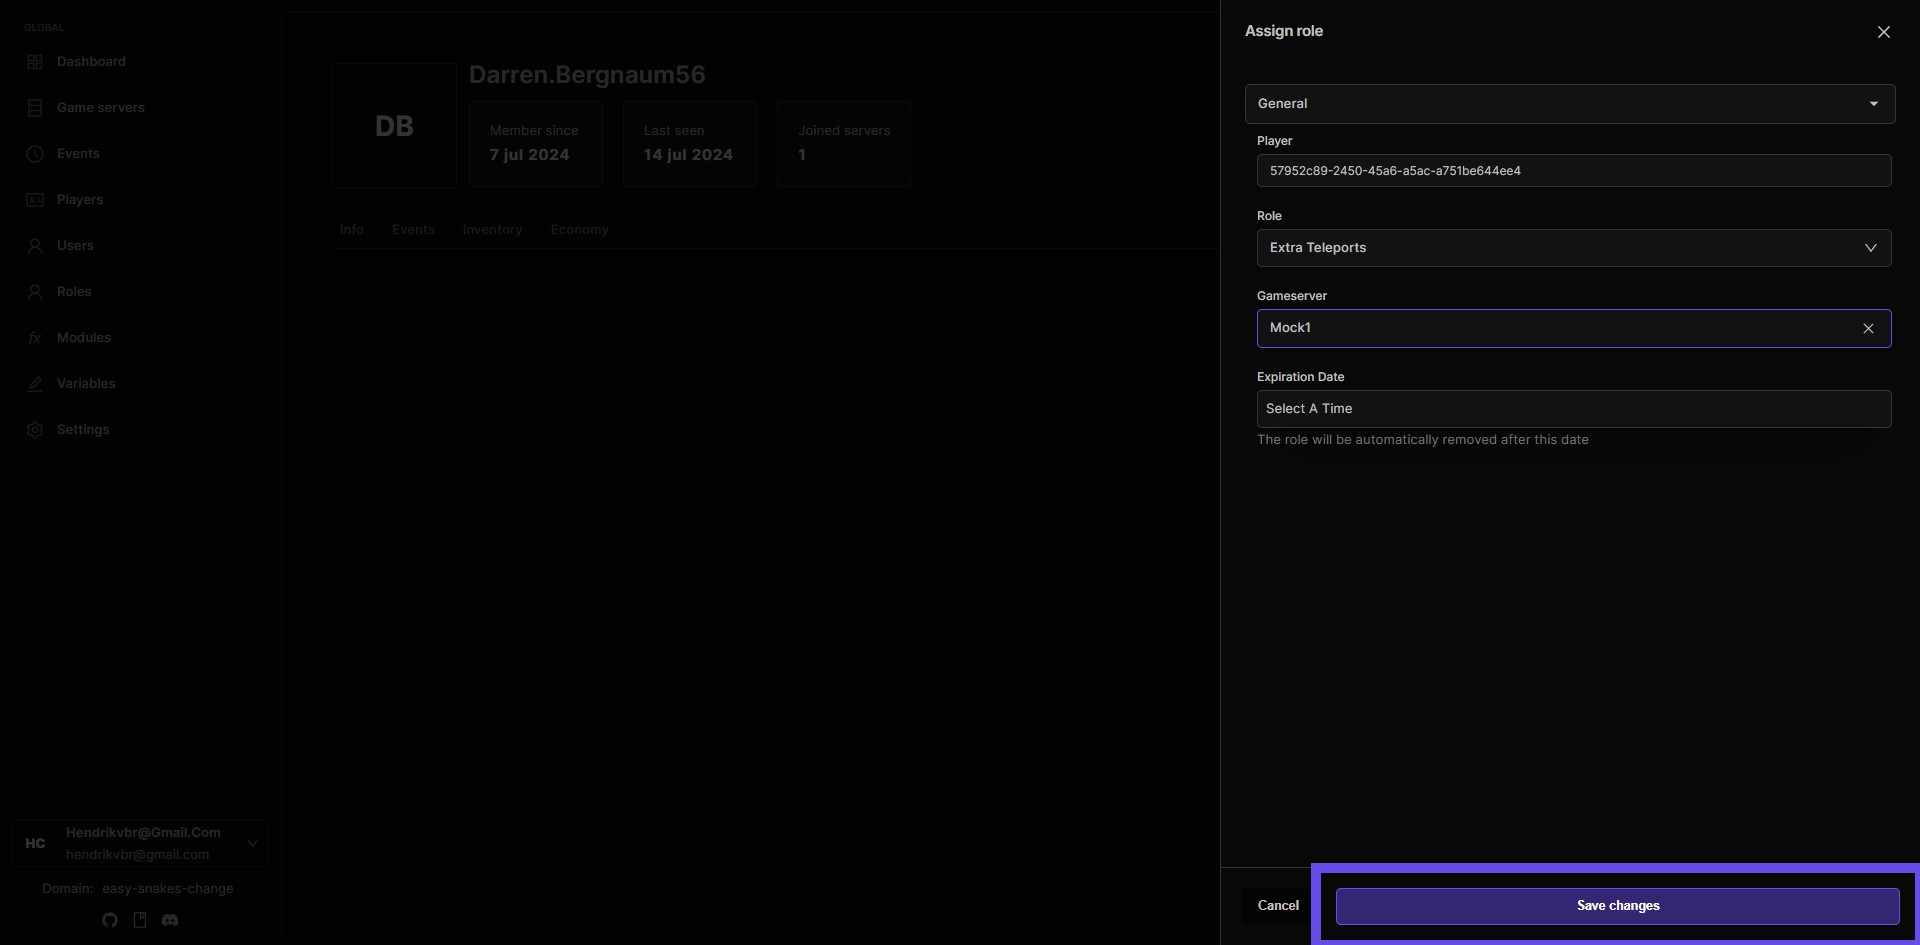
Step 22: Go to Players to assign the right role
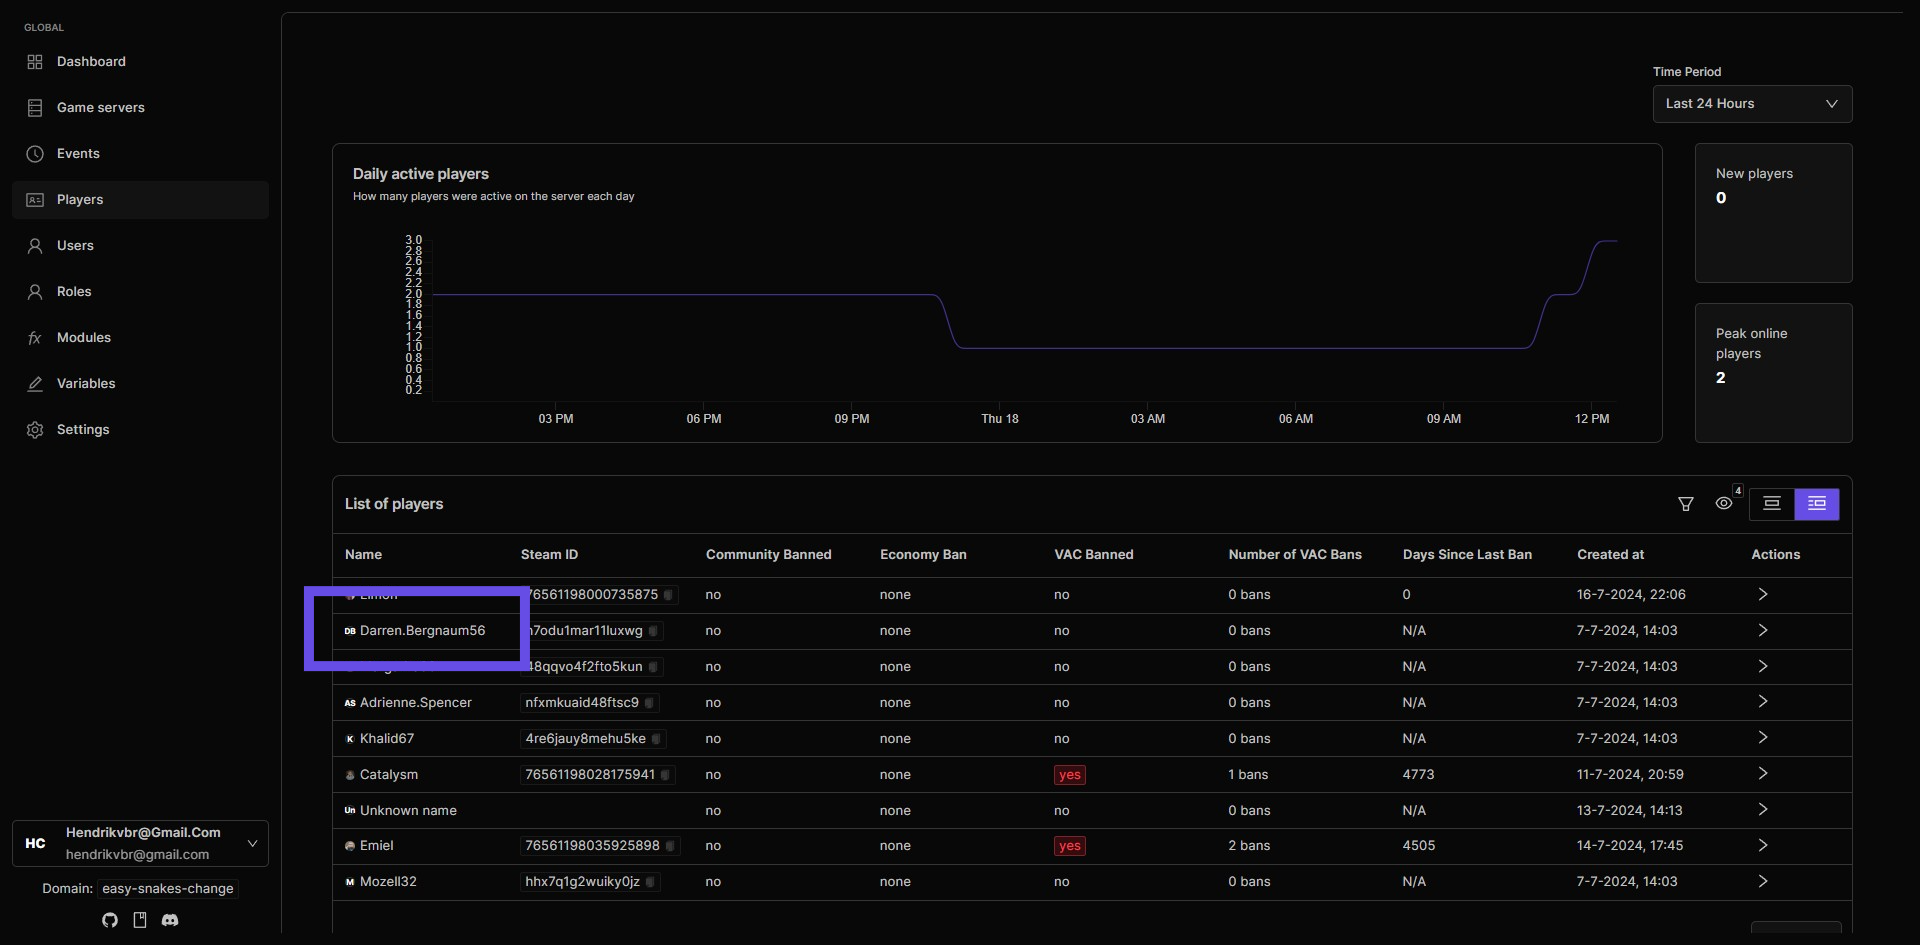
Step 23: Navigate to the player you want to assign the special role to
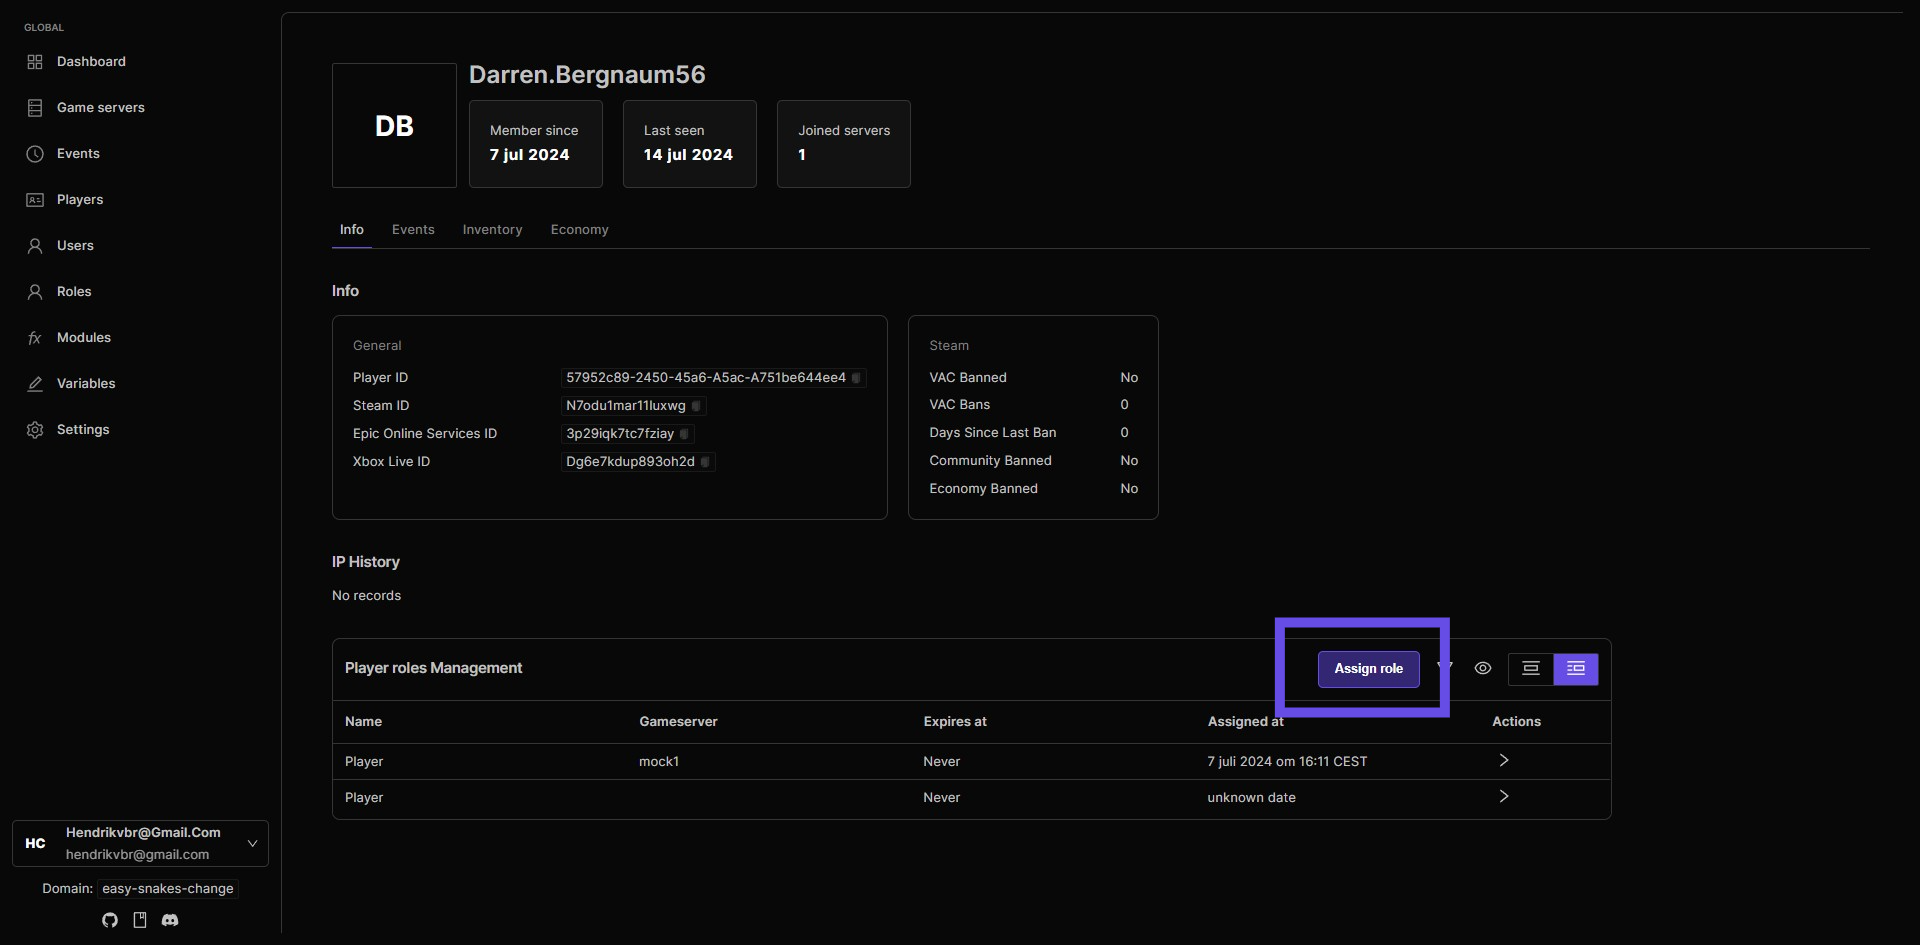
Step 24: Click Assign role button
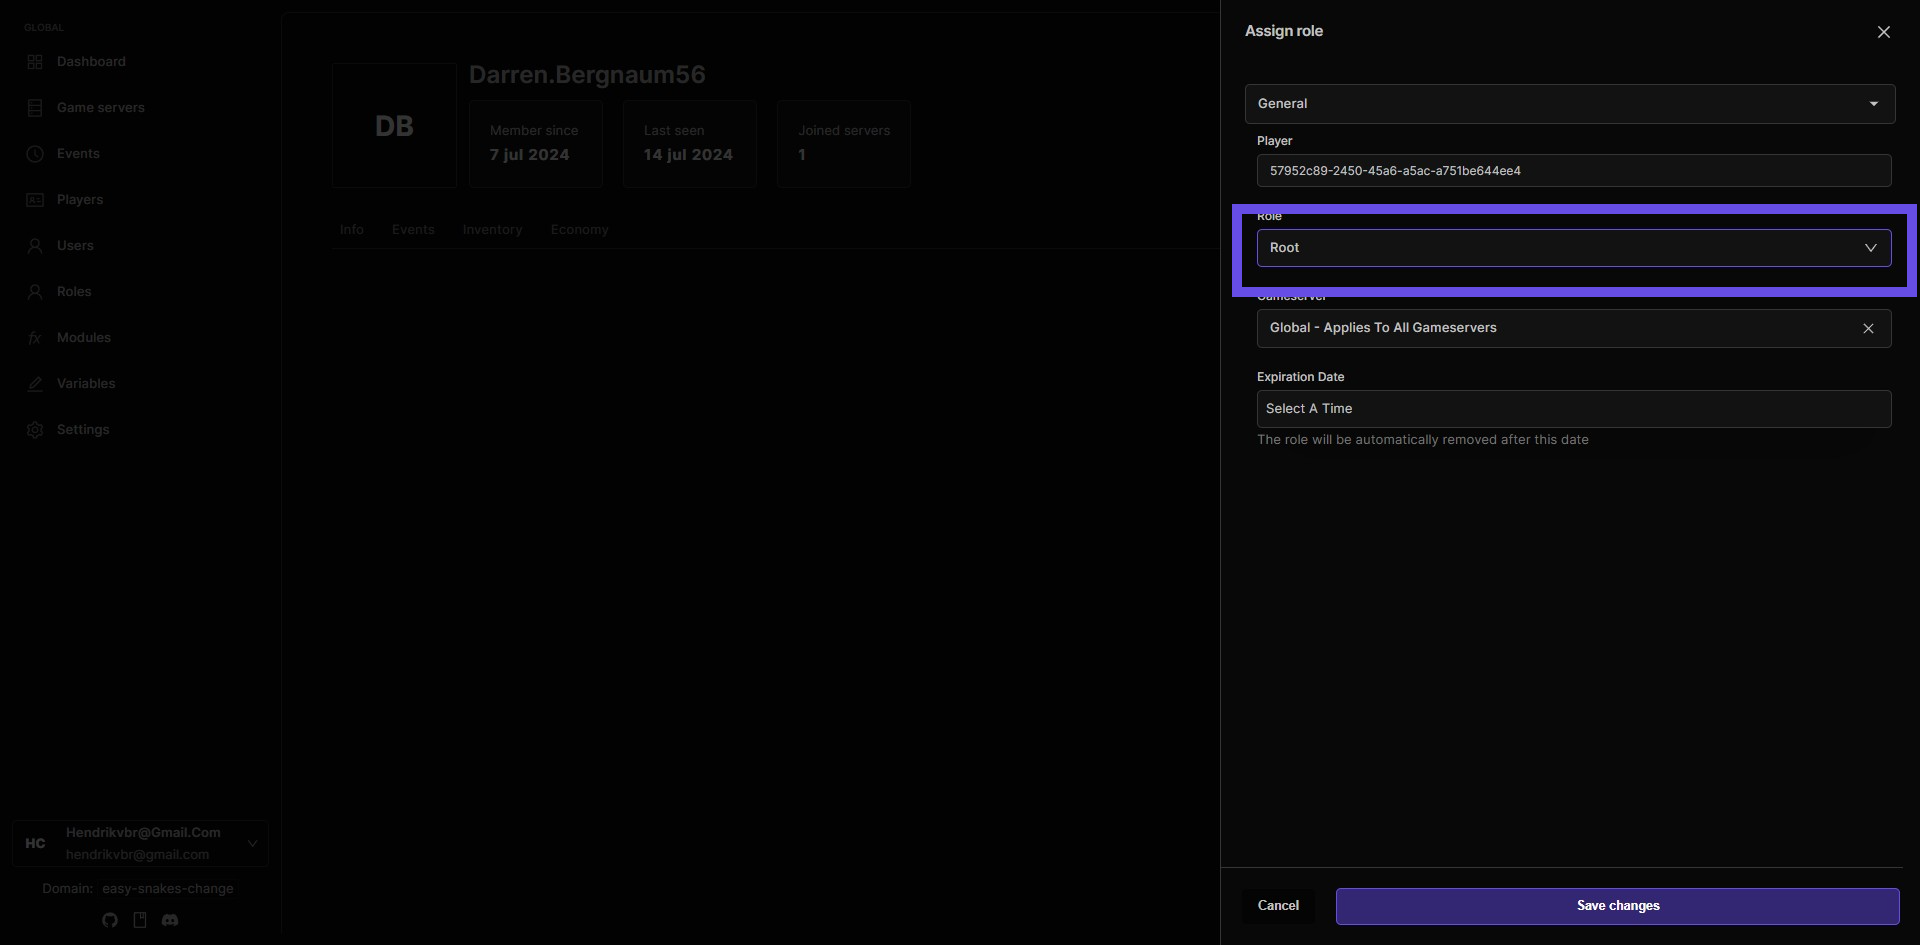
Step 25: Select the right role
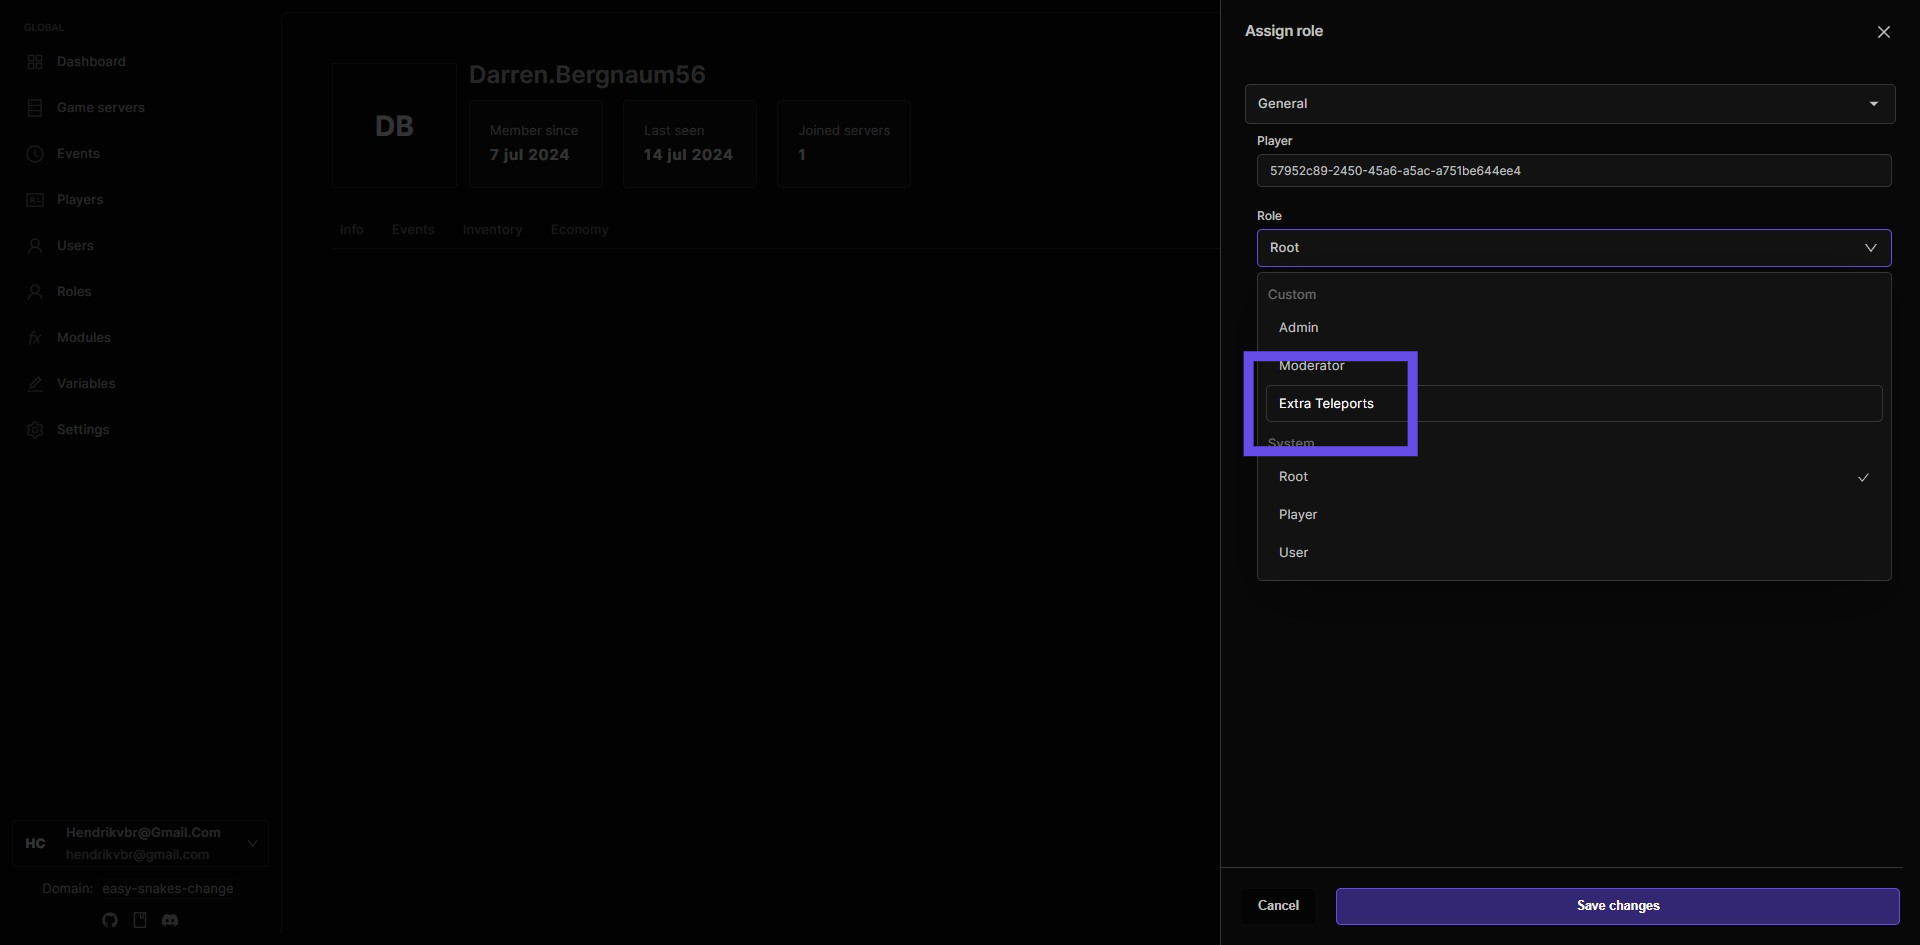
Step 26: Choose extra teleports from the list
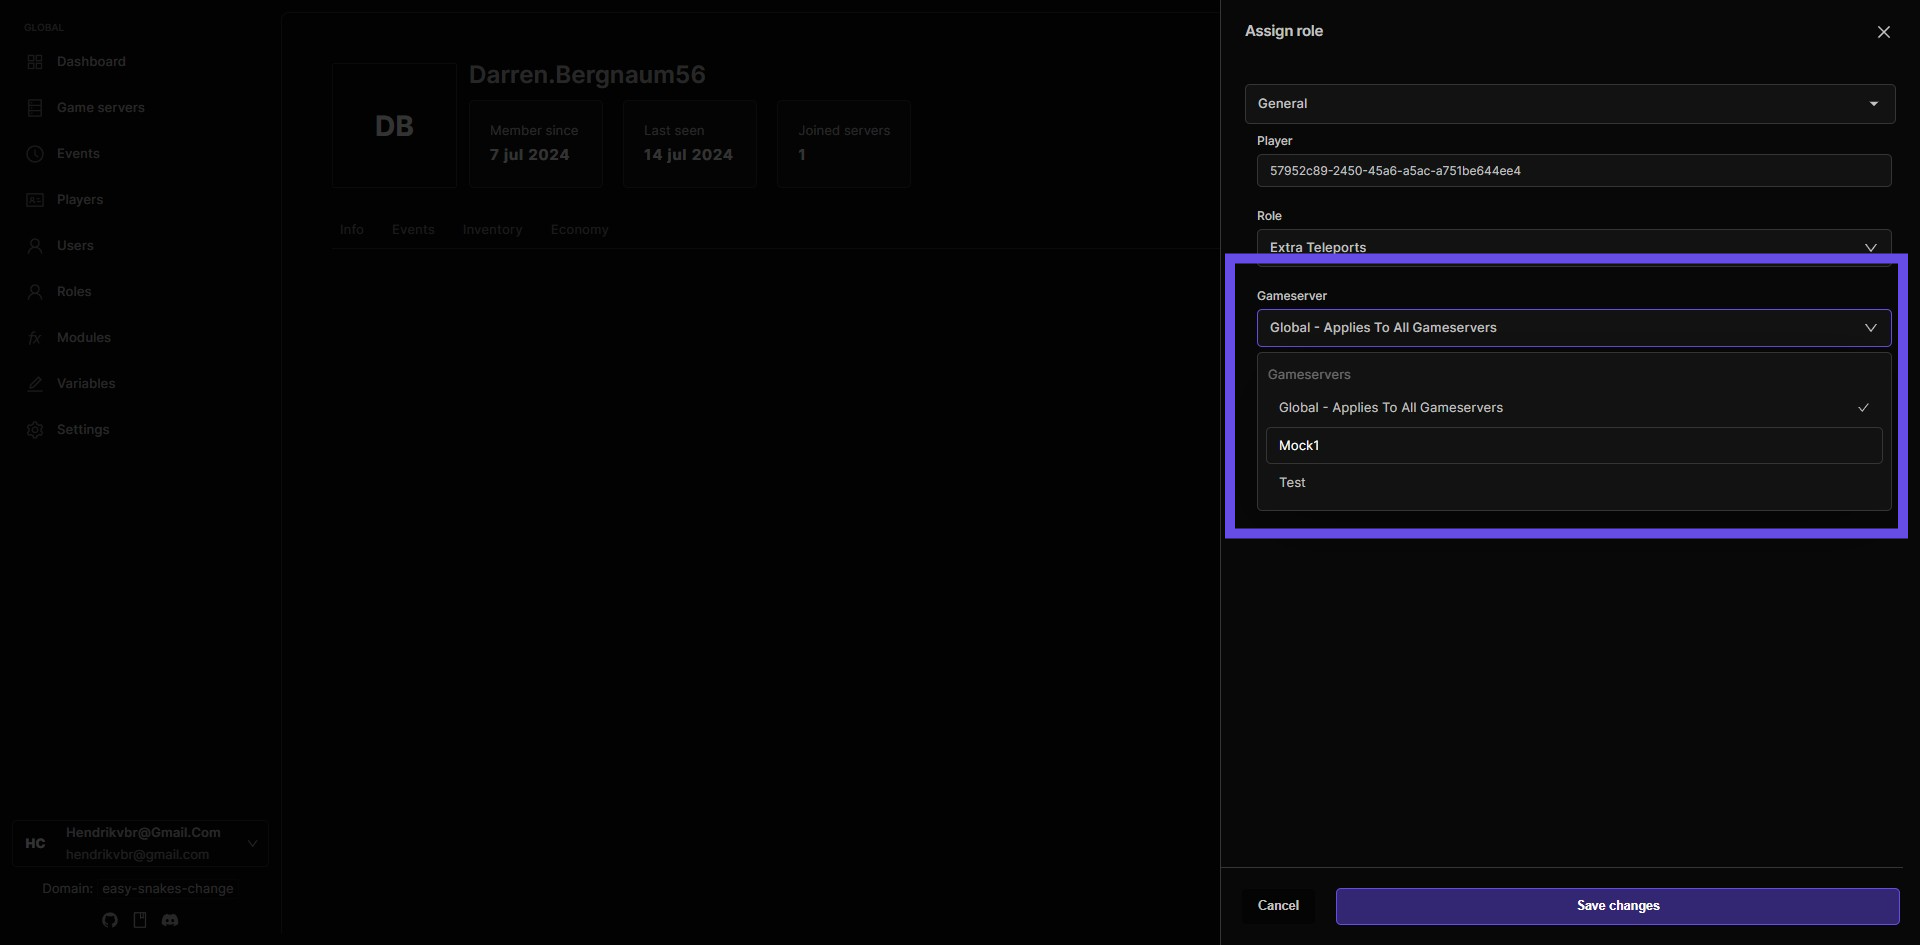
Step 27: Choose your preferred game server
Choose to activate the teleport role on individual game servers or globally across all servers, allowing flexible permission management based on your game's structure and needs.
Step 28: Click Save changes button
You made it to the end!
