How to add teleports module to your game server
This guide walks you through the process of integrating the Teleports module into your game servers. You'll learn how to set up teleport permissions for different player roles, create custom teleport roles for enhanced privileges, and manage teleport-related features effectively.
Install the module to your game server
Step 1: Navigate to game servers
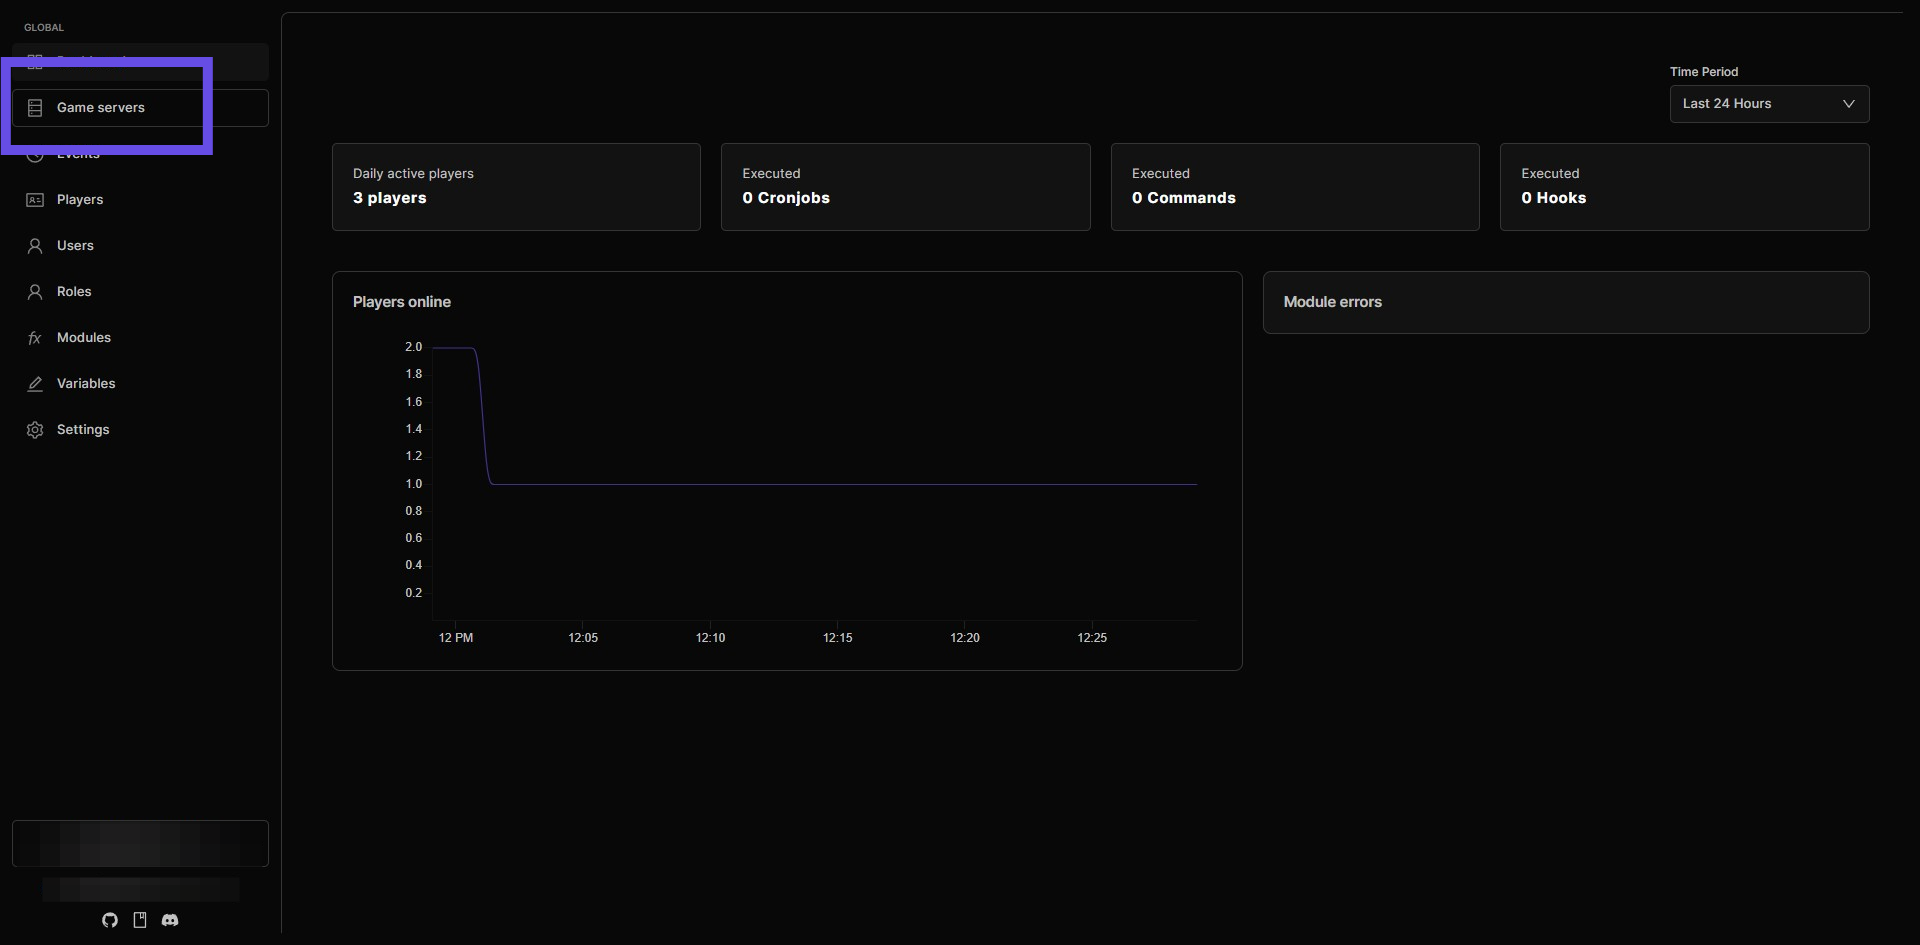
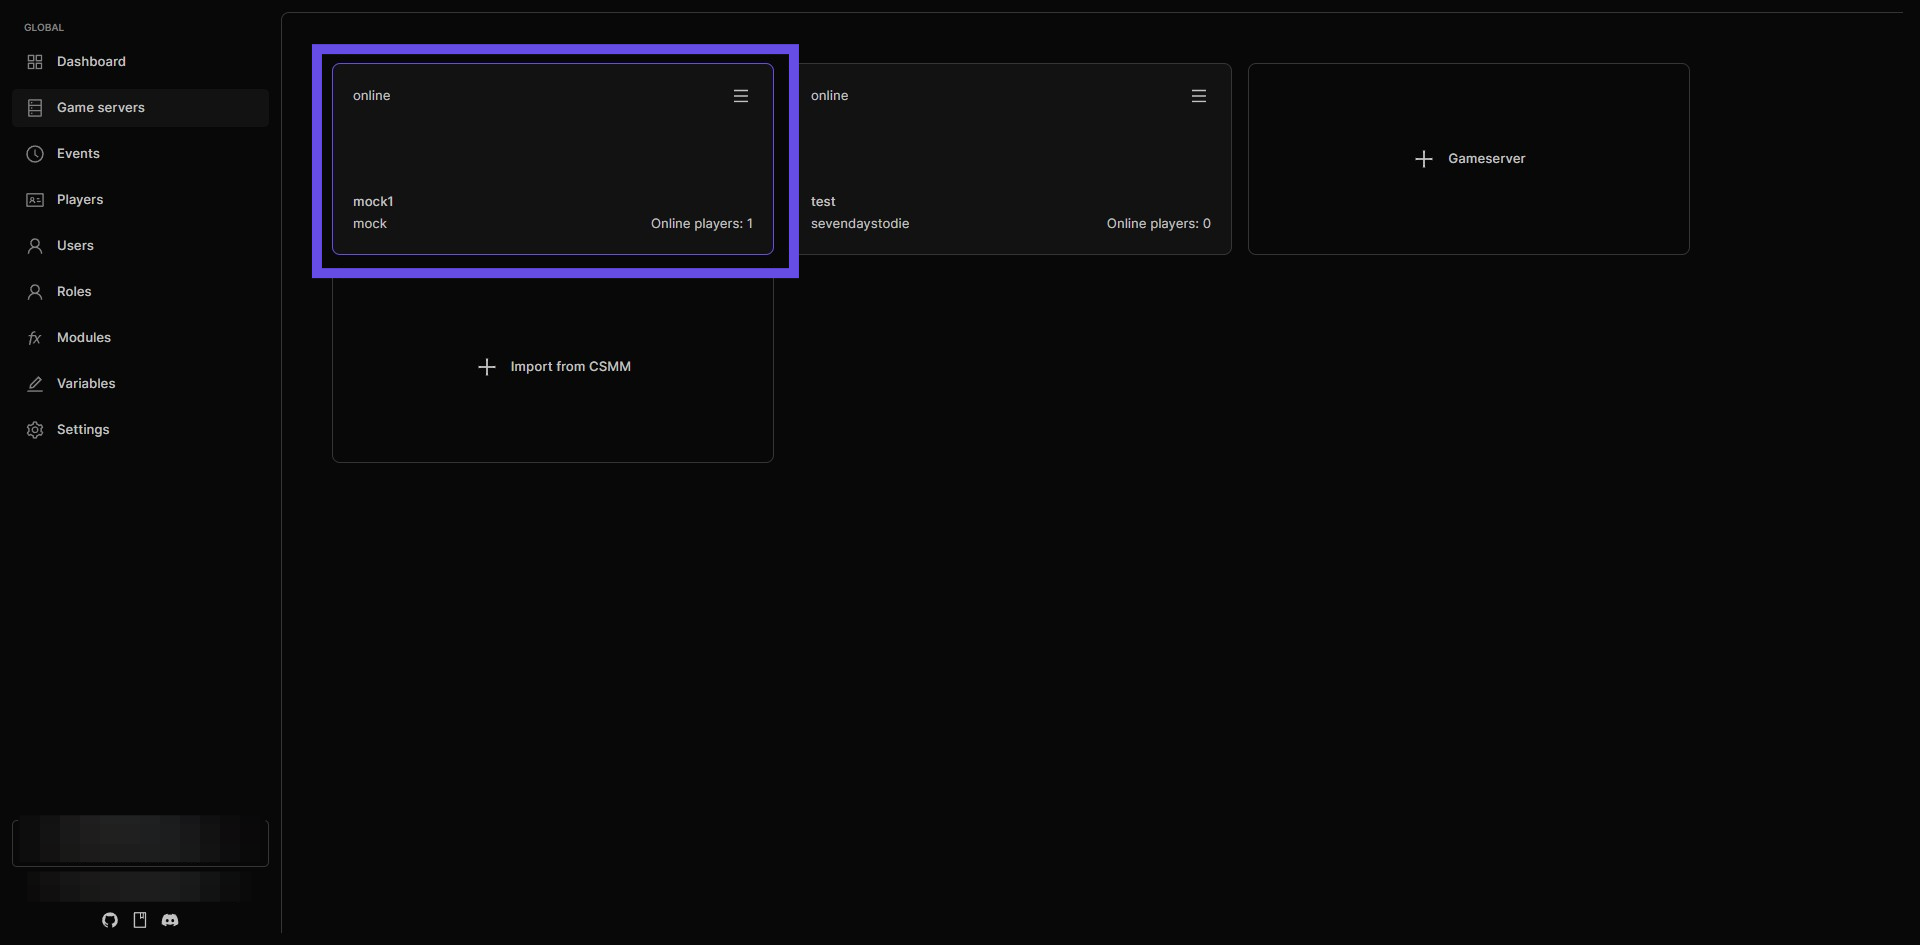
Step 2: Select the game server you want the module to be installed on
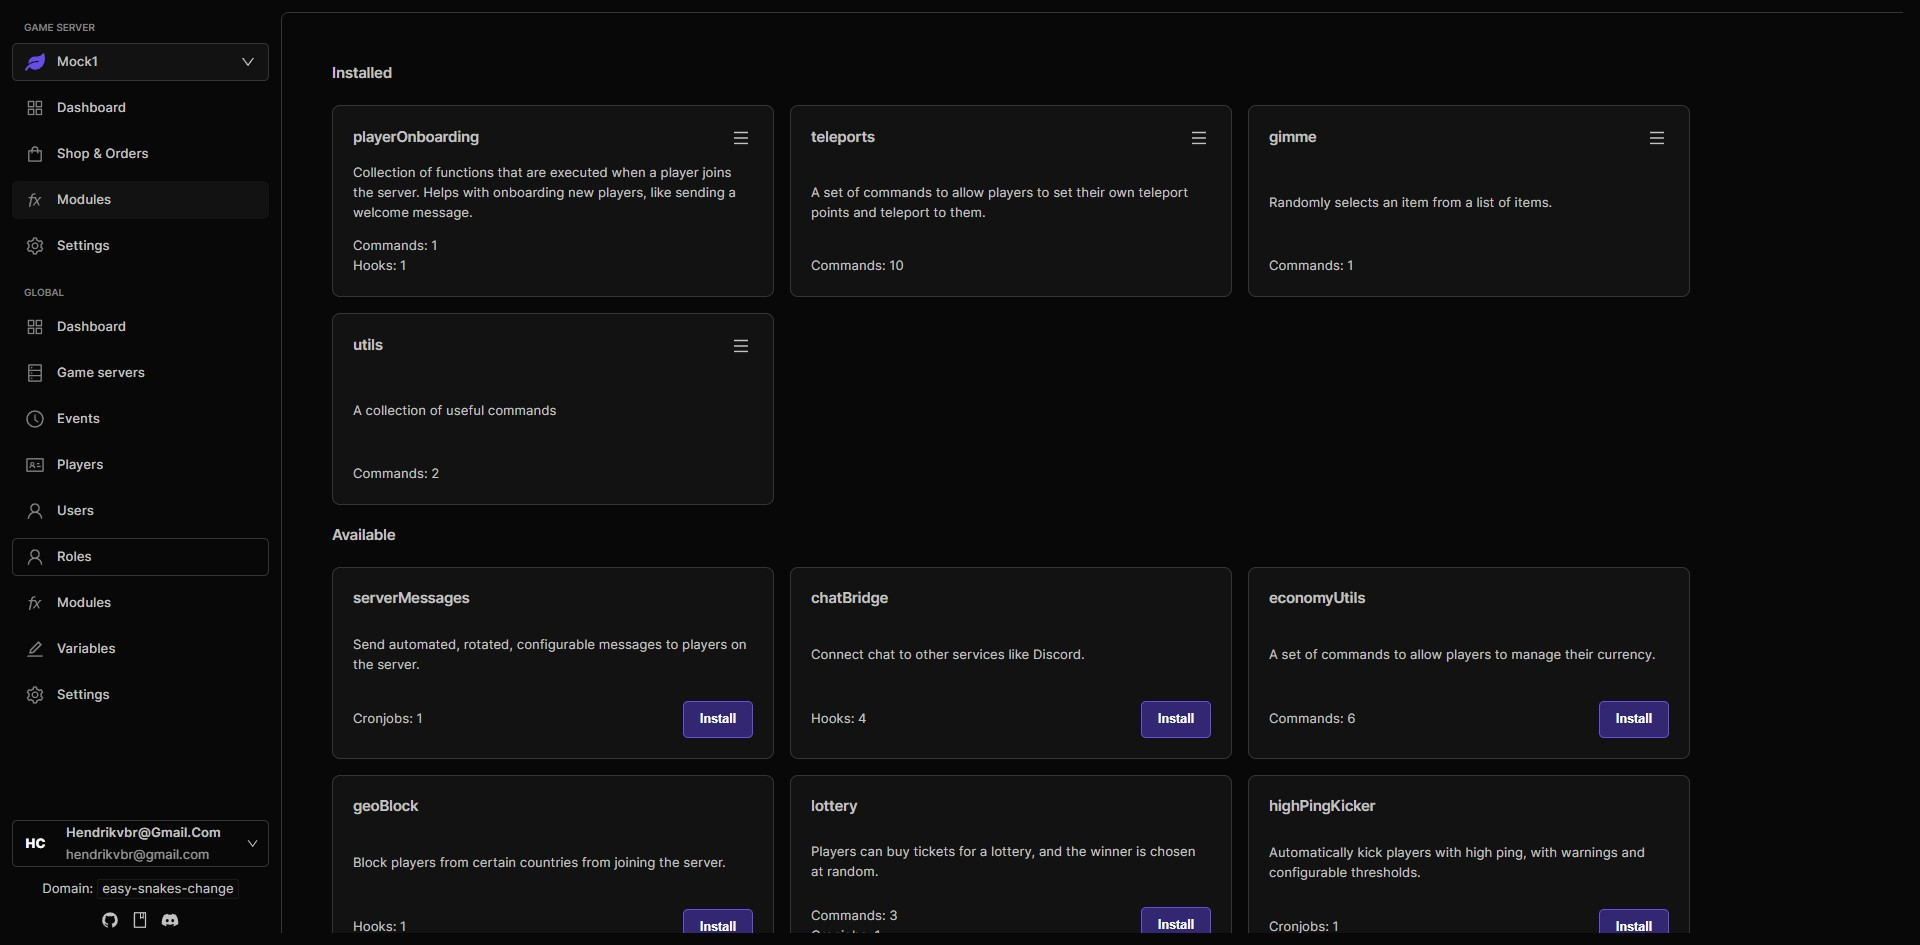
Step 3: Navigate to Modules of the selected game server
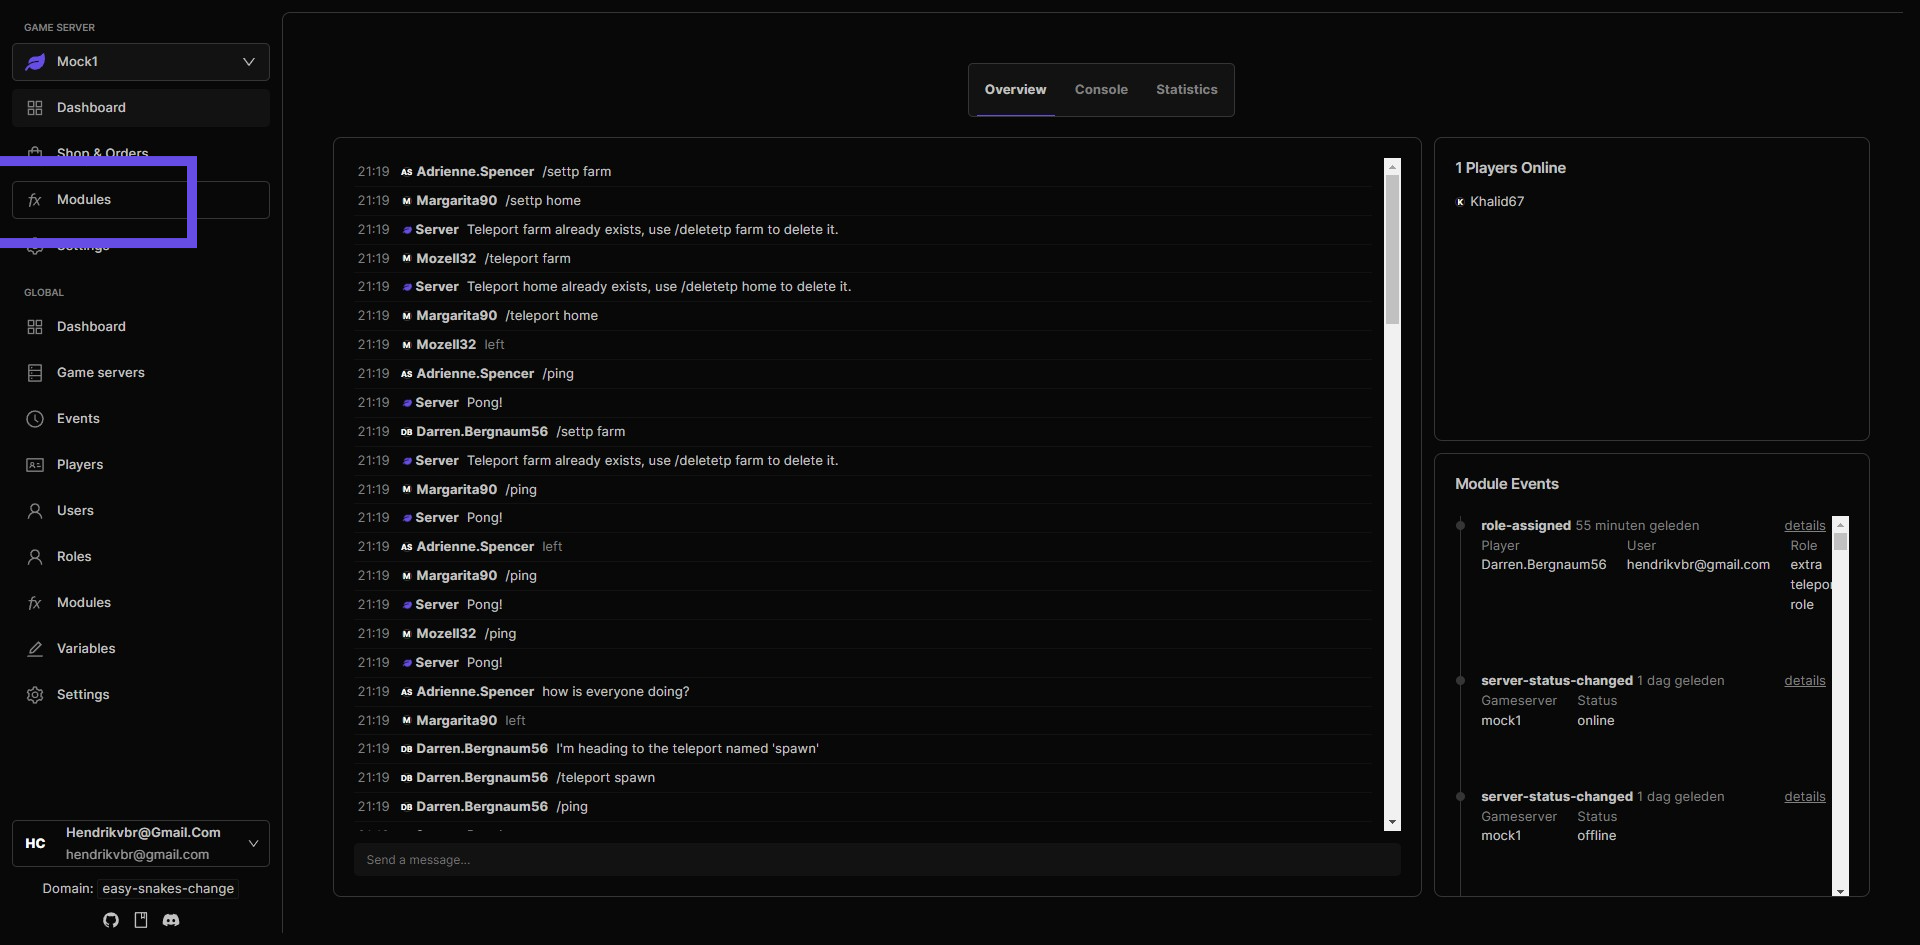
Step 4: Click the install button

Step 5: This opens the module config
You will see a list of settings that you can configure. You will also find the list of commands that are part of this module. $tplist - Lists all your set locations.
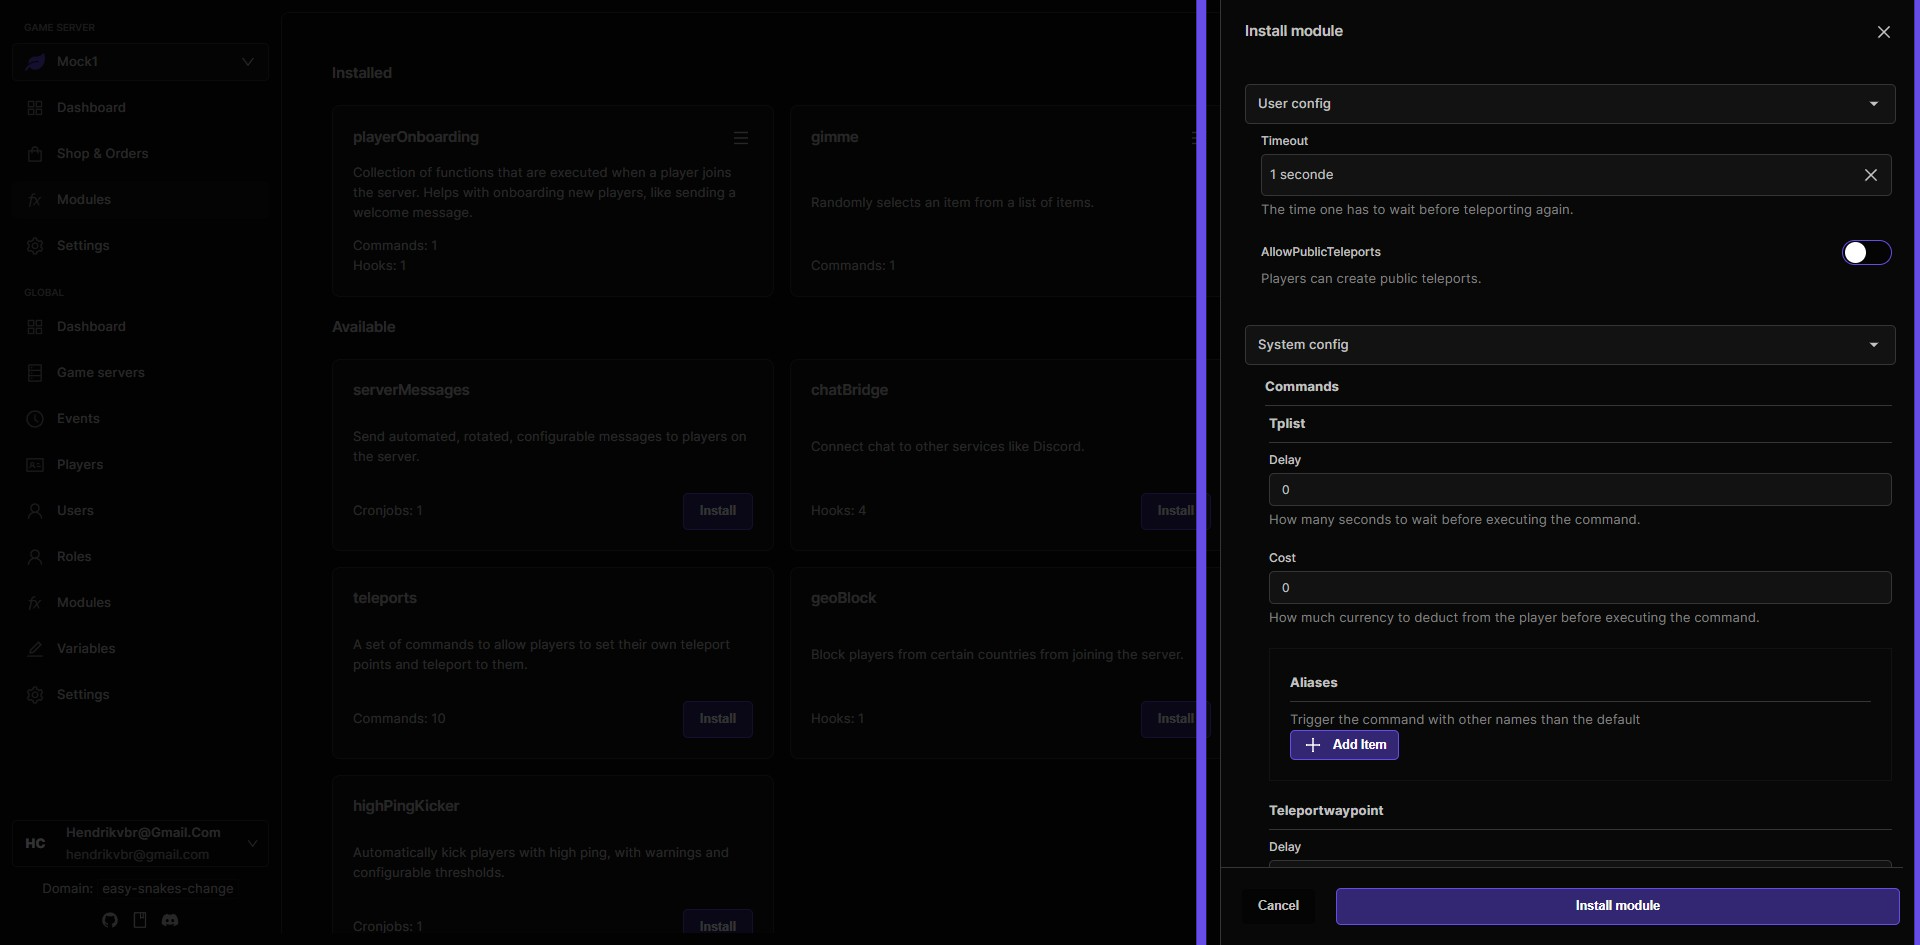
Step 6: $teleportwaypoint command
The module will install aliases for this command corresponding to the waypoint names. The $teleportwaypoint command is a base command that won't be used directly. Instead, the module will create custom commands for each waypoint name you set up. This allows players to teleport to specific locations easily.
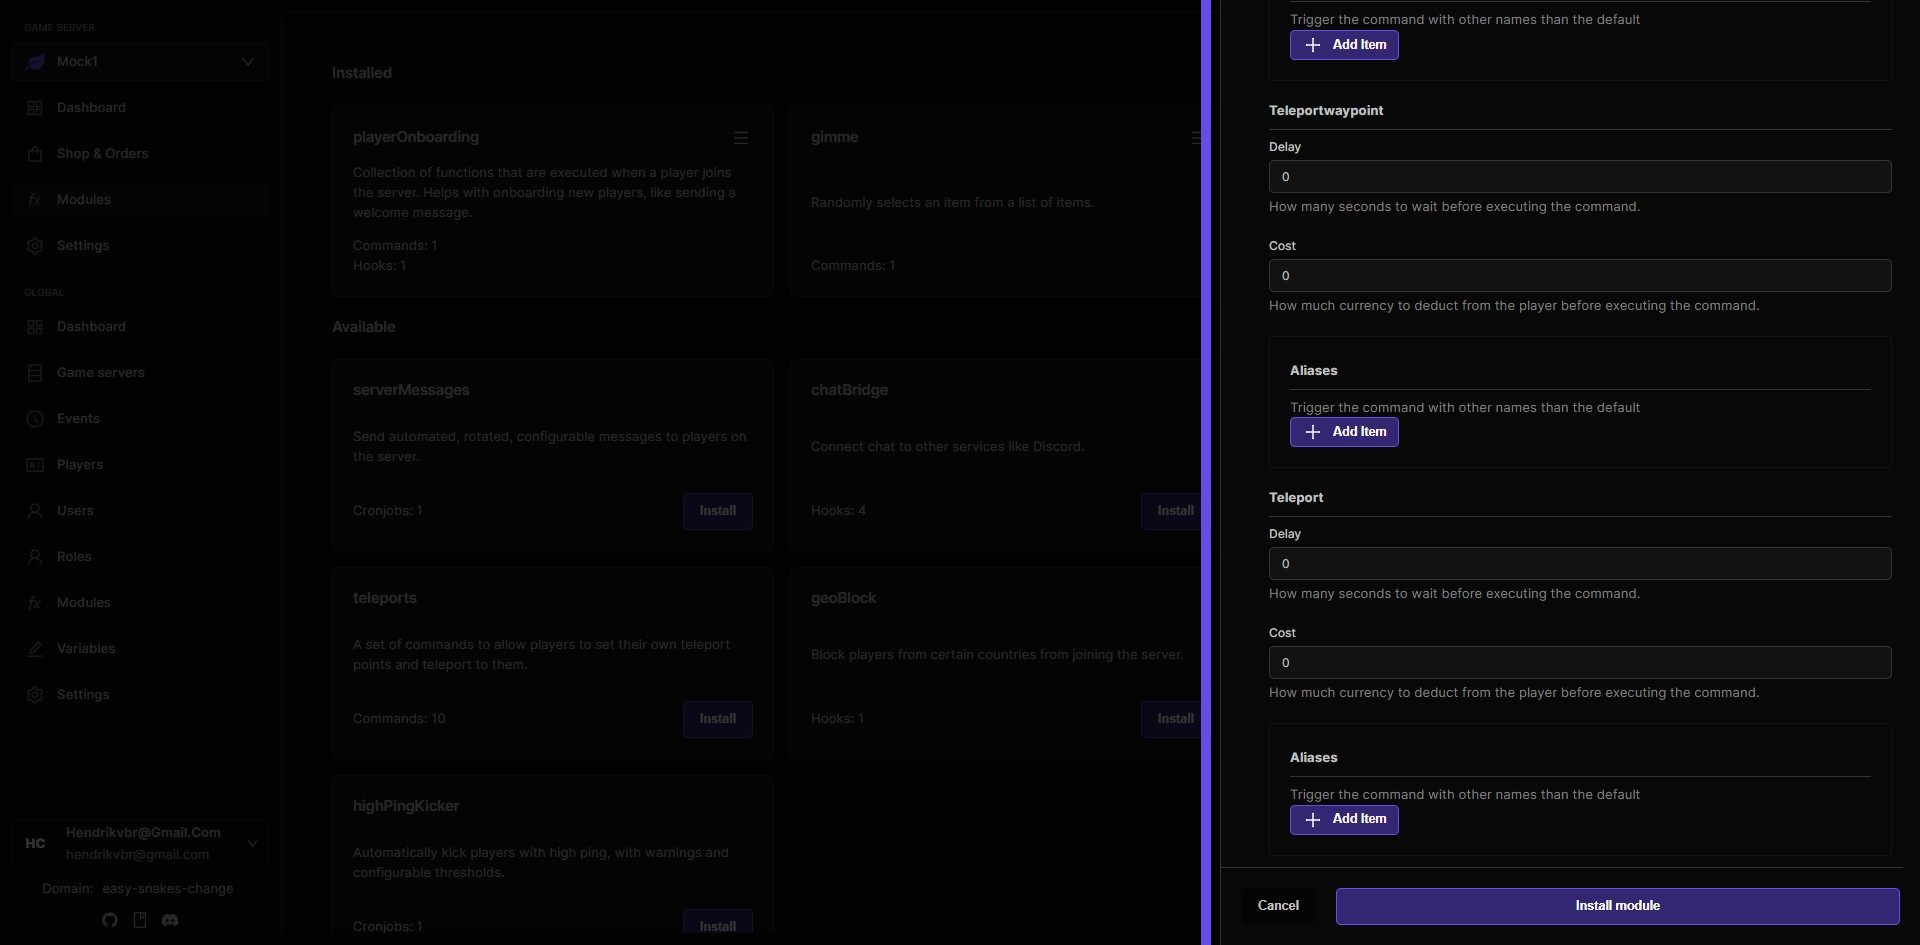
Step 7: Select the amount of currency one teleport command costs
$teleport command teleports you to one of your set locations.
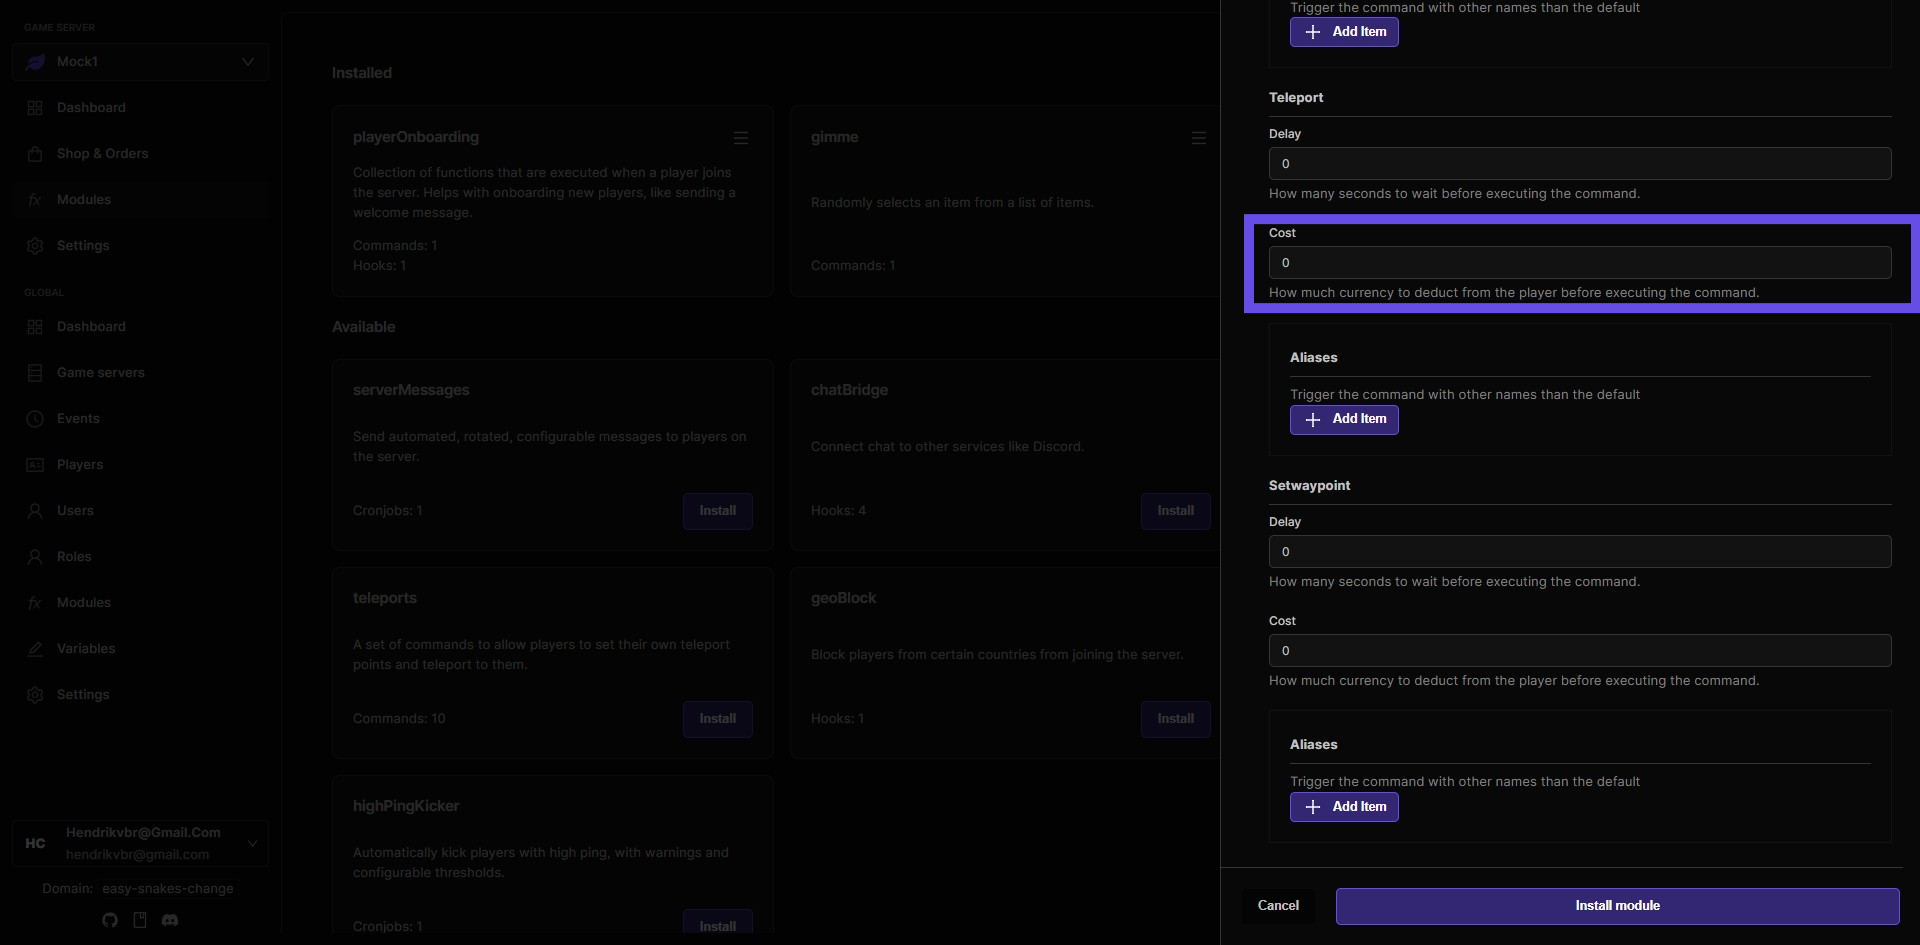
Step 8: $setwaypoint creates a new waypoint
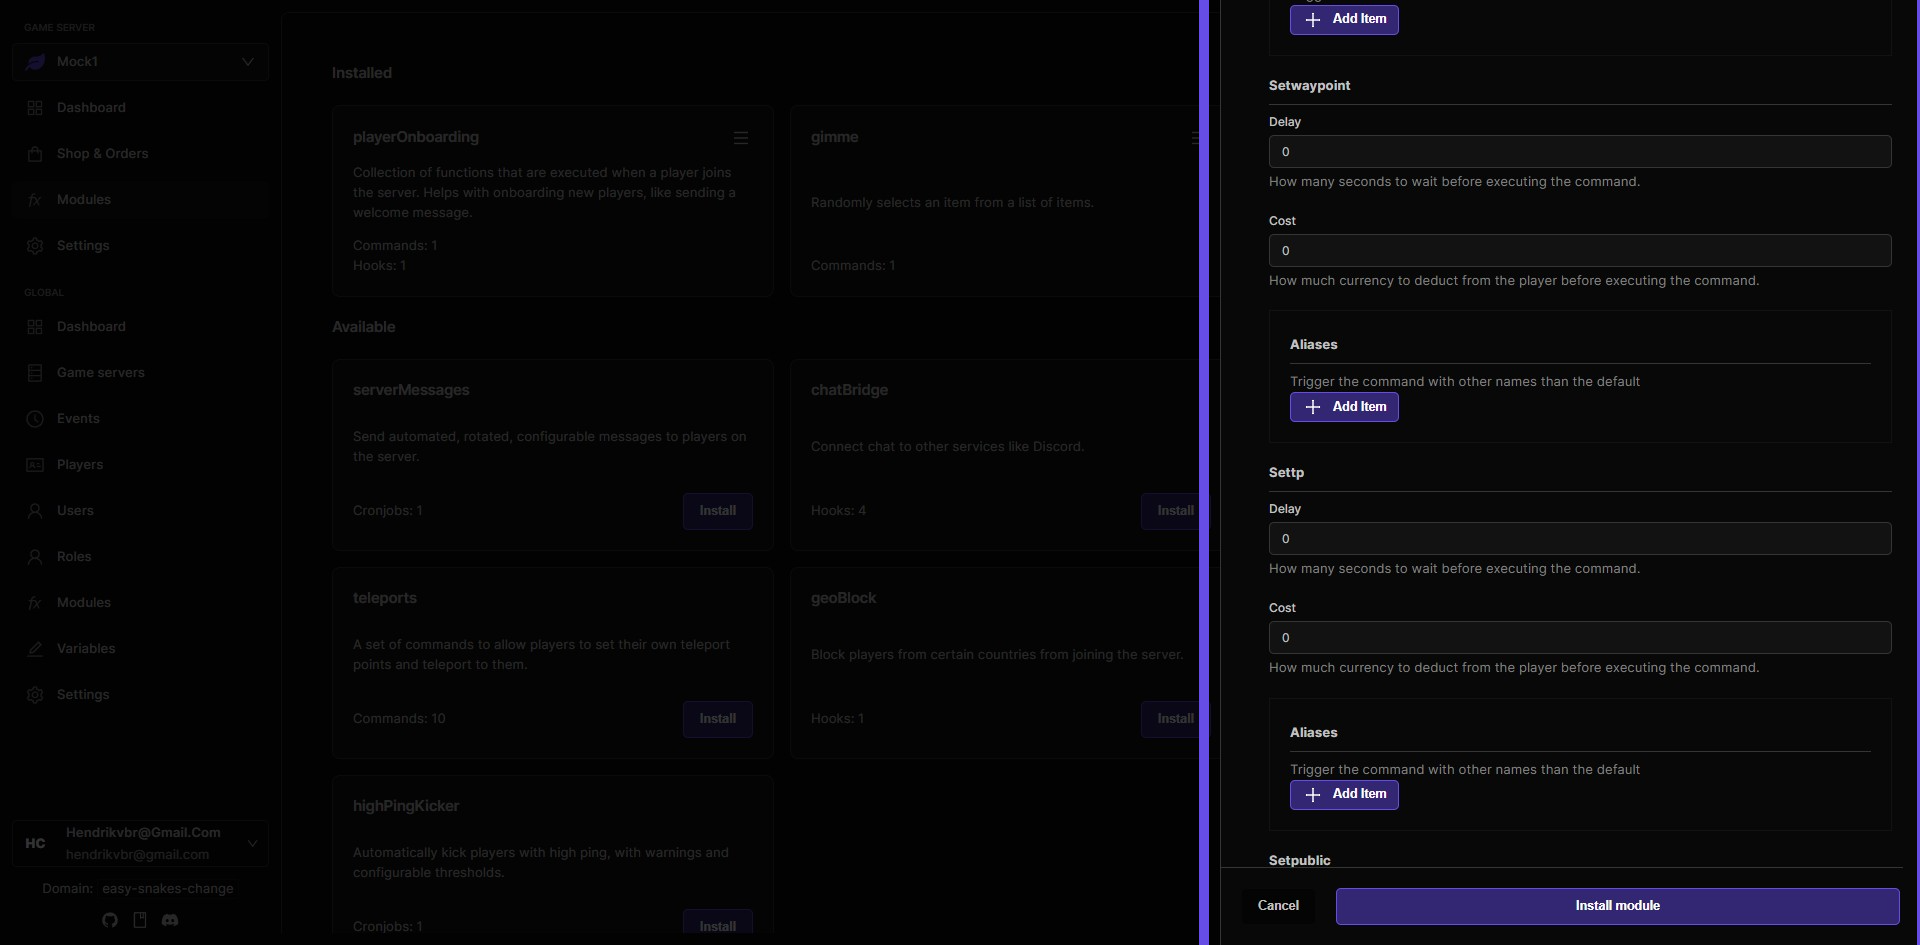
Step 9: $settp sets a location to teleport to

Step 10: $setpublic sets a teleport to be public, allowing other players to teleport to it
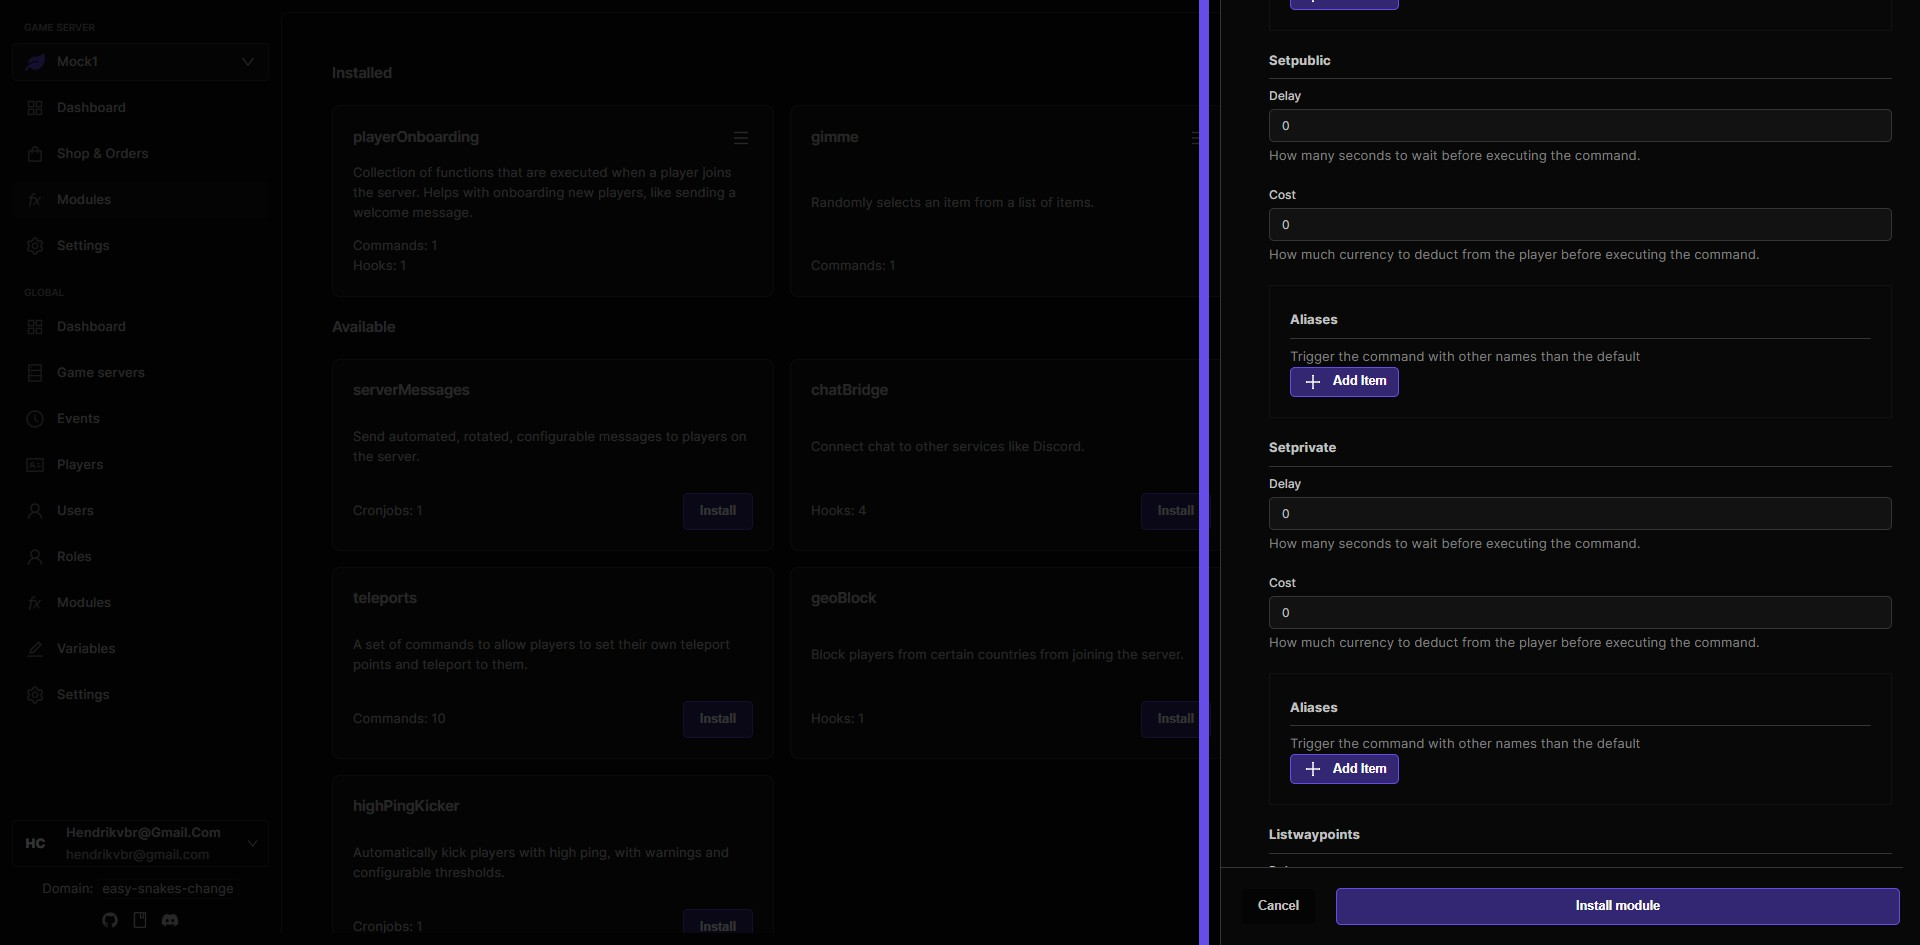
Step 11: $setprivate sets a teleport to be private, only the teleport owner can teleport to it
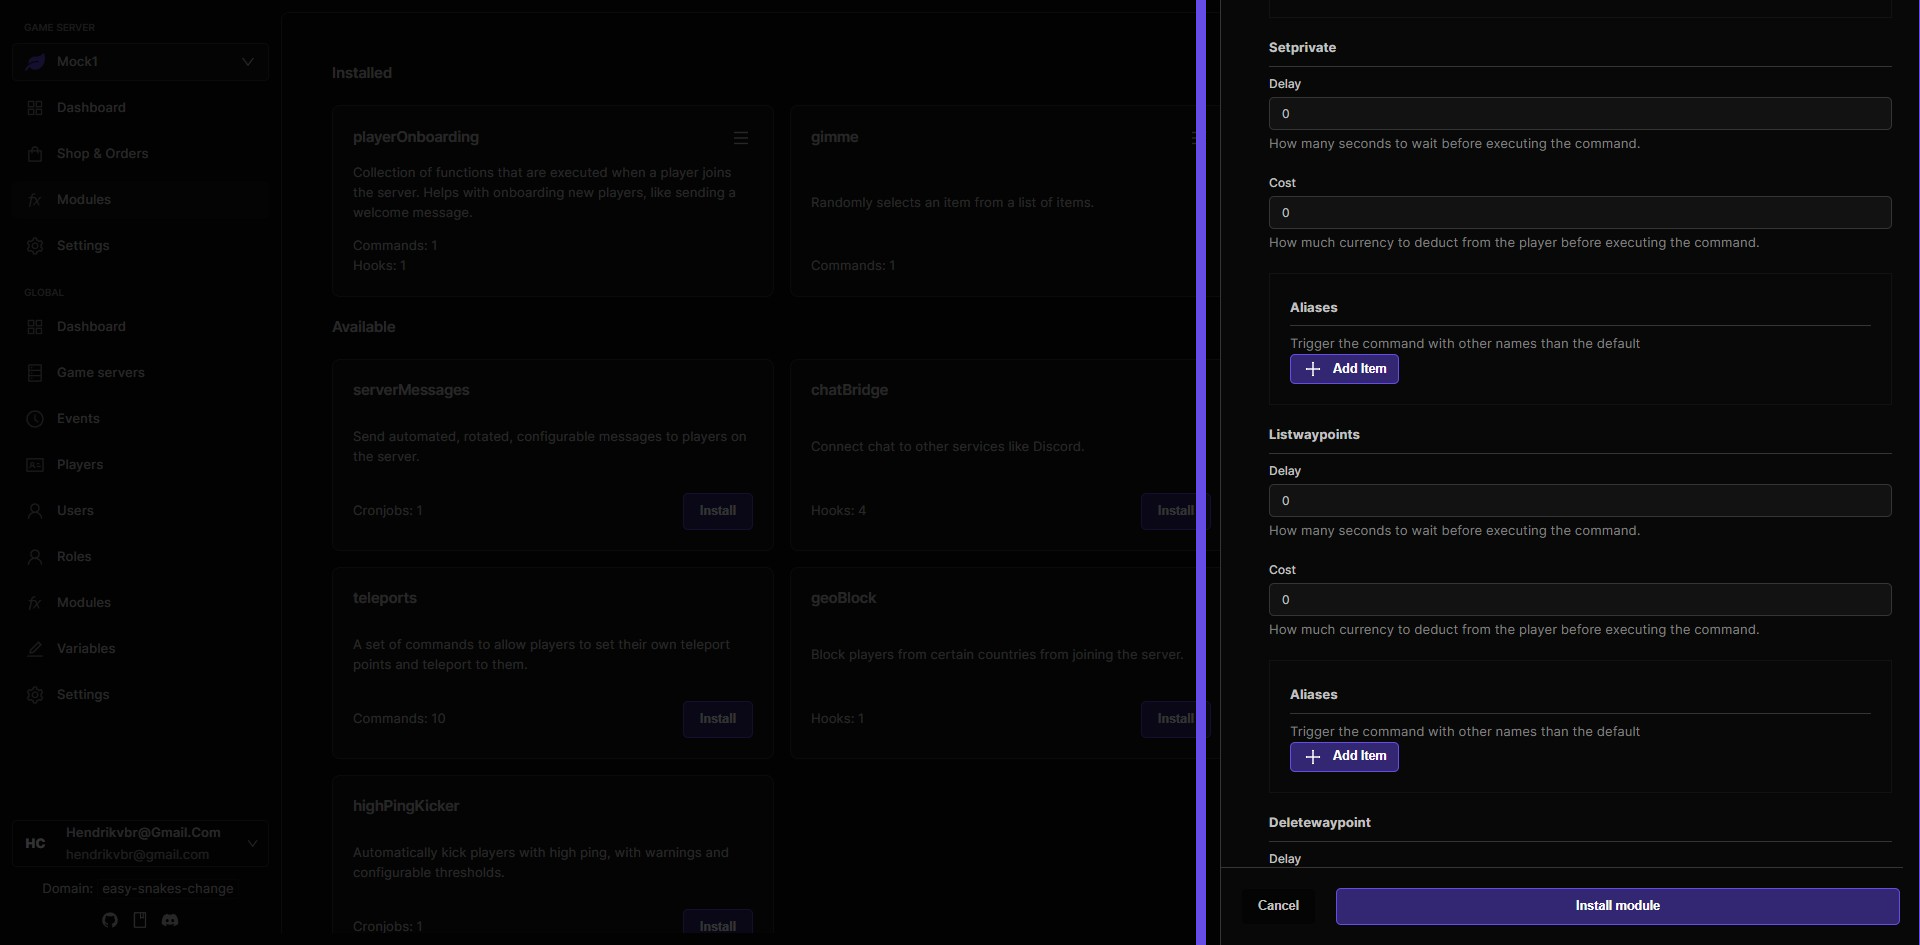
Step 12: $listwaypoints lists all waypoints
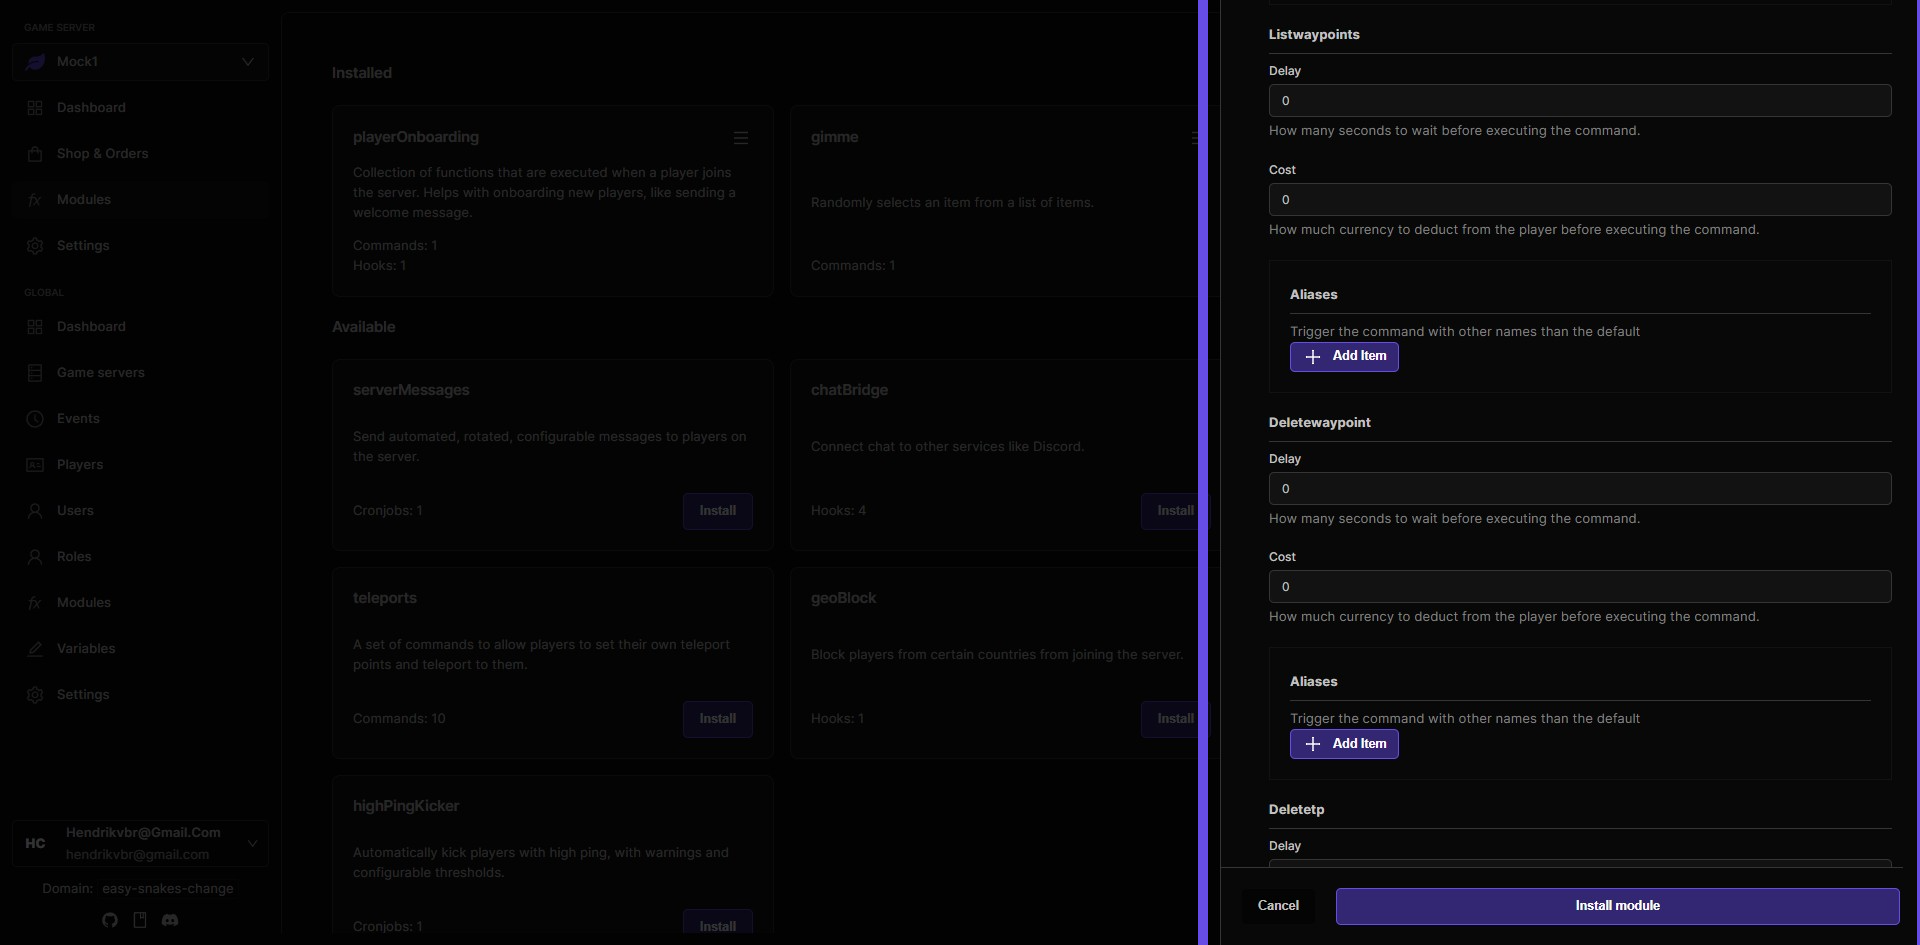
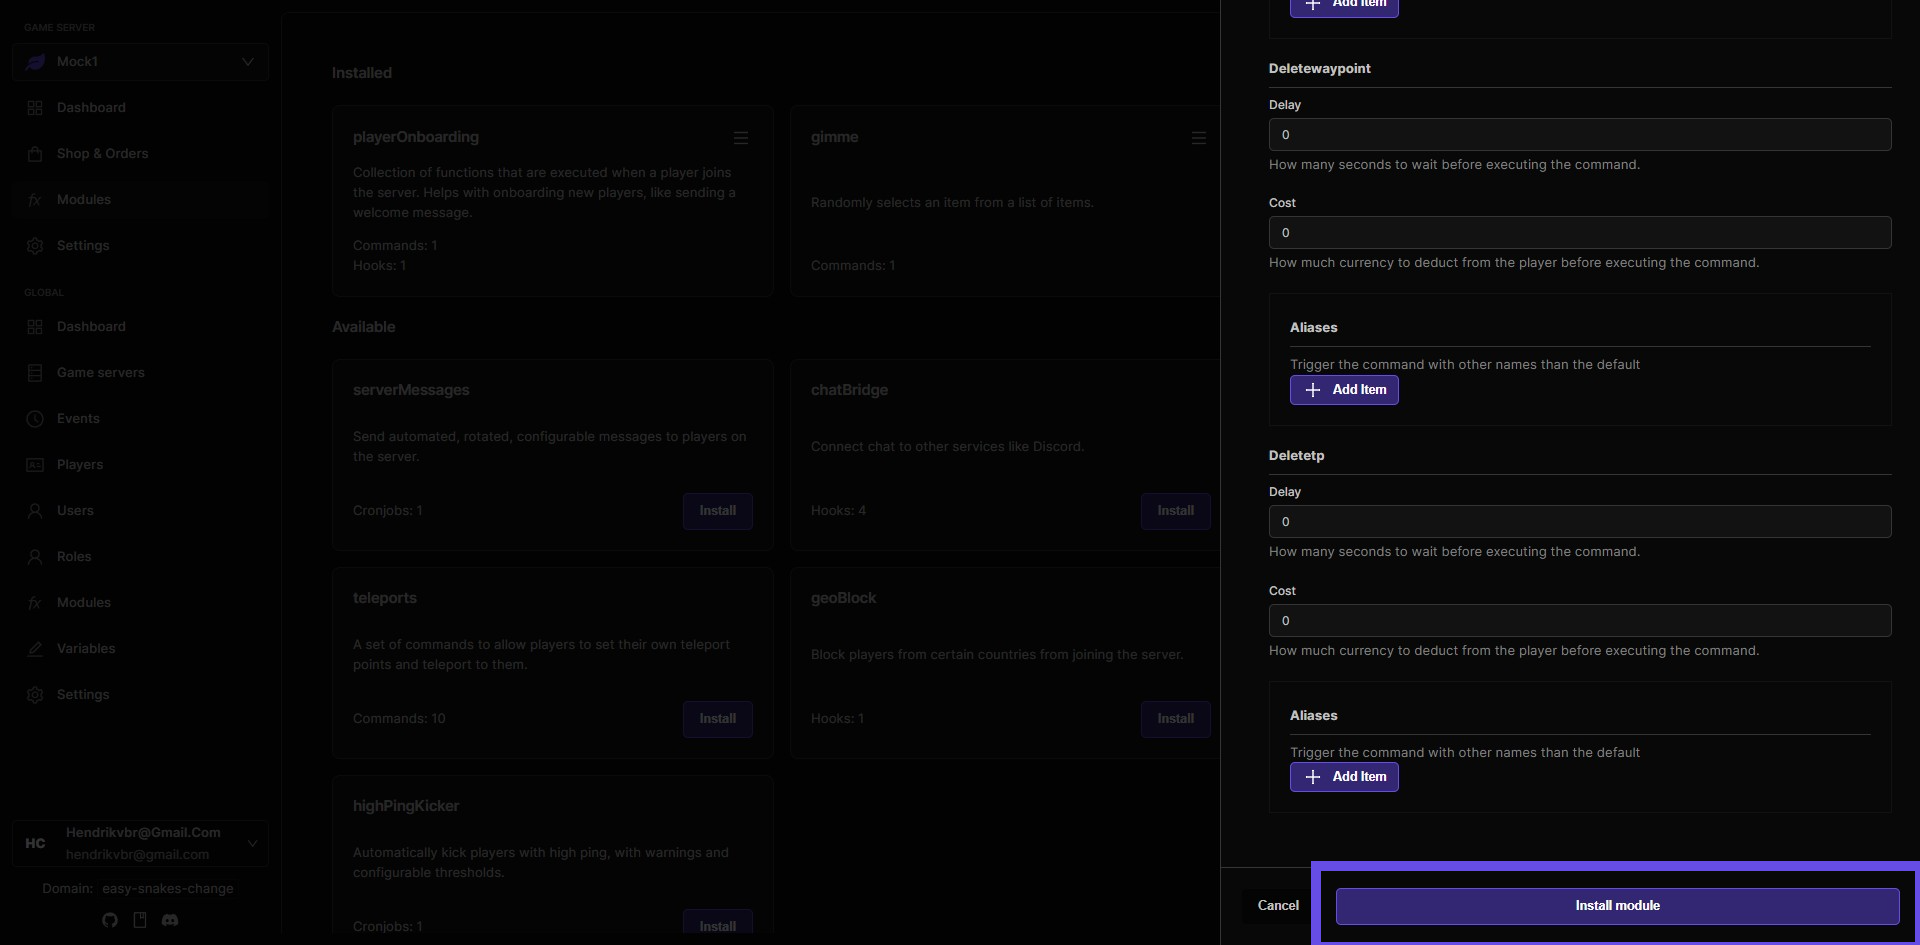
Step 13: $deletewaypoint deletes a waypoint

Step 14: Click Install module button when you are finished with the config
Assign the permission to the right role
Step 15: Now you need to assign the permission to the right role
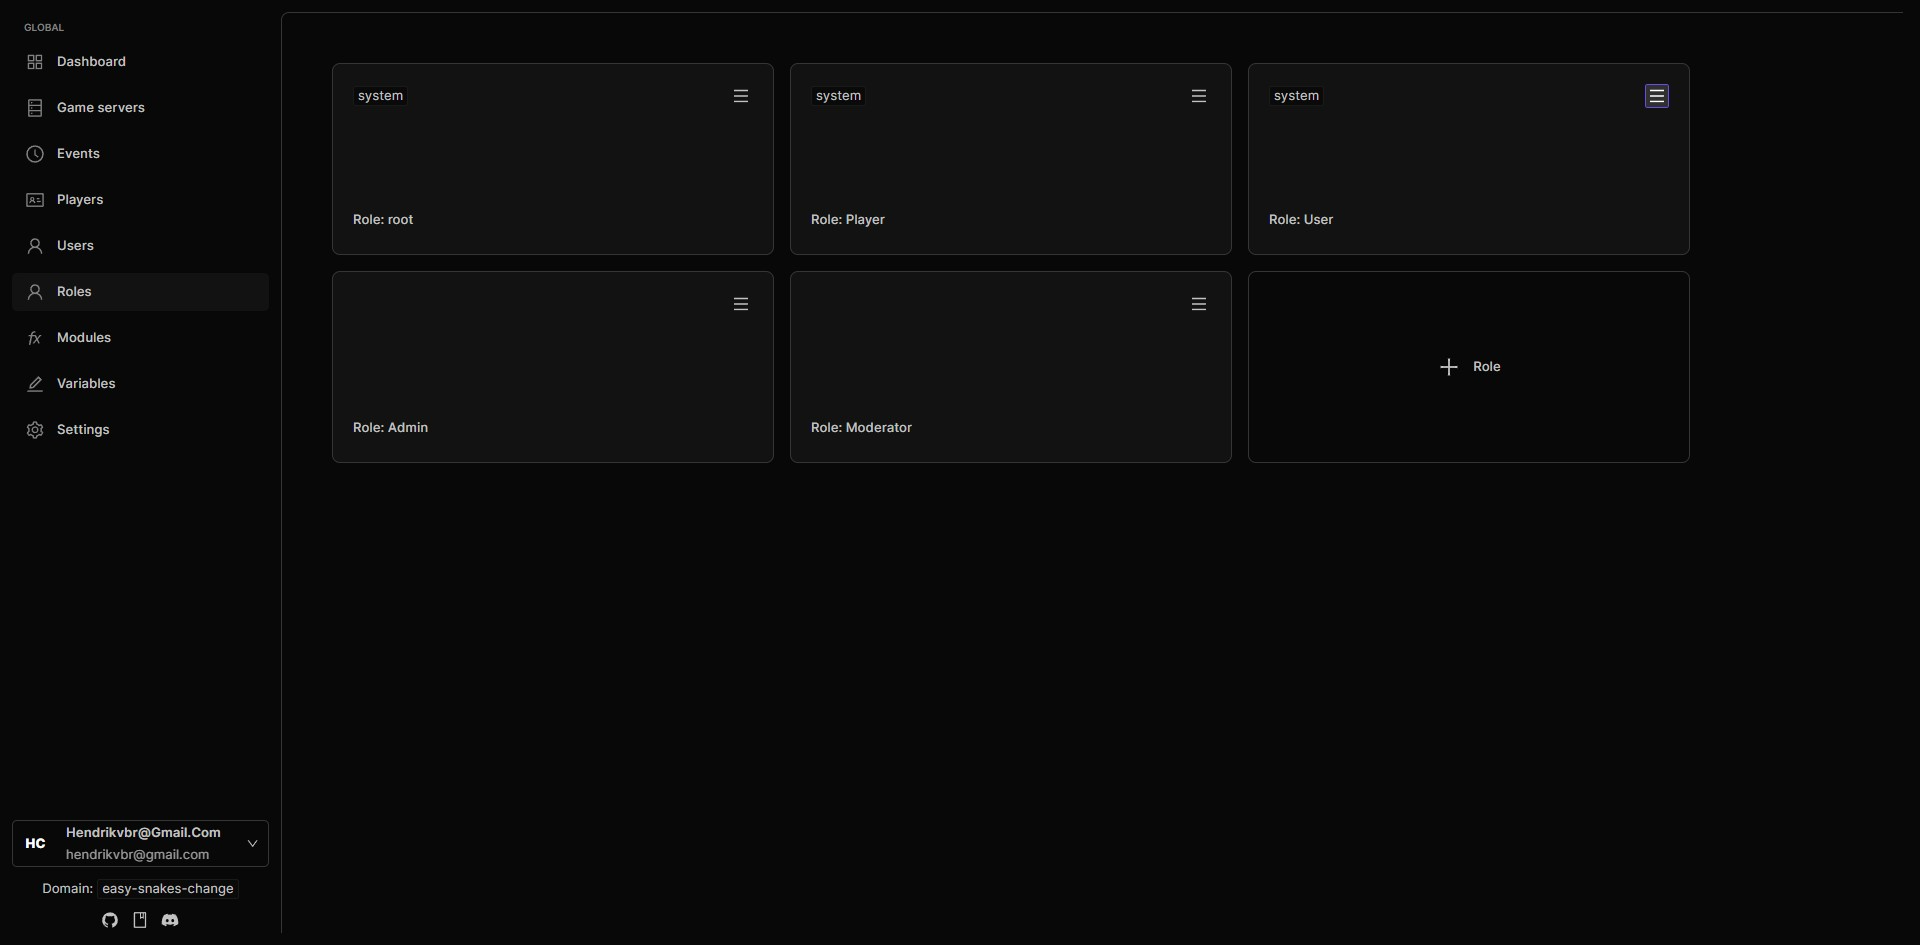
Now that you've installed the Teleports module, the next step is to set up the appropriate permissions. Navigate to the "Roles" section in the global navigation to begin assigning teleport-related permissions to player roles.
Step 16: Now you need to assign the permission to the right role
You can decide to add this permission to the standard Player role, or you can create a new role dedicated for teleports. In this guide, we are going to do both. We will first start with the Player role. The Player role is the role that all players will have when they join your game server.
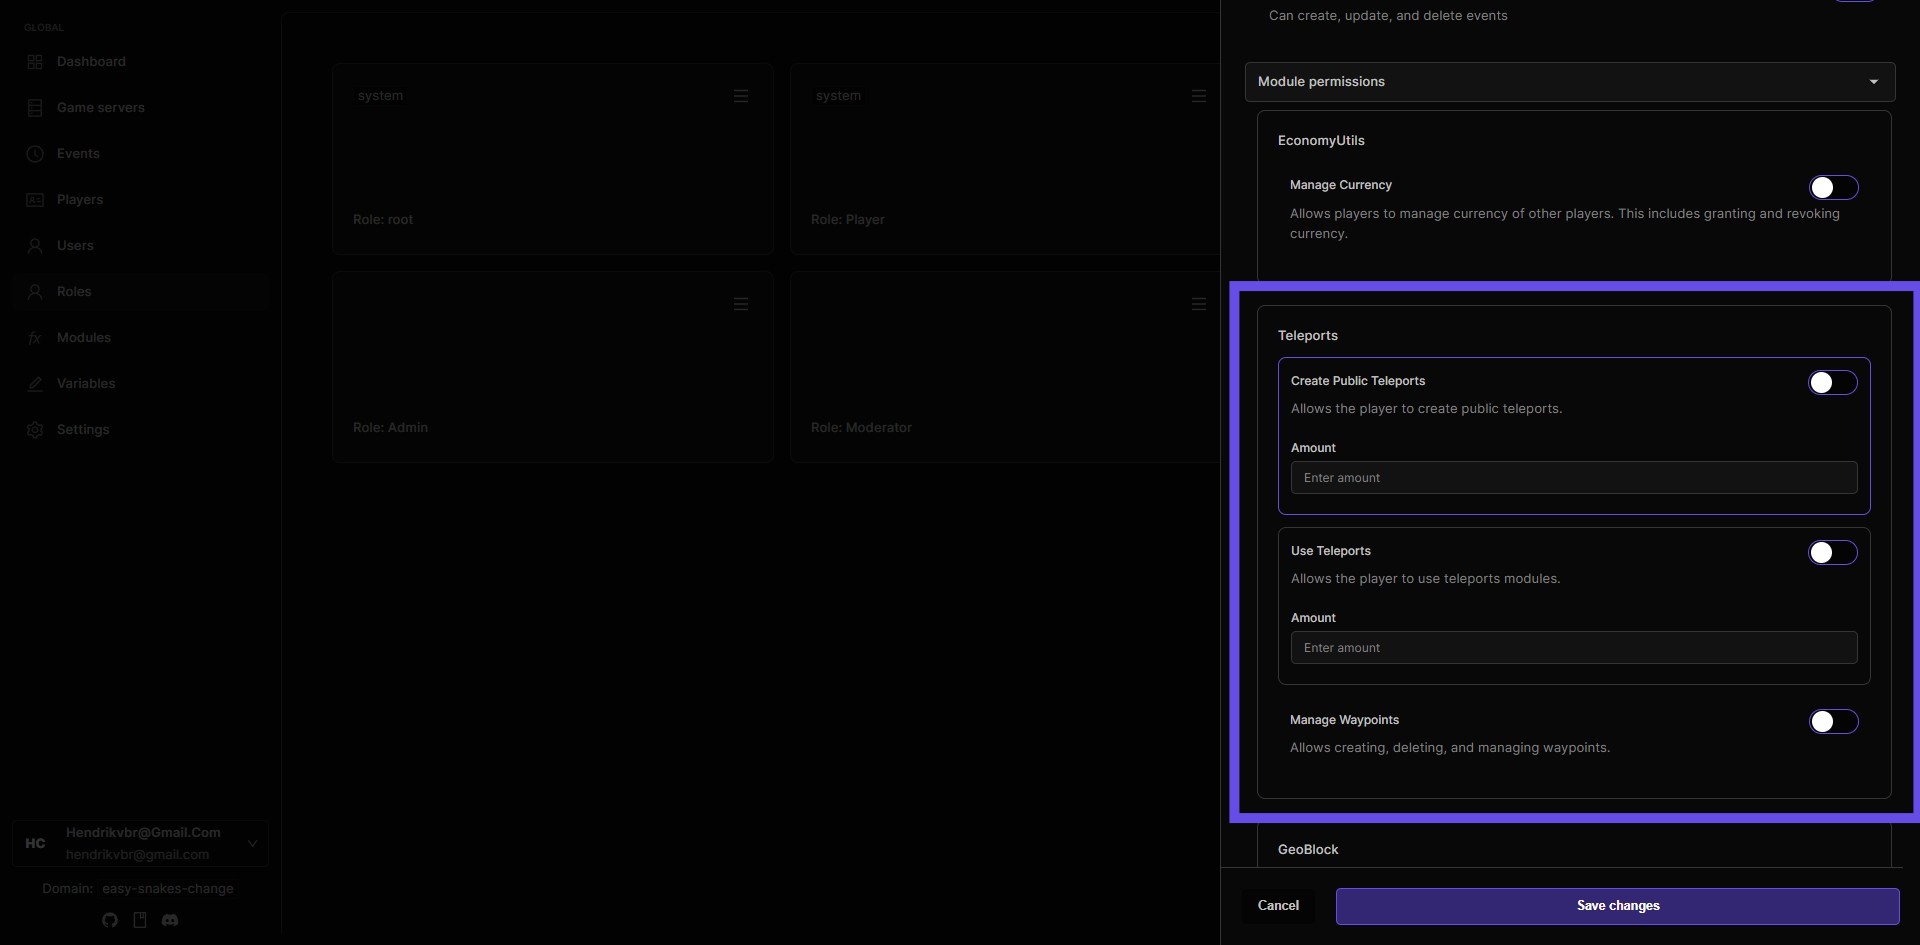
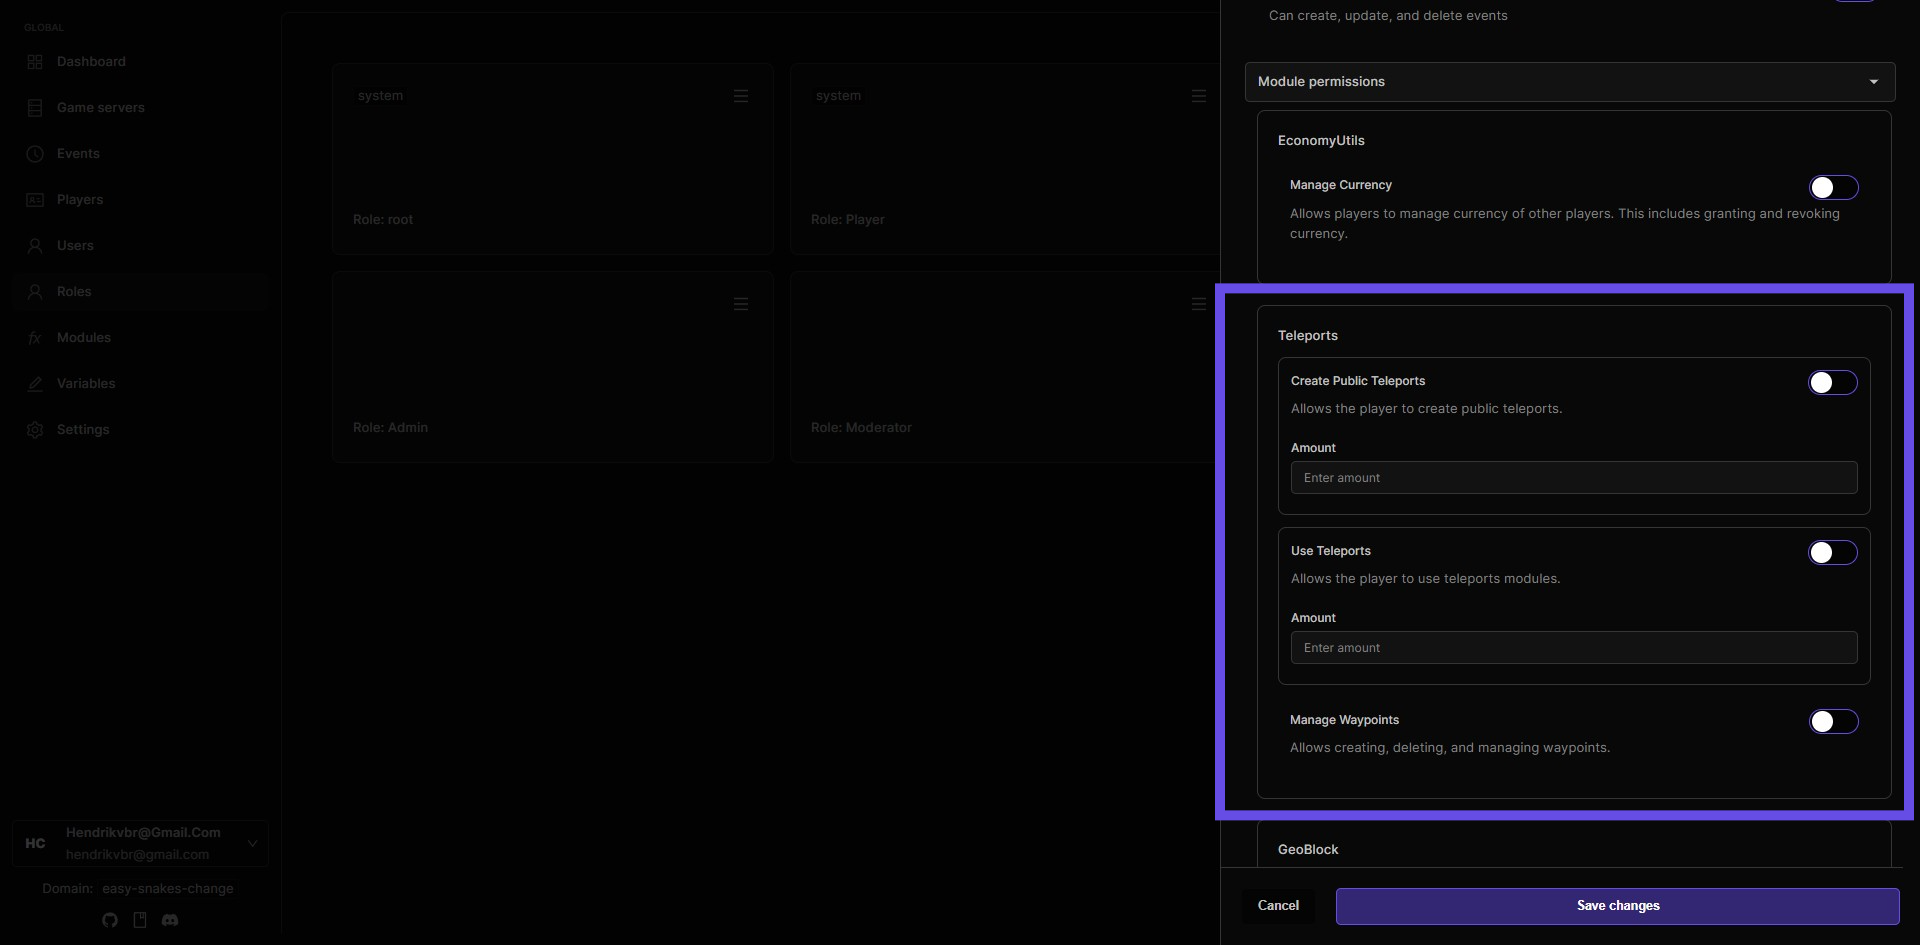
Step 17: Teleports Module Permissions Overview
Create Public Teleports: Allows players to create teleport points accessible to others. Use Teleports: Enables players to use existing teleport points. Manage Waypoints: Permits creating, modifying, and deleting personal or shared waypoints.
To activate a permission:
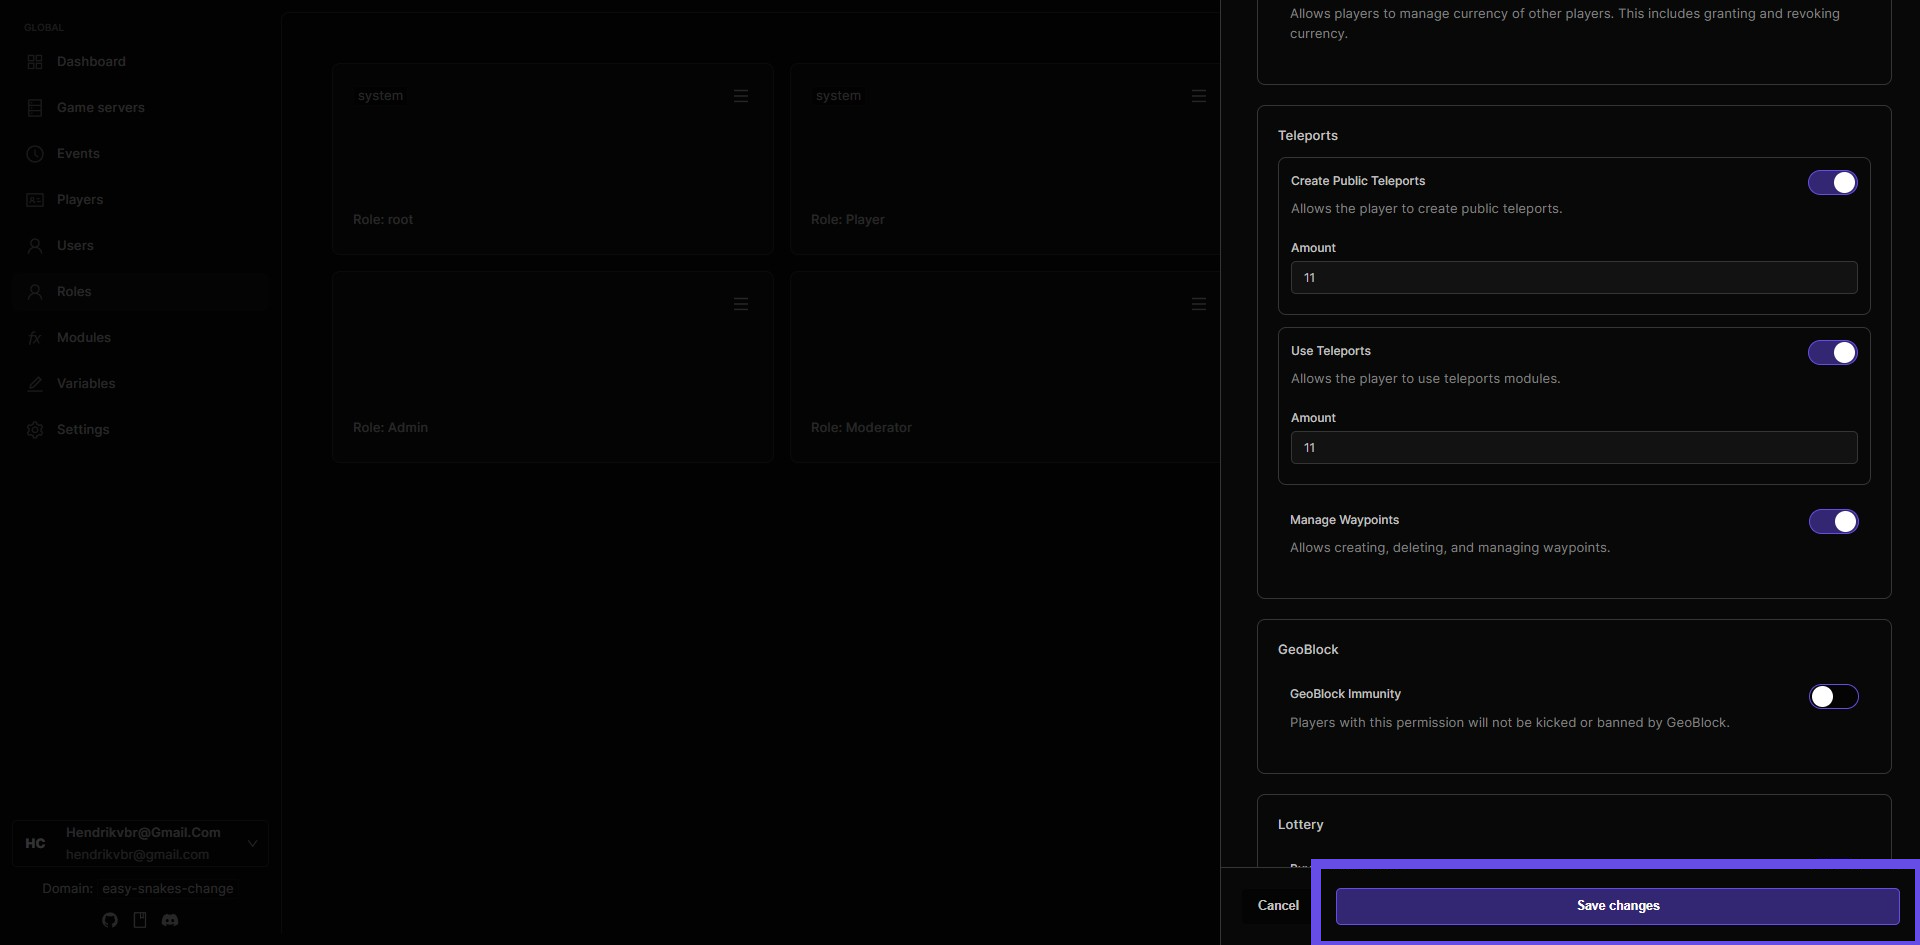
Toggle the switch to the right (on position). Set a cost in the "Amount" field if desired (leave blank or 0 for free use).
Step 18: Click Save changes button
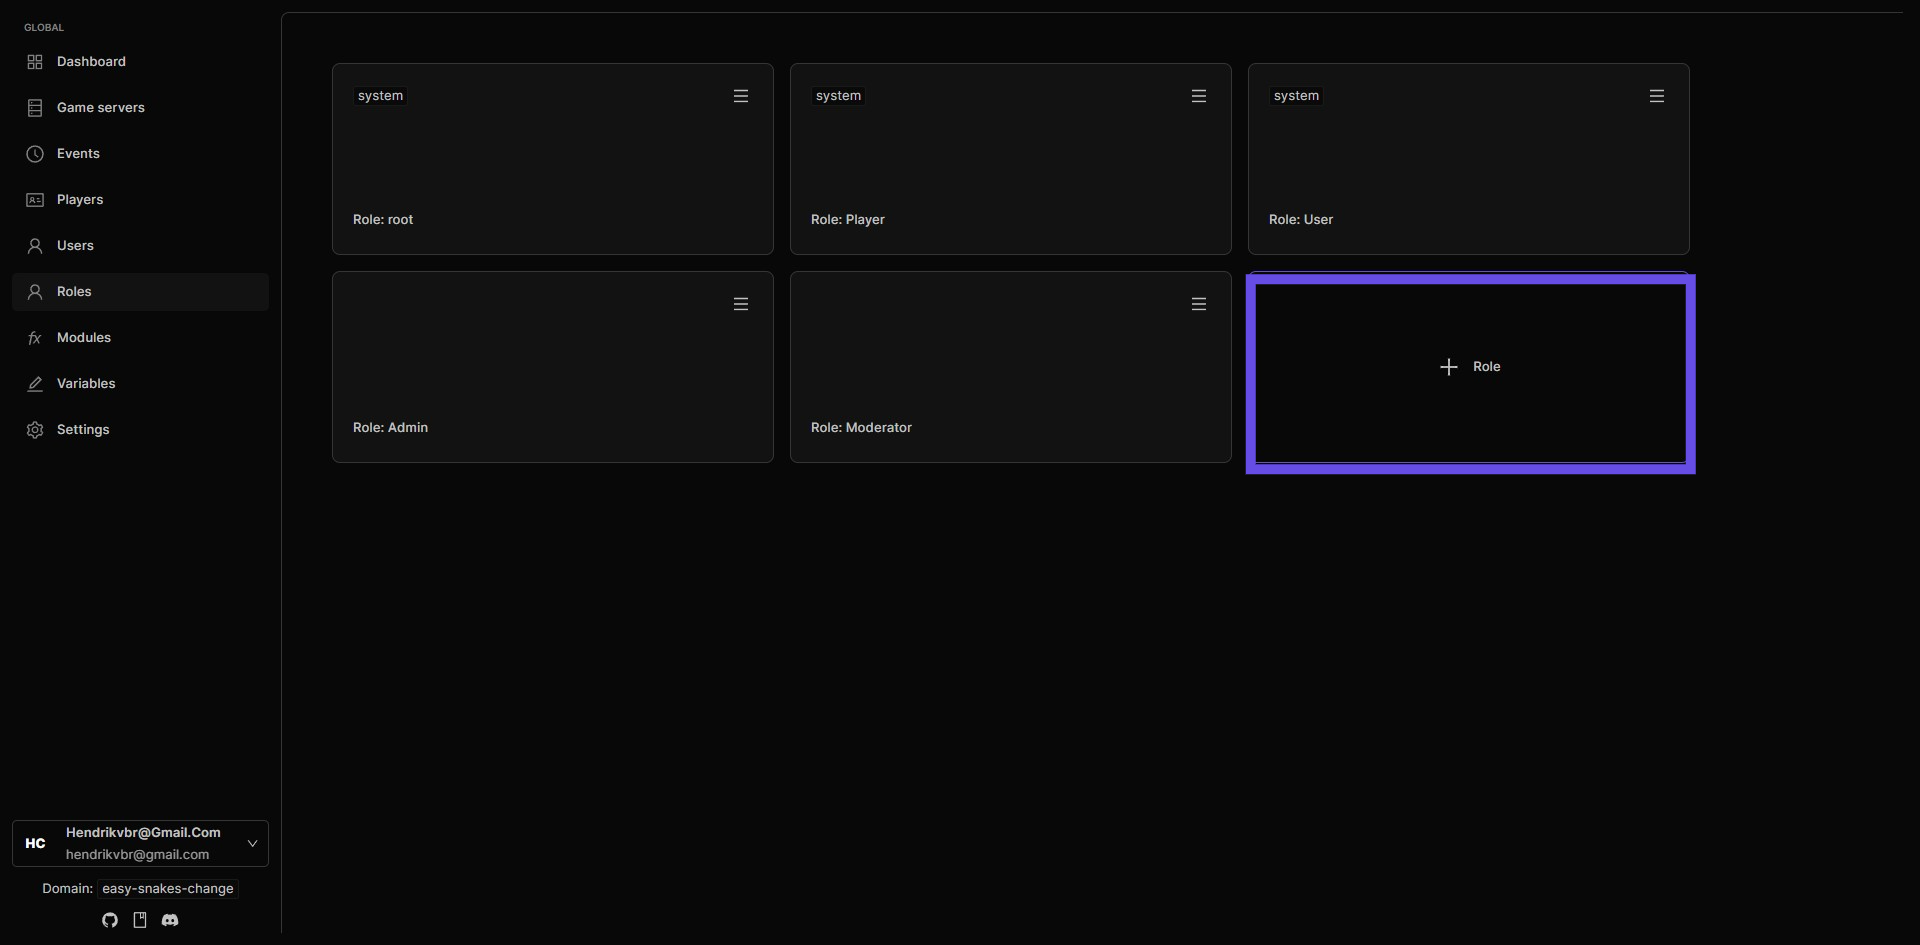
Step 19: Add a custom role for Teleports
Creating a dedicated teleport role allows for more flexible permission management. This is useful when you want to give enhanced teleport capabilities to certain players without changing permissions for all users.
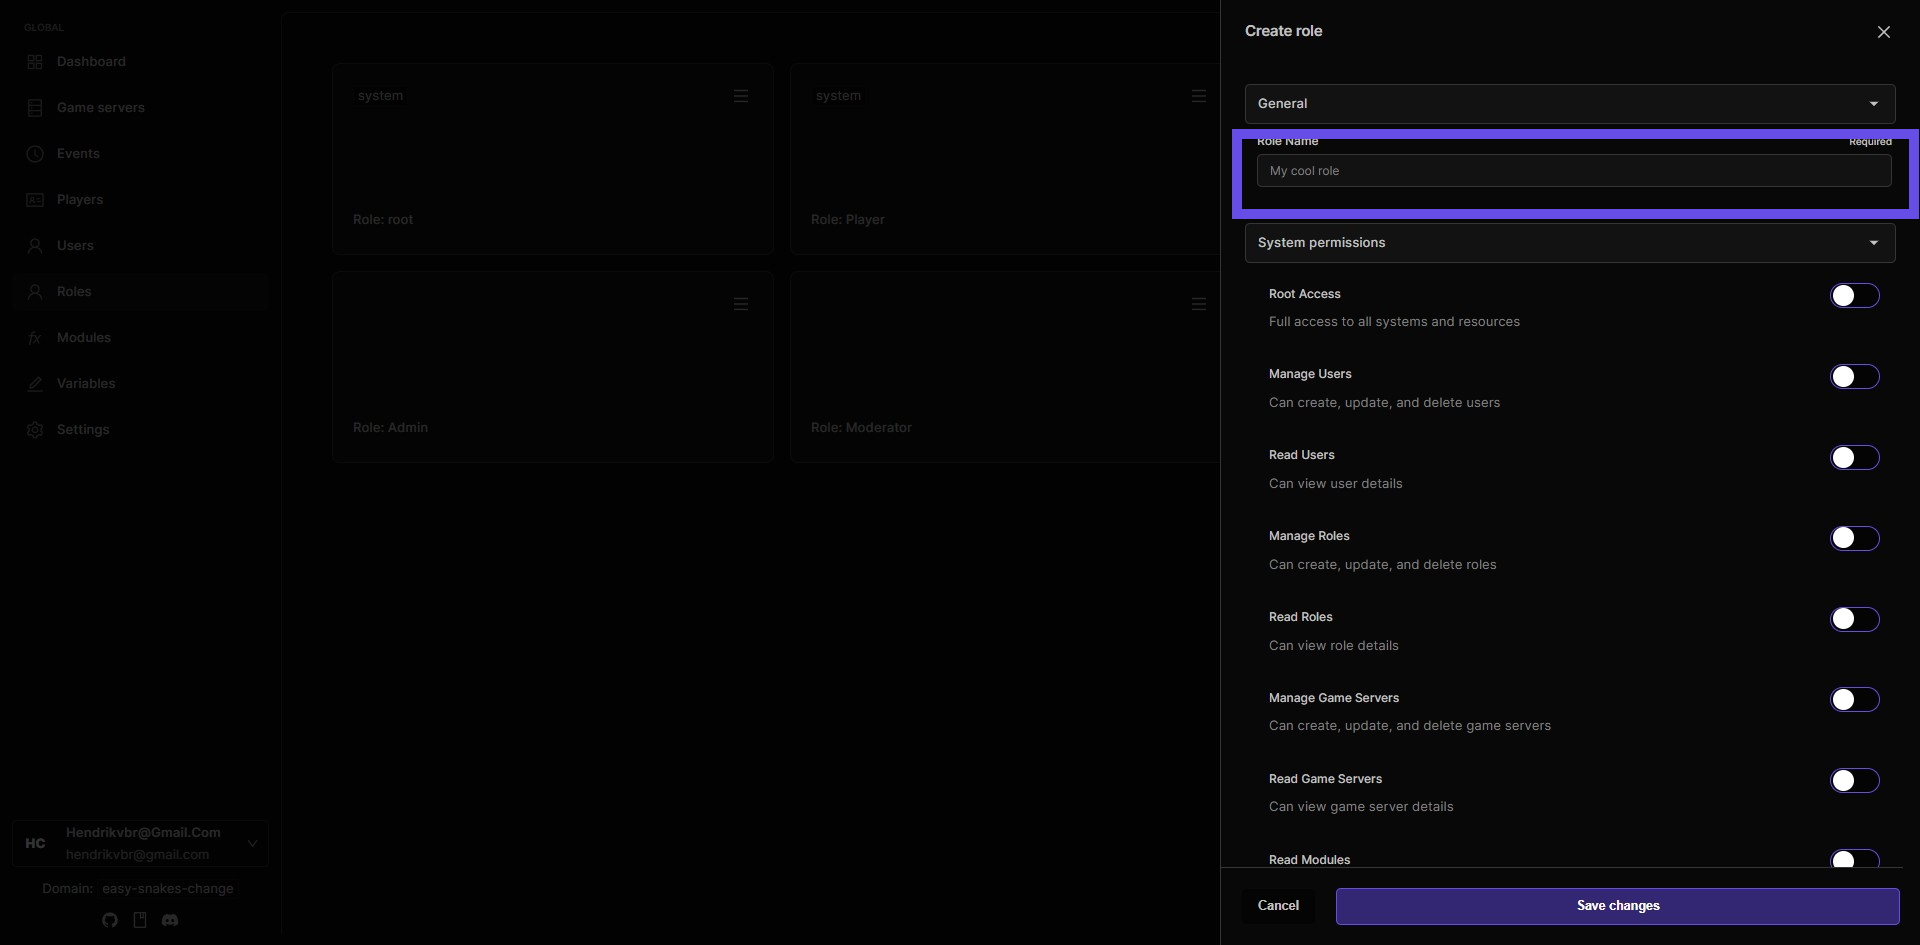
Step 20: Give your new role a recognizable name
Step 21: Configure teleport permissions for the new role
You'll see the same options as in Step 17: Create Public Teleports Use Teleports Manage Waypoints
Assign the role to the right player
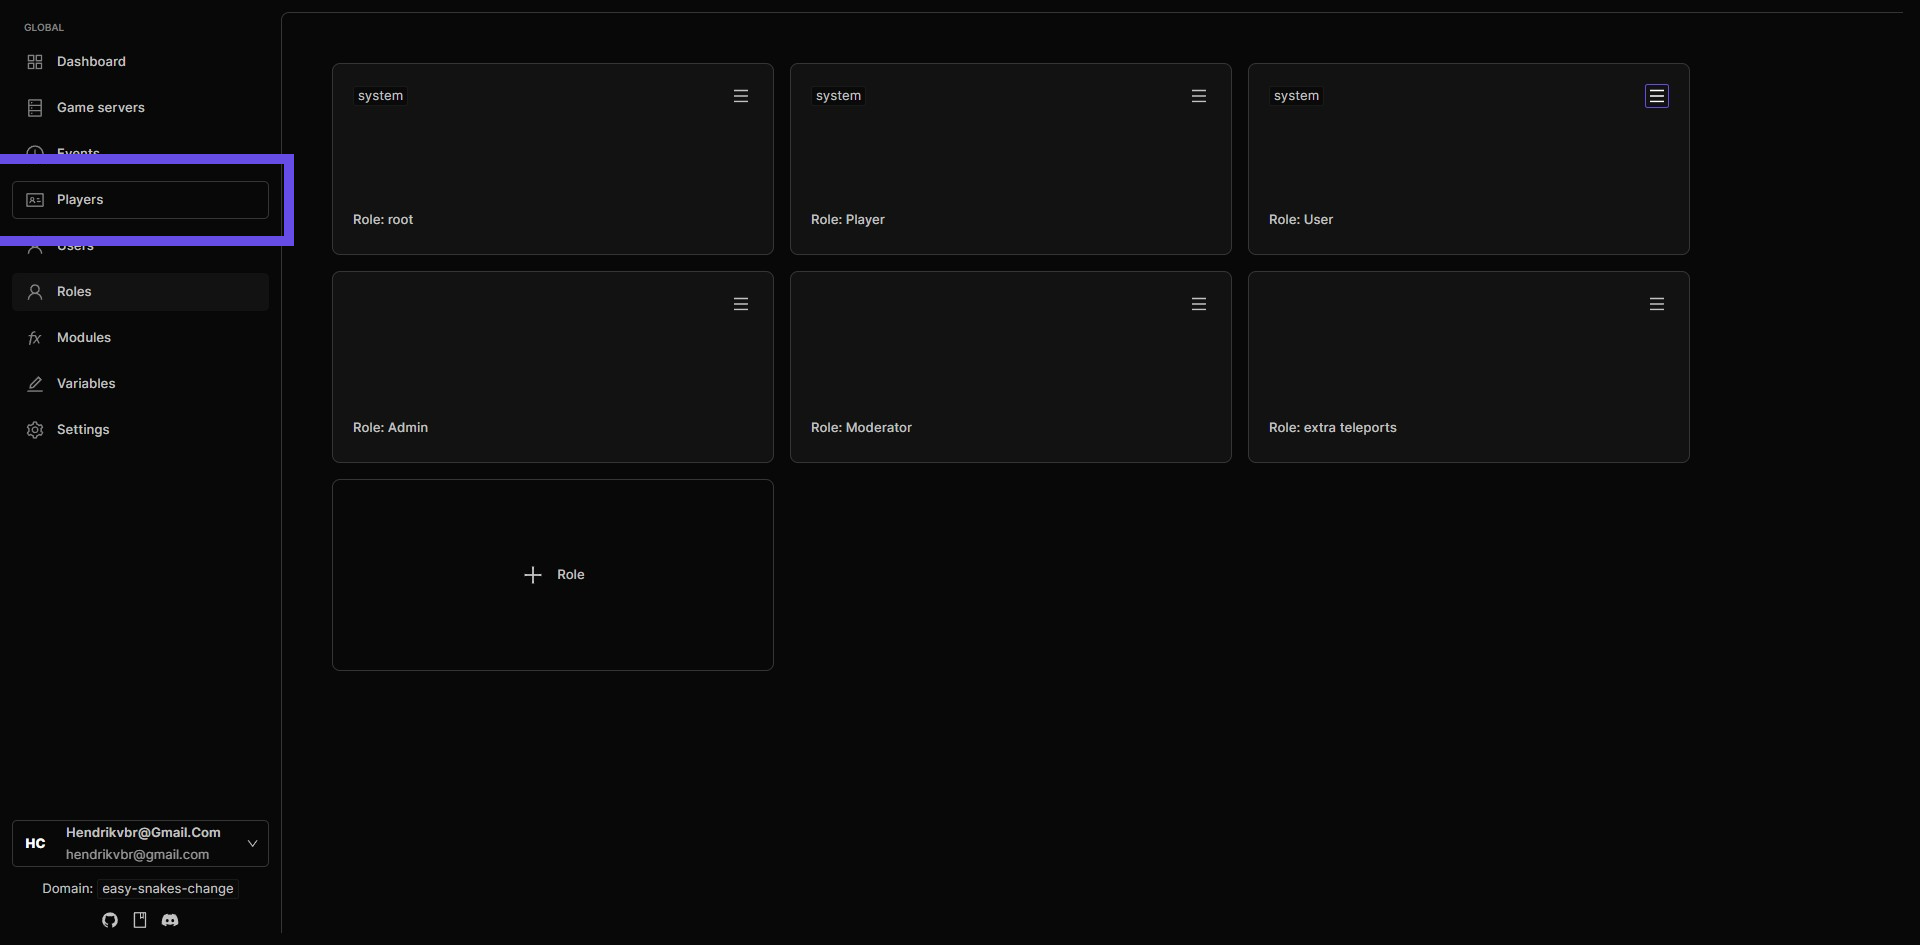
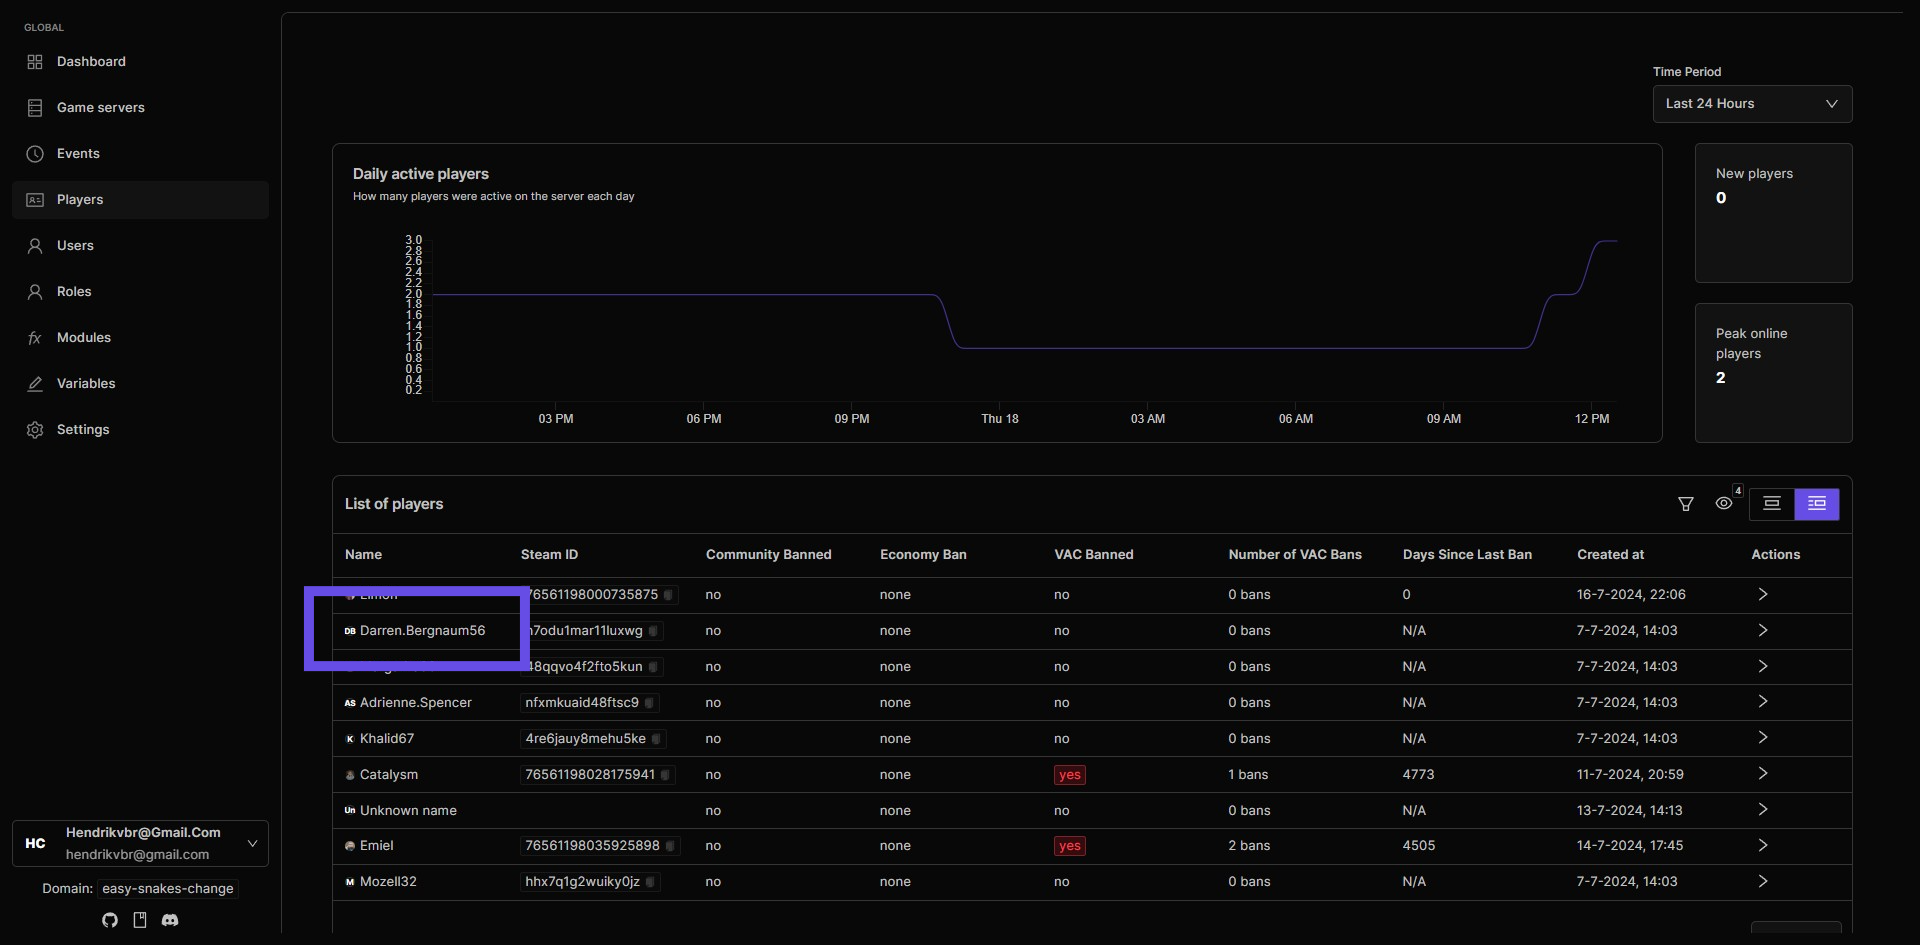
Step 22: Go to Players to assign the right role
Step 23: Navigate to the player you want to assign the special role to
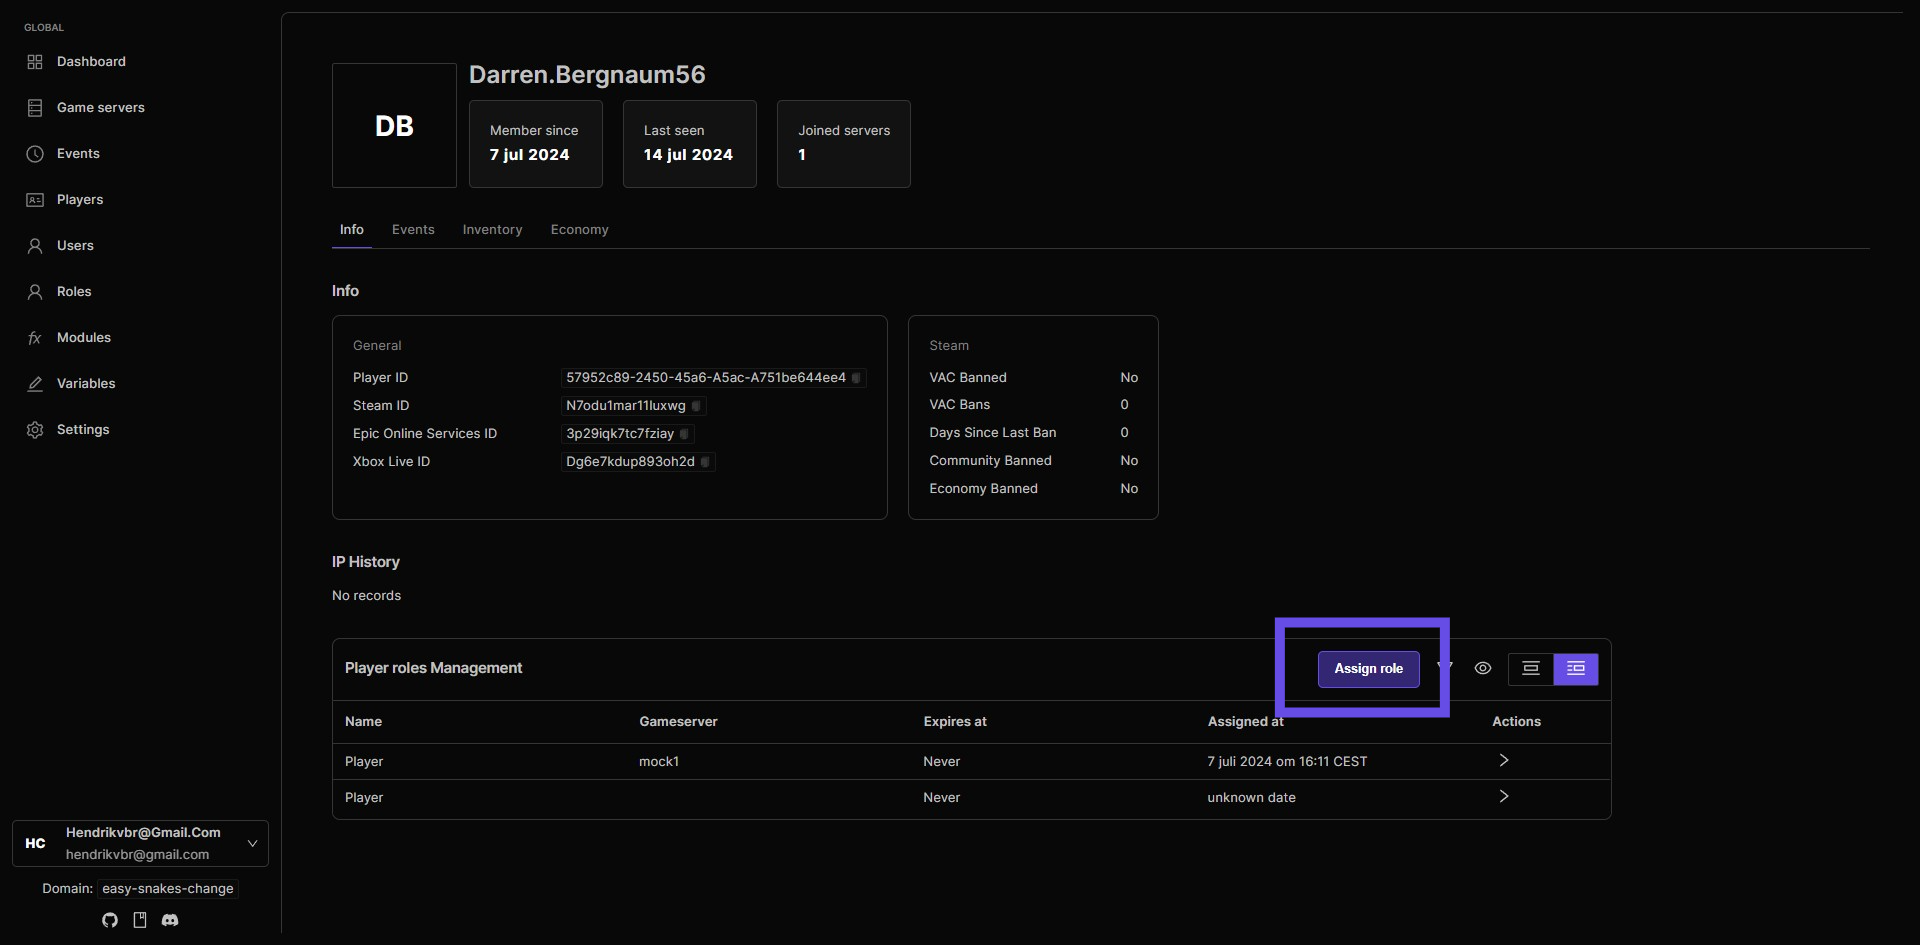
Step 24: Click Assign role button
Step 25: Select the right role
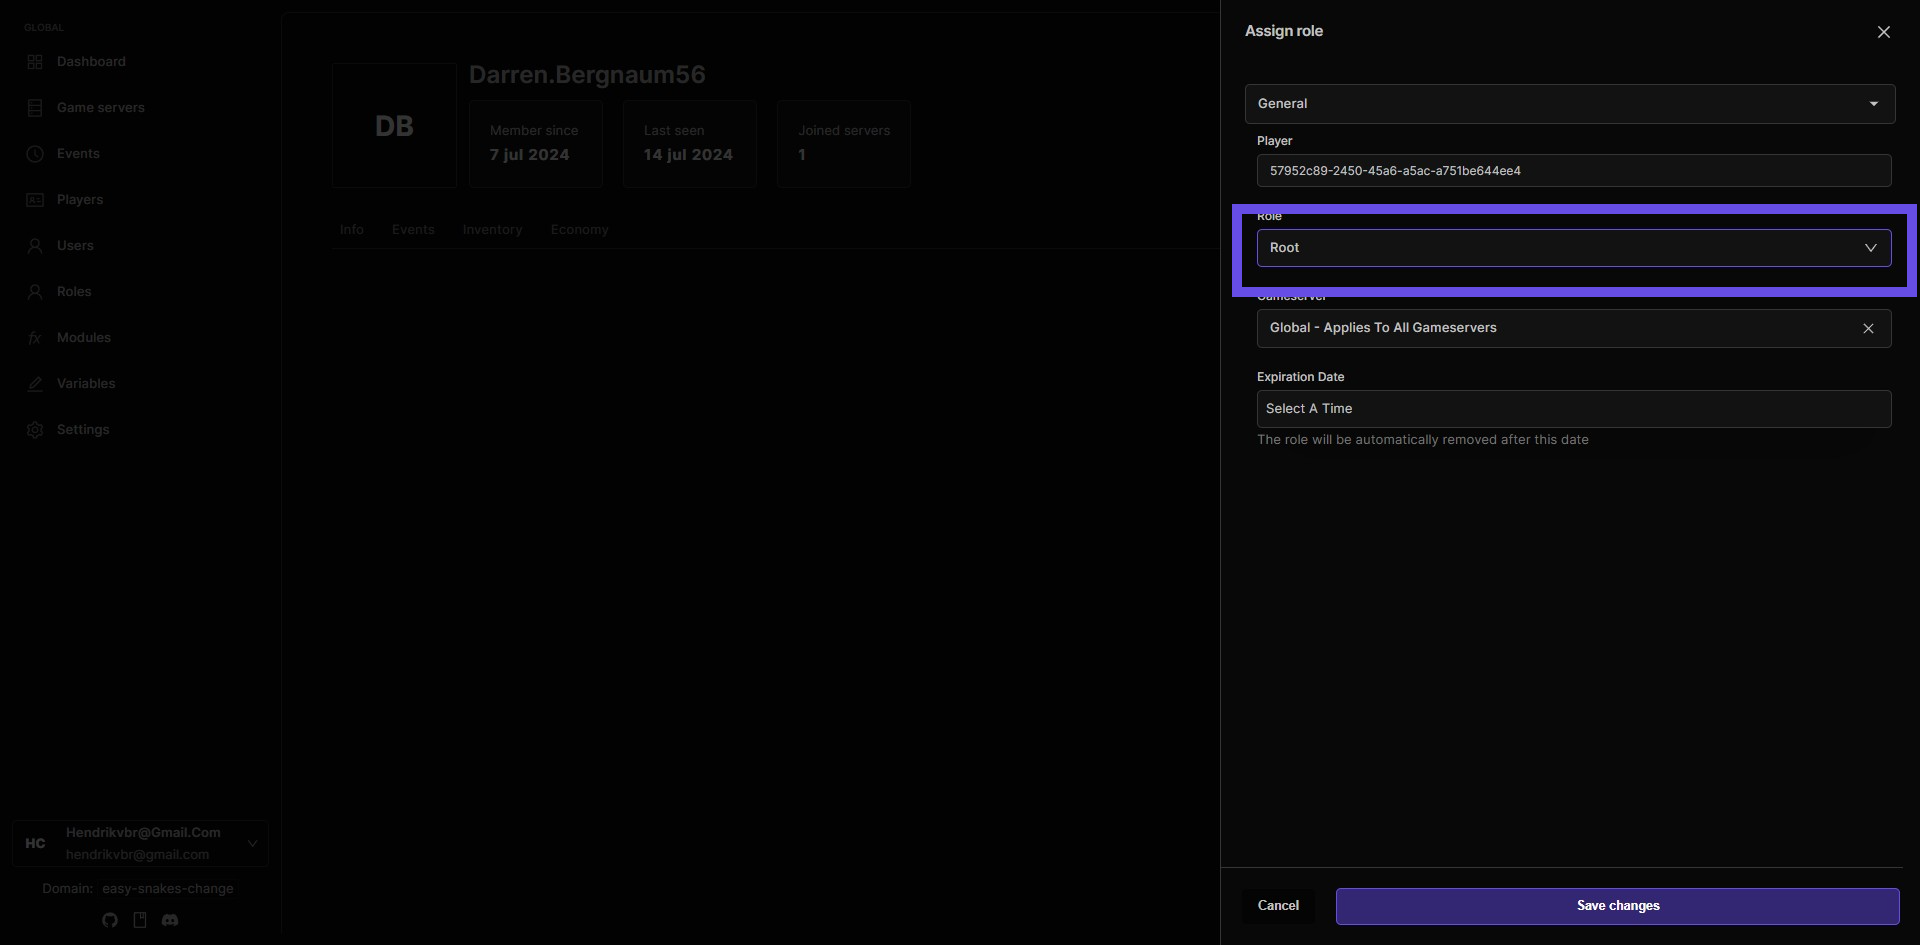
Step 26: Choose extra teleports from the list

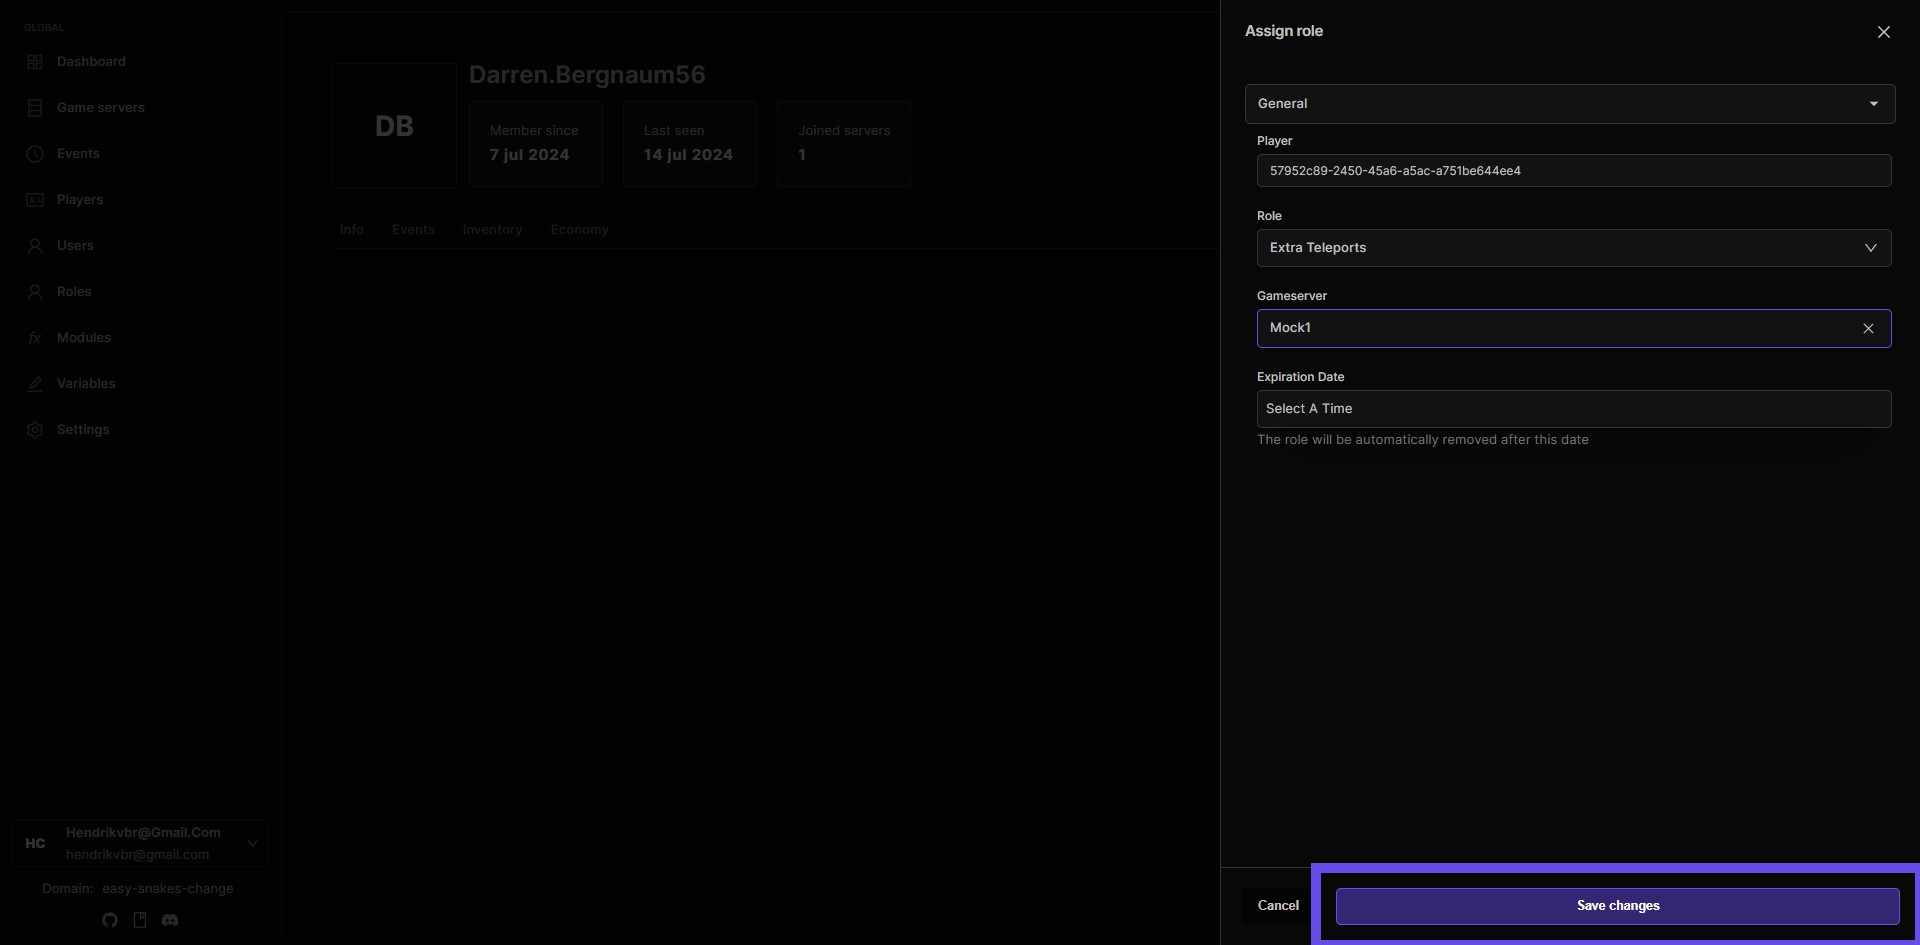
Step 27: Choose your preferred game server
Choose to activate the teleport role on individual game servers or globally across all servers, allowing flexible permission management based on your game's structure and needs.

Step 28: Click Save changes button
You made it to the end!